Biomechanical and bio organic tattoos are two of the most requested futuristic styles in 2026. While both create the illusion that something exists beneath or growing from the skin, they deliver completely different visual and philosophical experiences.
A biomechanical tattoo blends human anatomy with mechanical elements to look like machinery is integrated inside the body. A bio organic tattoo merges biological forms with surreal, alien-like textures to feel like something living is evolving from within.
If you’re searching for biomechanical tattoo meaning, bio organic tattoo vs biomechanical, planning a biomechanical sleeve in NYC, or deciding which style fits your vision, this complete 2026 guide explains the key differences, design philosophy, trends, and best placements.
At Inknation Studio in New York, these two styles rank among our most requested custom pieces for clients who want tattoos that feel alive, technical, and deeply personal.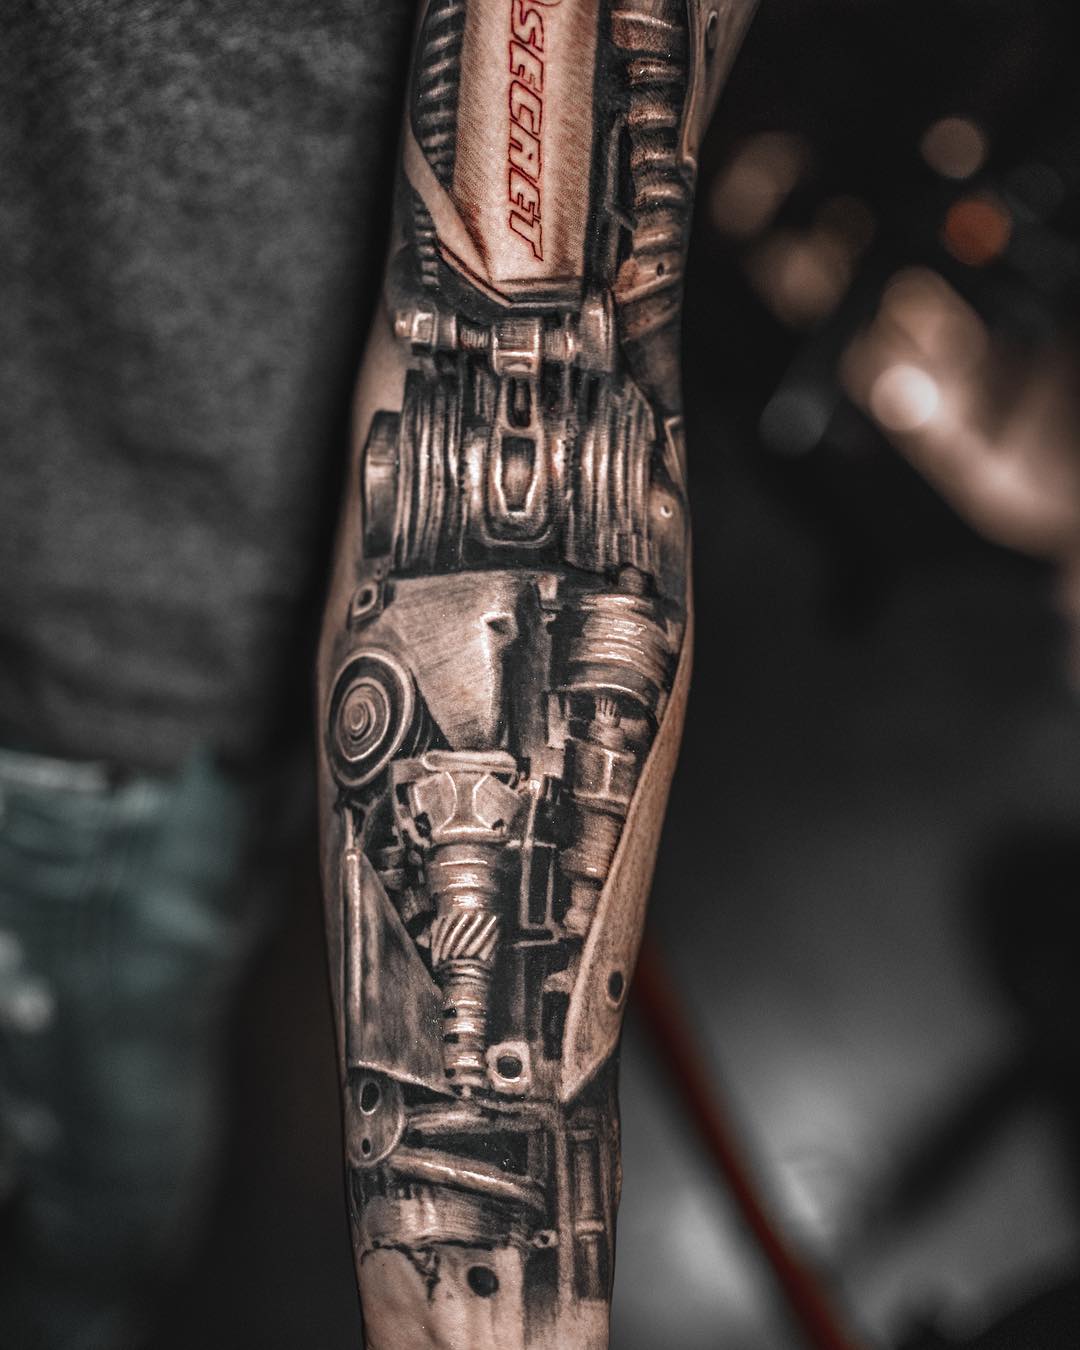
What Is a Biomechanical Tattoo?
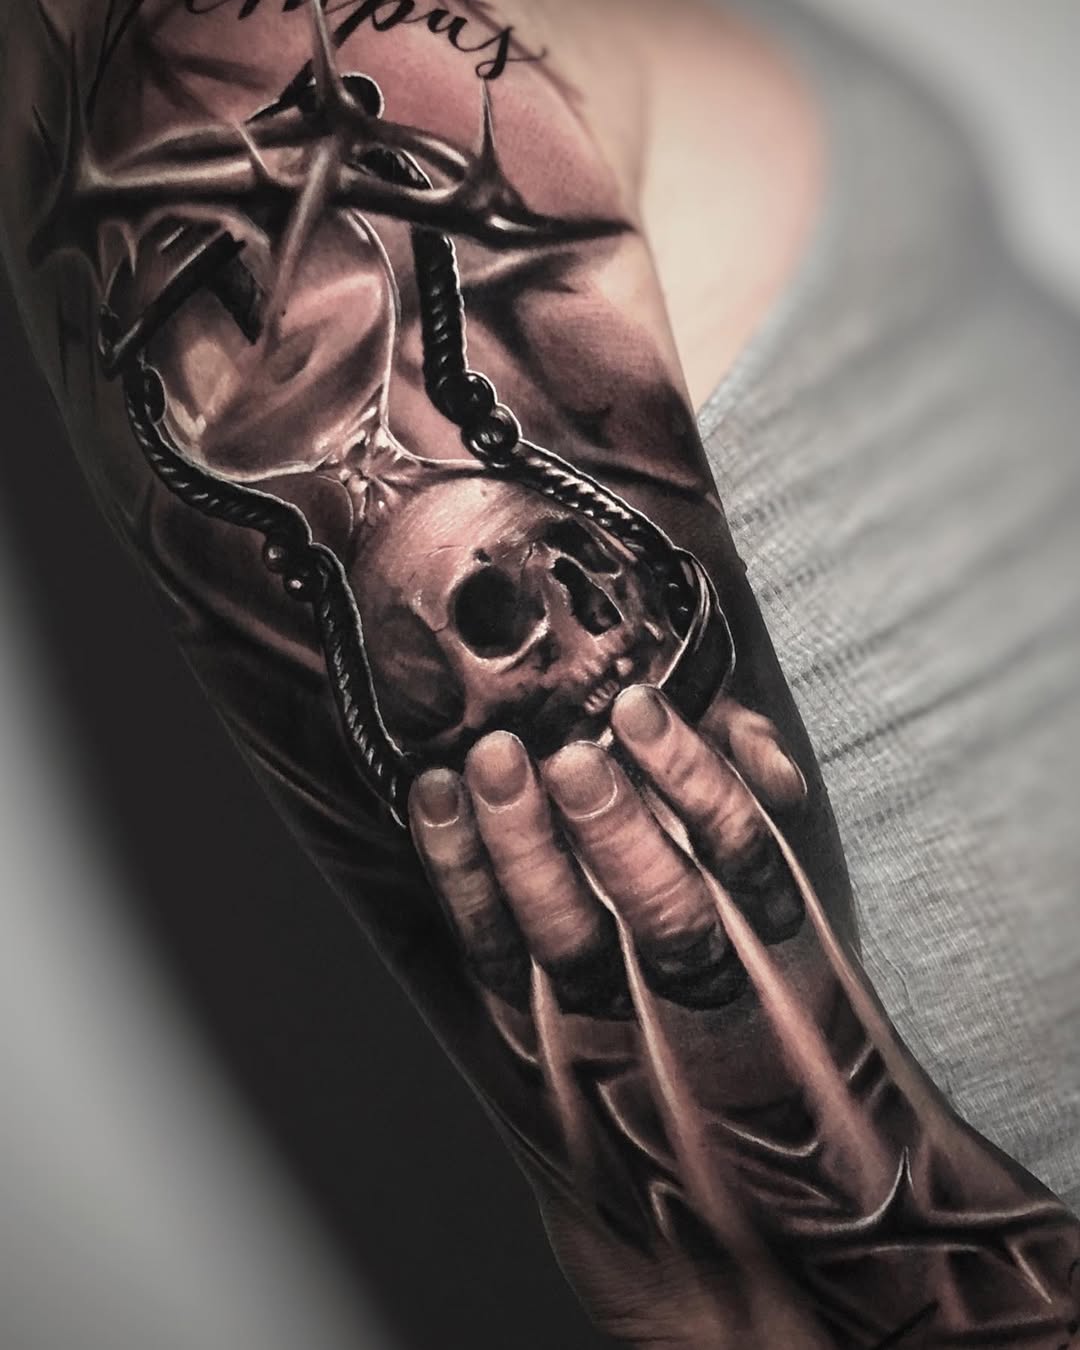
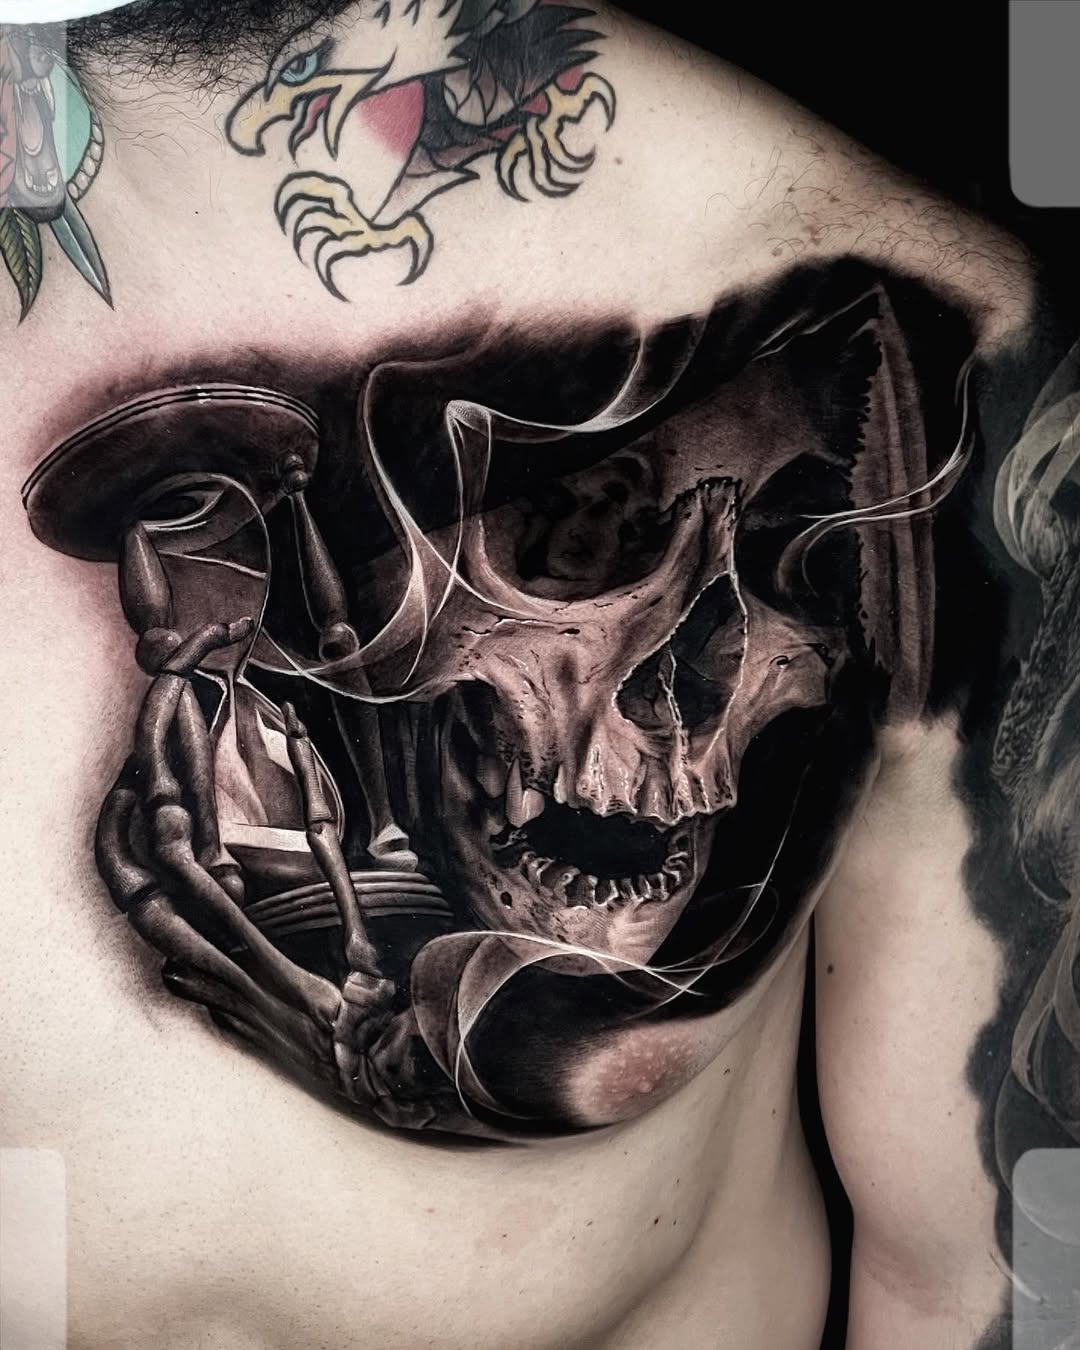
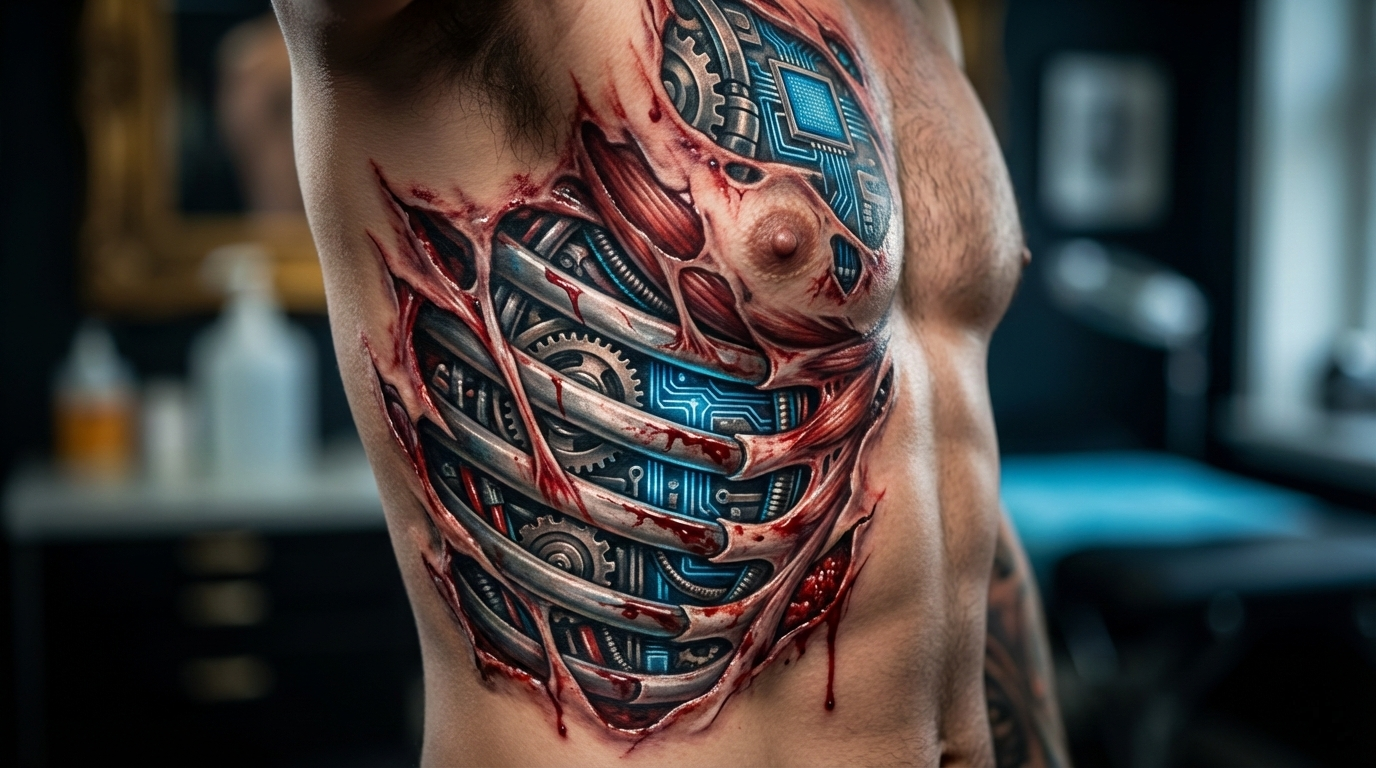
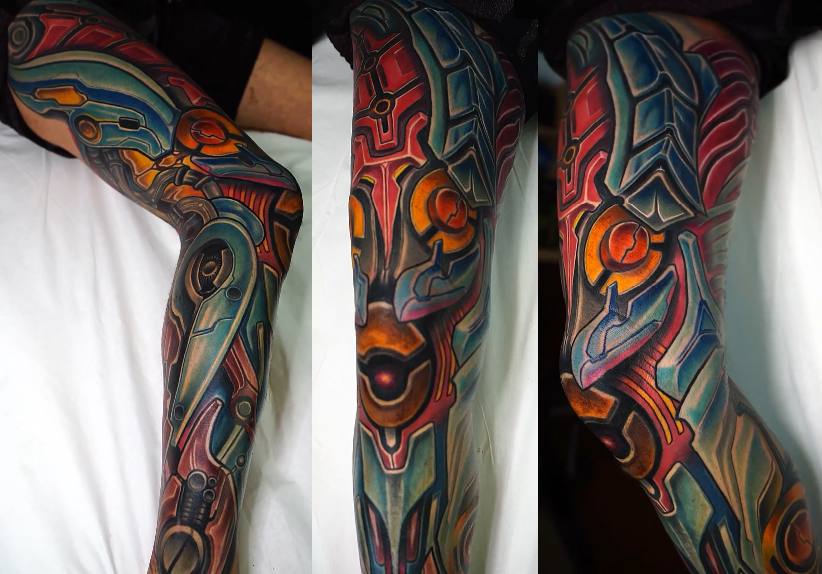
A biomechanical tattoo creates the illusion that mechanical components, gears, pistons, wires, armor plating, and hydraulic systems, exist beneath torn or lifted skin. It merges precise human anatomy with industrial machinery for a hyper-realistic 3D effect.
Key characteristics in 2026:
- Strong muscle and tendon alignment
- Skin-ripping or “peeled back” illusion
- High-contrast shading for depth
- Often black and grey realism, though color versions are rising
- Designed to move naturally with the body
Biomechanical tattoos work best on areas with visible muscle movement: full sleeves, shoulders, forearms, calves, and chest.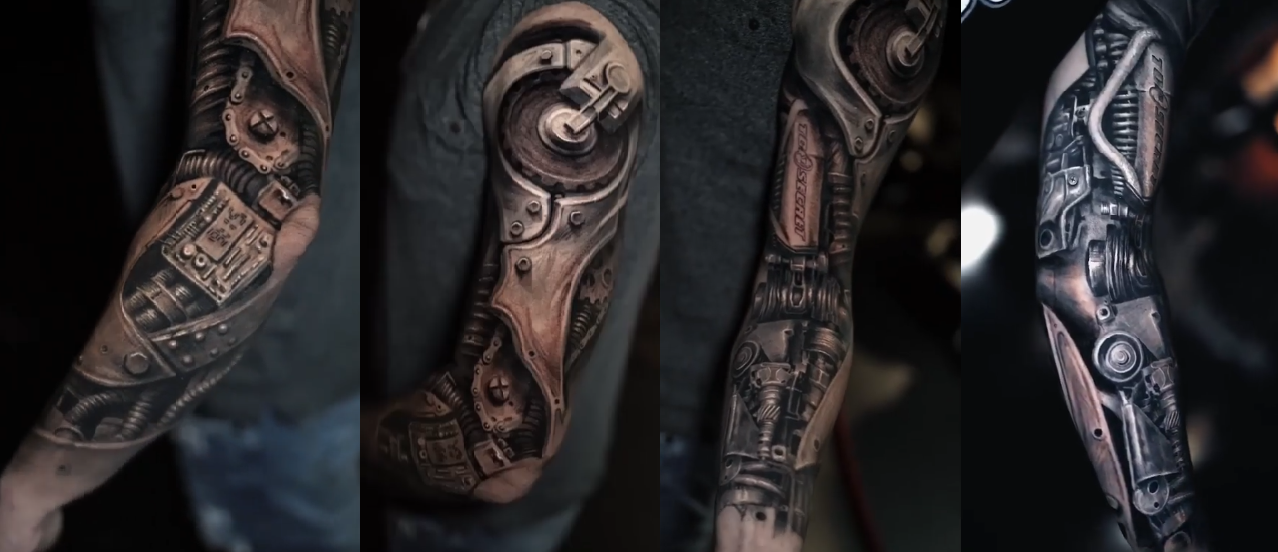
What Is a Bio Organic Tattoo?
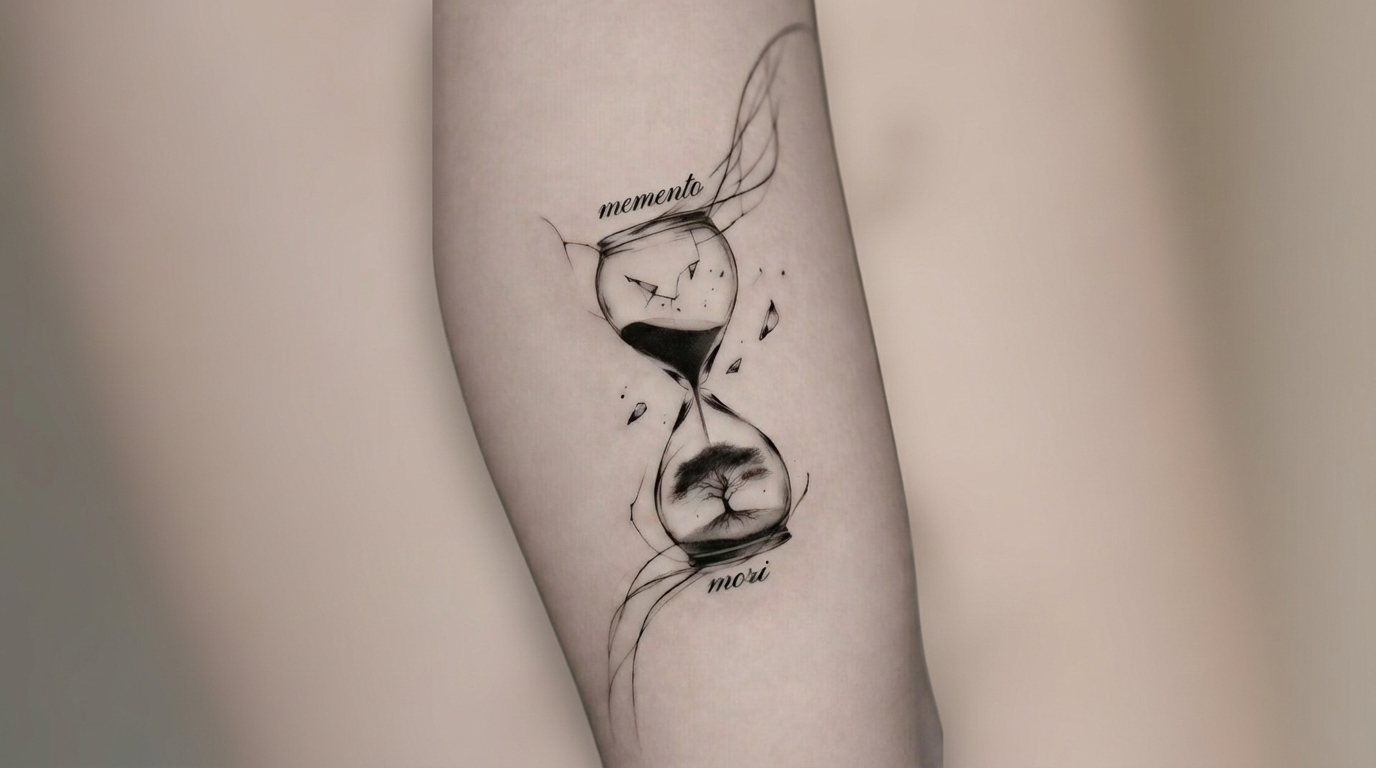
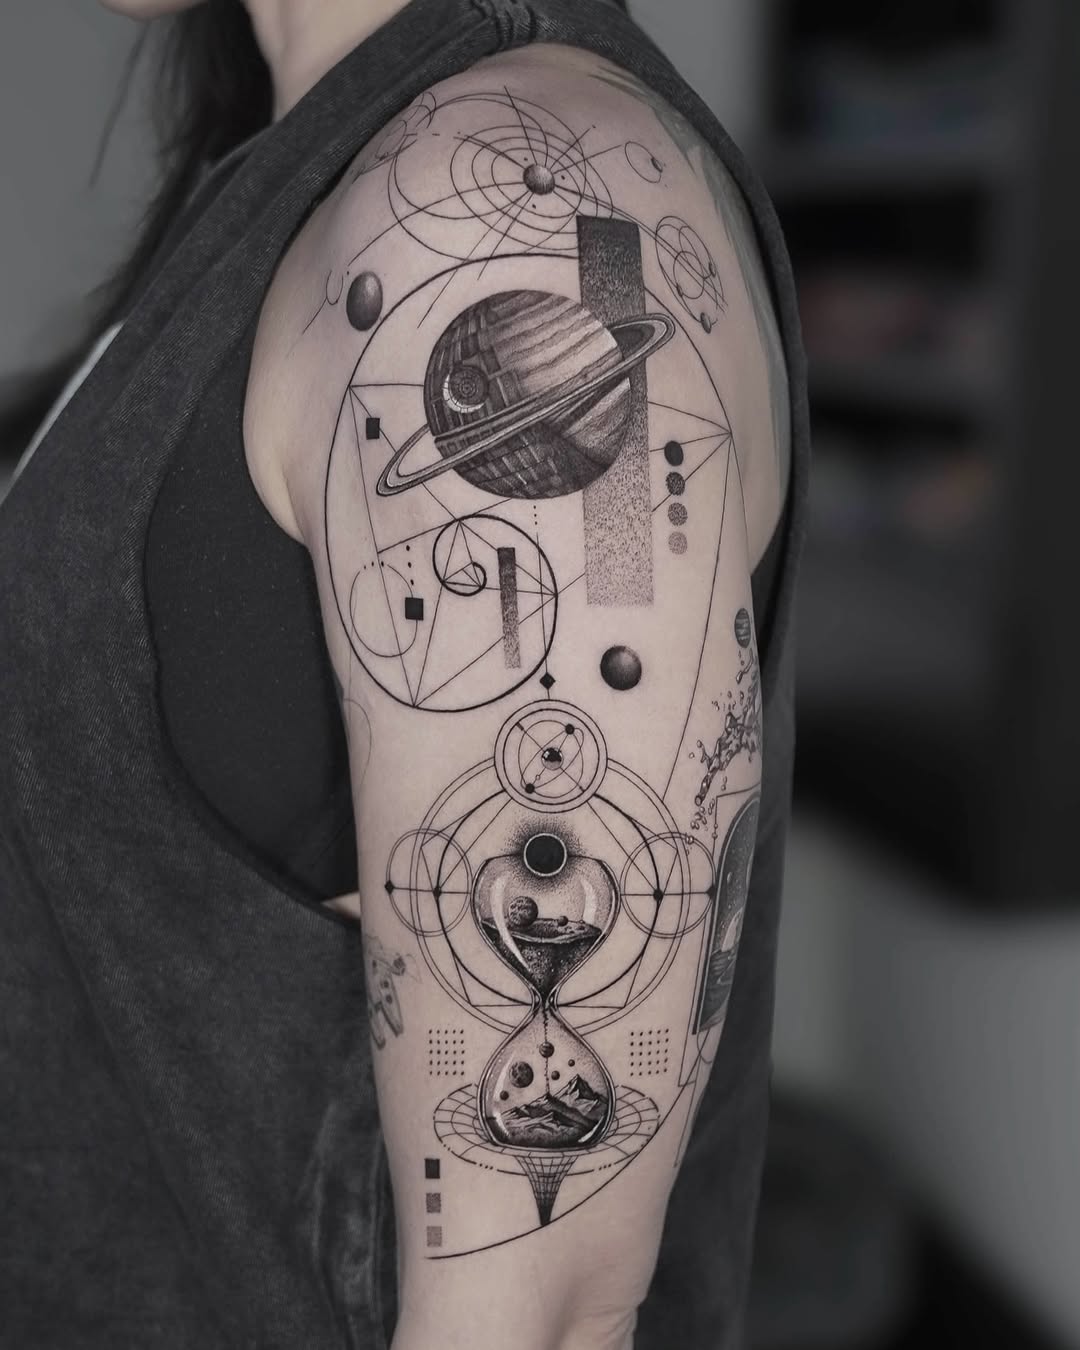
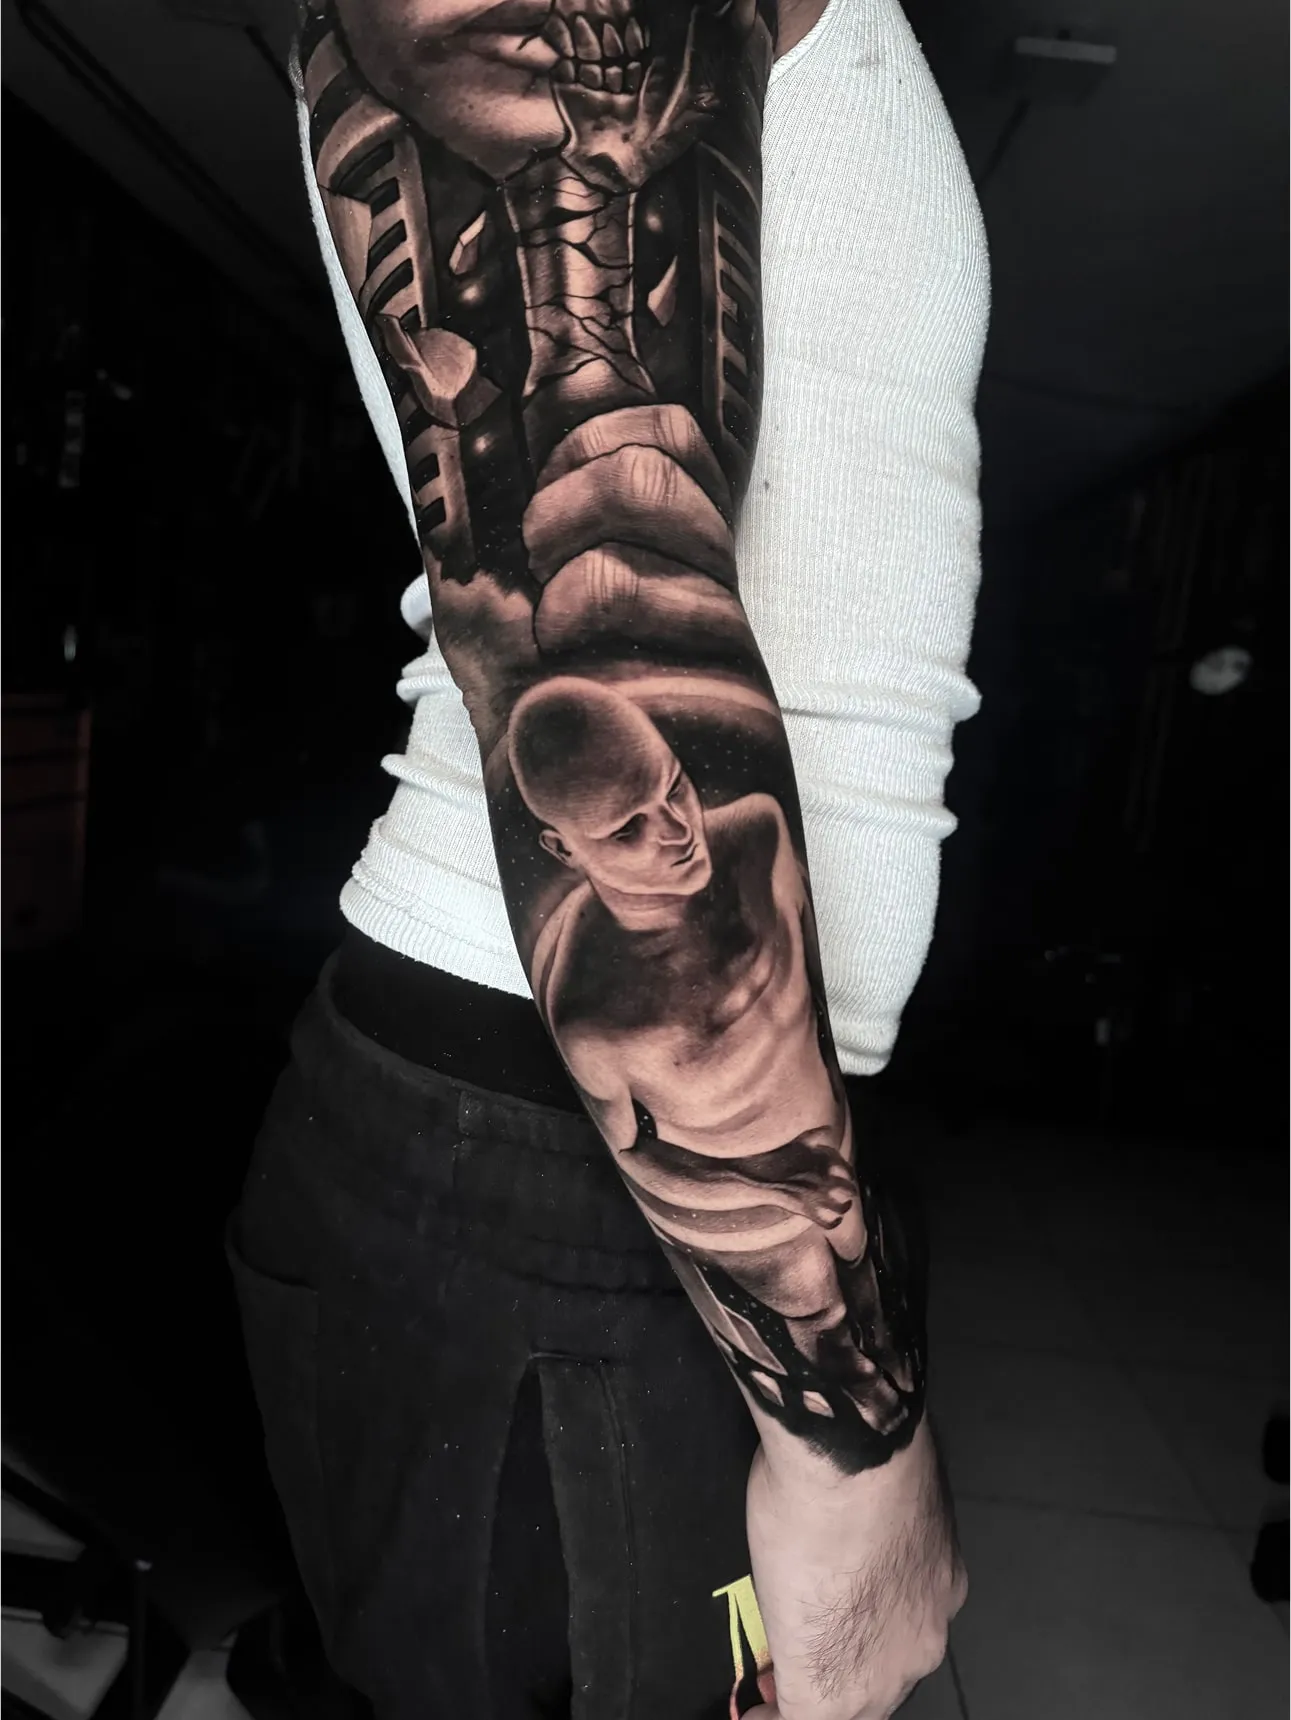
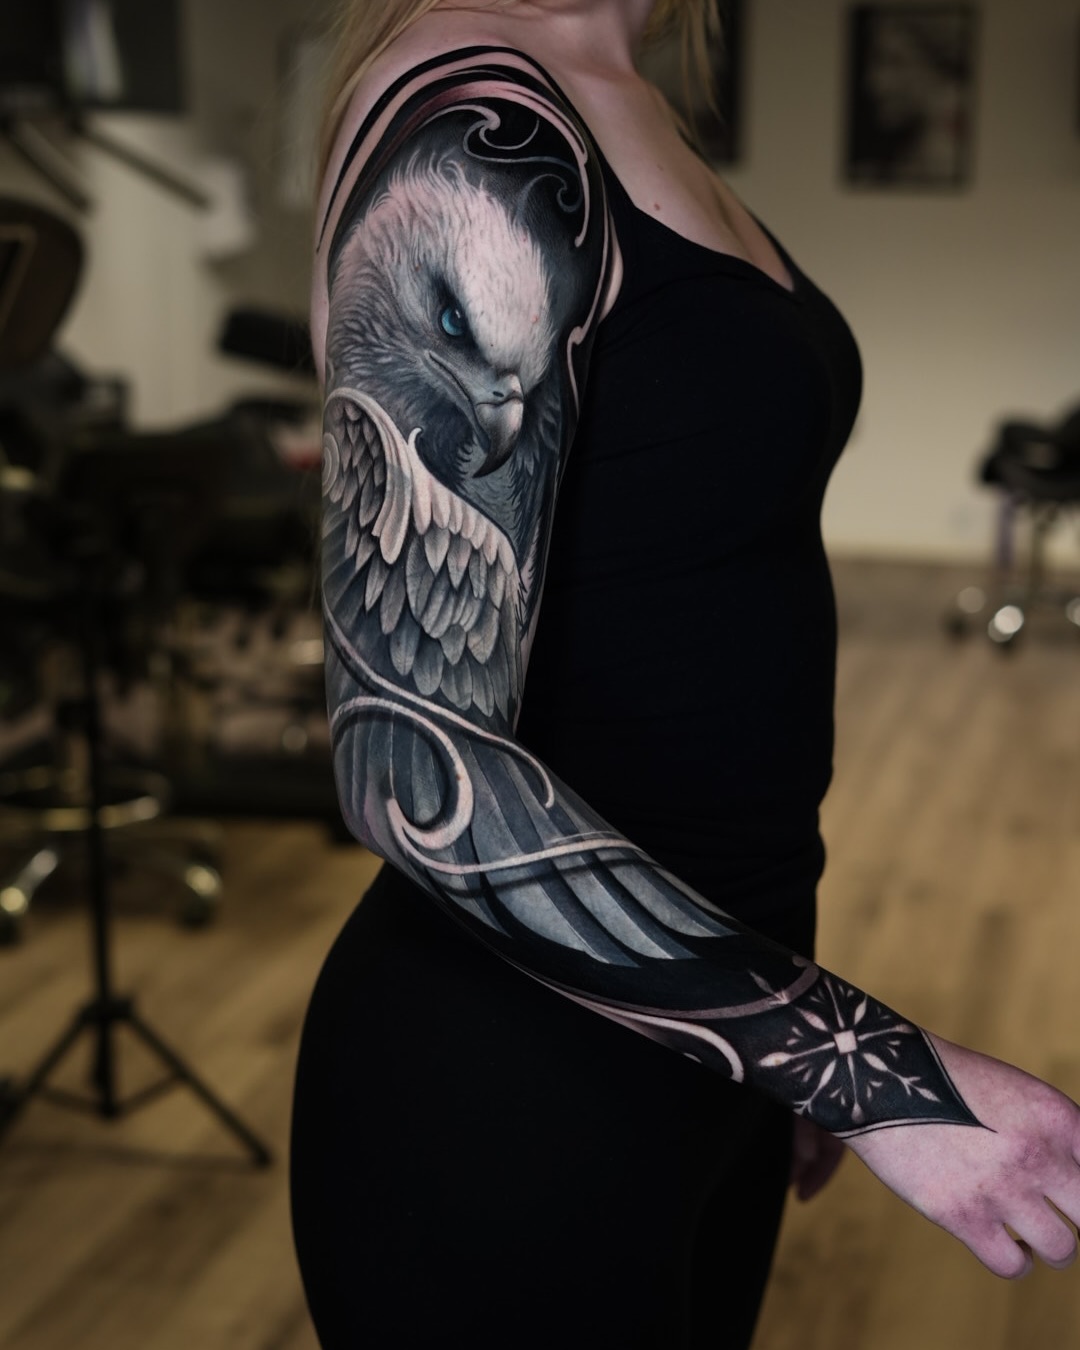
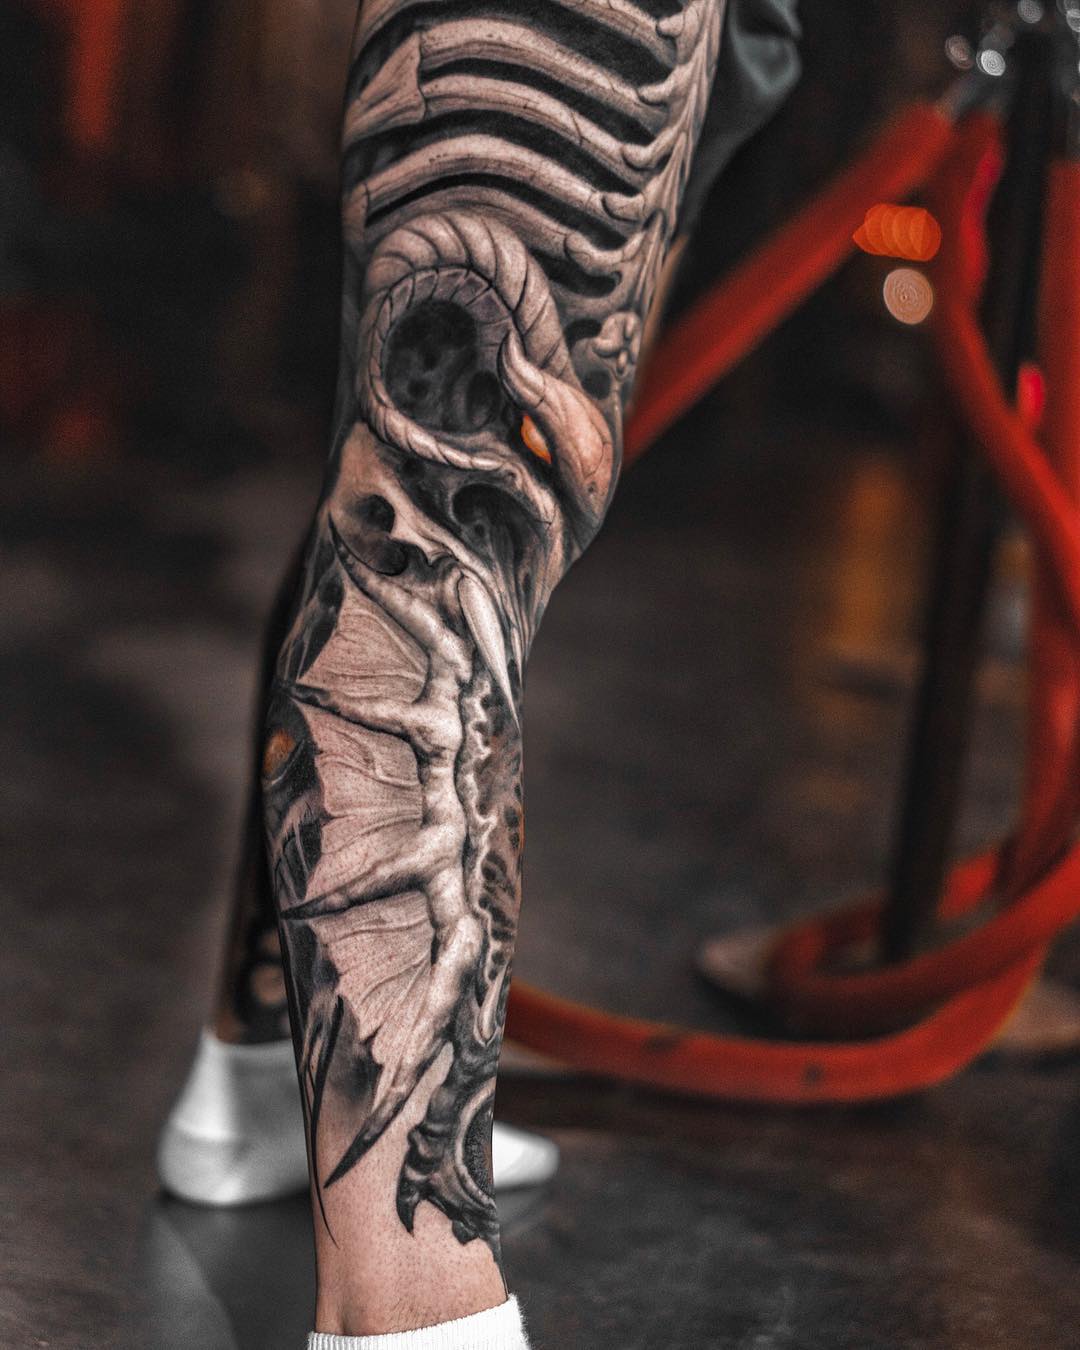
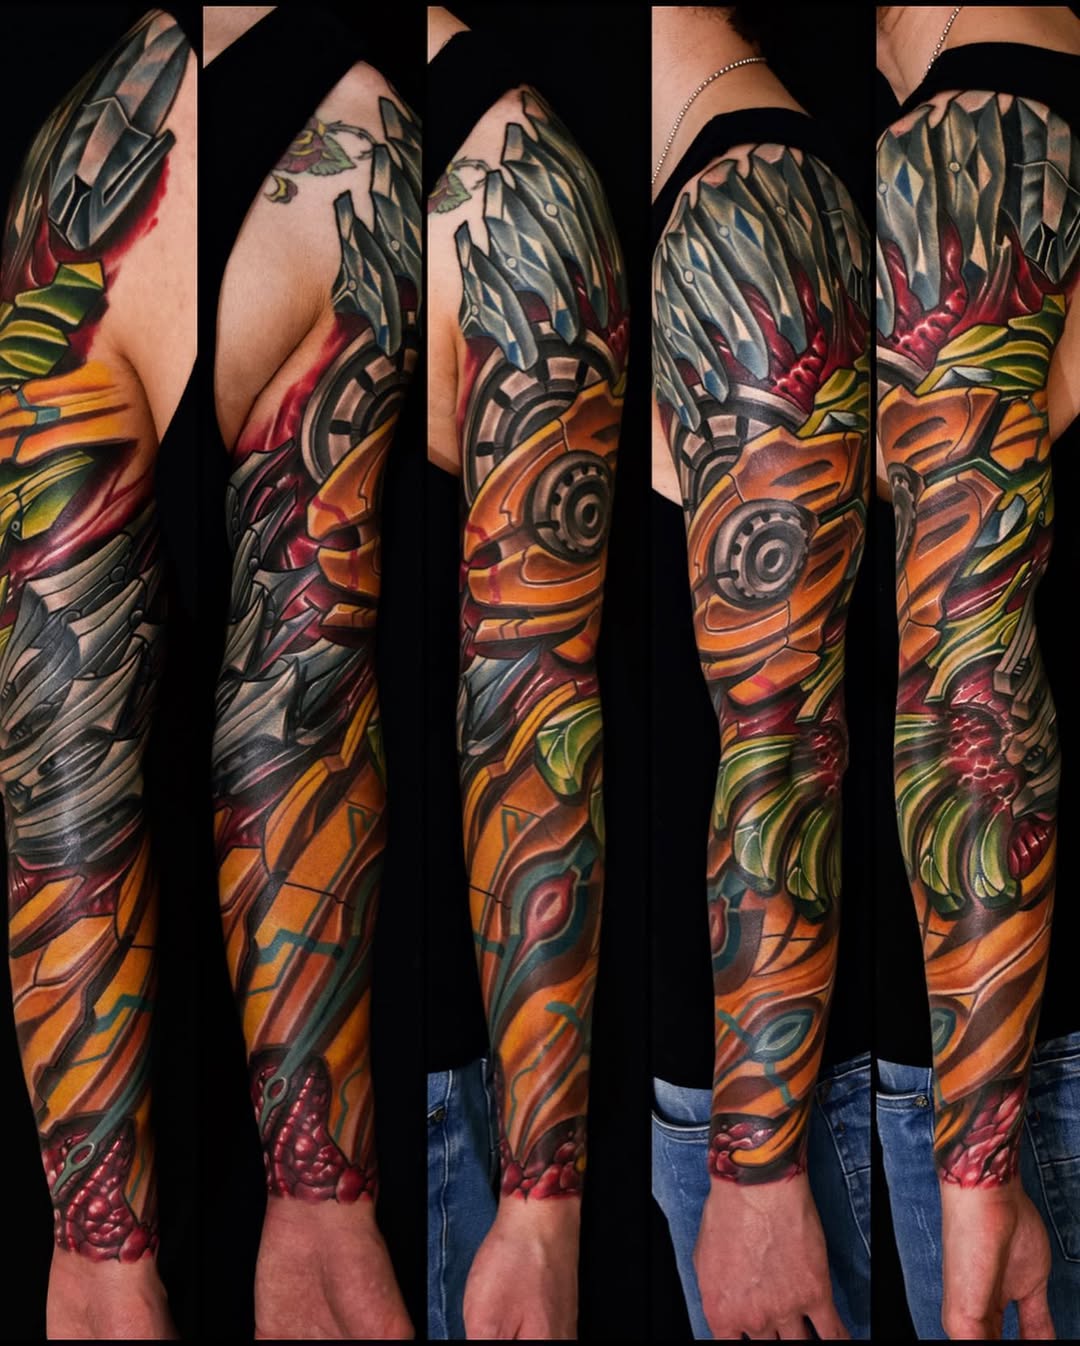
A bio organic tattoo (also called bio-organic or organic biomechanical) imagines organic, alien, or futuristic biological growth emerging from or replacing human tissue. Instead of cold machinery, it features flowing tendrils, bone-like structures, fleshy textures, and asymmetrical organic forms.
Key characteristics in 2026:
- Fluid, asymmetrical movement
- Surreal biological textures (tendrils, membranes, veins)
- Alien or sci-fi evolutionary feel
- Emphasis on negative space and organic flow
- Works beautifully in both black and grey and vibrant color
Bio organic tattoos feel alive and evolving rather than engineered.
Biomechanical vs Bio Organic Tattoo: Core Differences (2026 Comparison)
| Feature | Biomechanical Tattoo | Bio Organic Tattoo |
|---|---|---|
| Visual Feel | Engineered, industrial, mechanical | Evolved, organic, alien/surreal |
| Core Elements | Gears, pistons, wires, armor | Tendrils, membranes, bone structures, flesh |
| Anatomy Integration | Muscle tearing + machine fusion | Biological growth replacing or merging tissue |
| Mood & Philosophy | Futuristic cyborg, strength through technology | Organic evolution, transformation, otherworldly |
| Best Styles in 2026 | Hyper-realism black & grey, limited color | Fluid color gradients, black & grey sculptural |
| Placement Strength | Full sleeves, forearms, calves | Shoulders, chest, back, ribcage |
Biomechanical tattoos feel like the body has been upgraded with technology. Bio organic tattoos feel like the body is mutating into something new and alive.
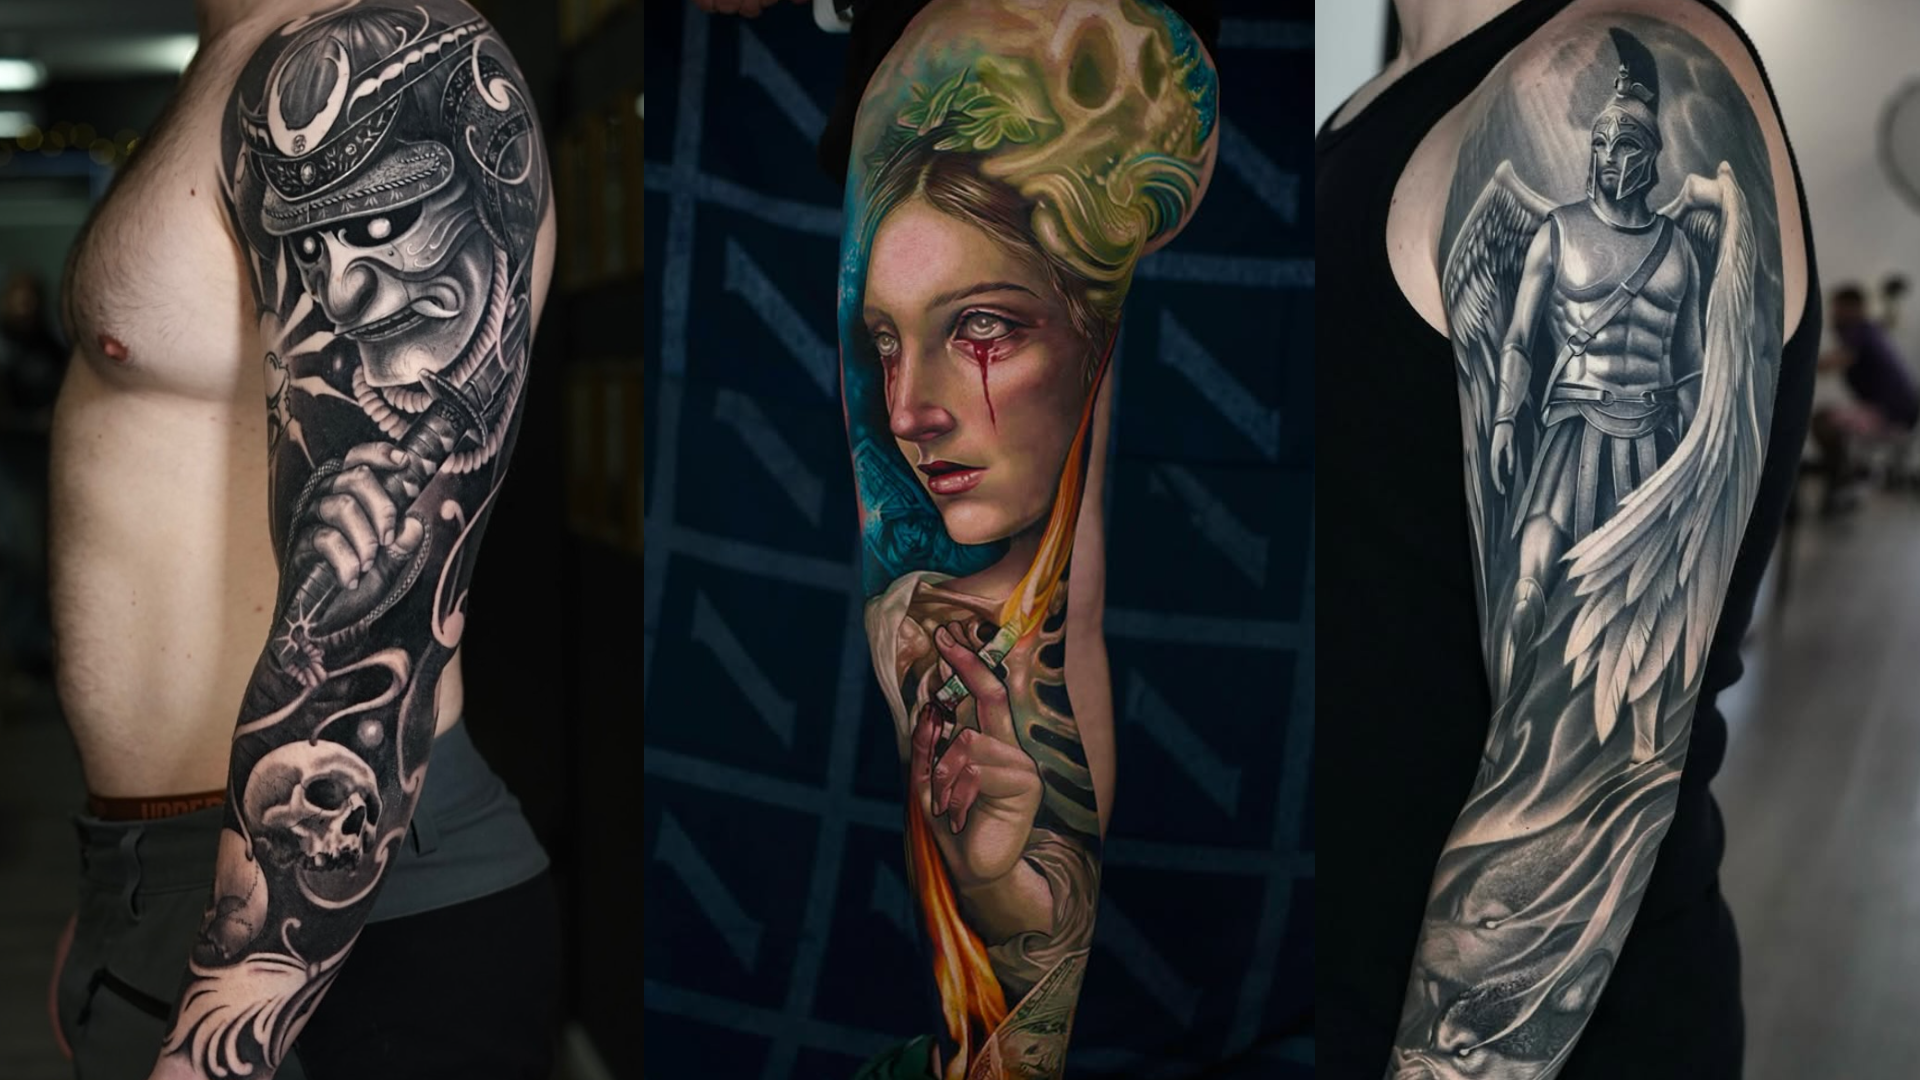
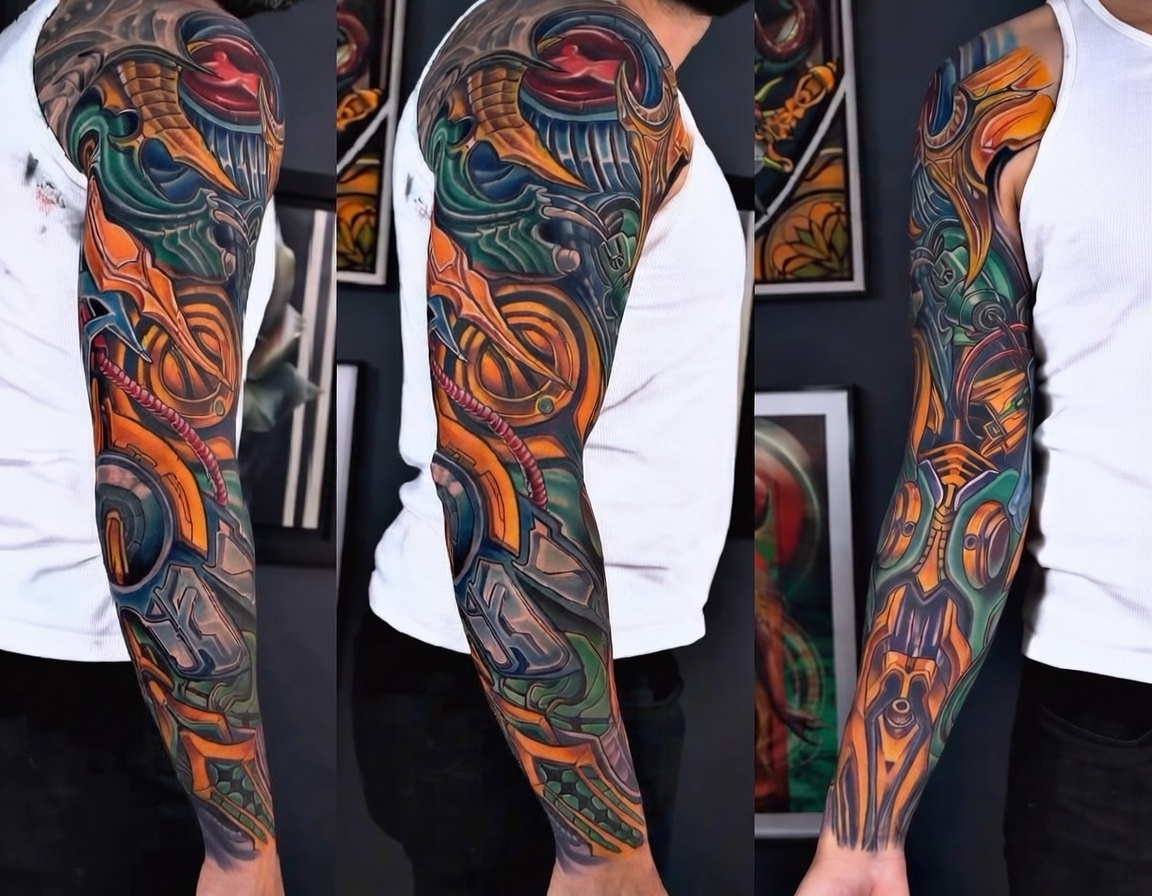
Biomechanical Tattoo Sleeve Concepts in NYC
A biomechanical sleeve remains one of the most impressive large-scale projects in 2026. Because the arm wraps 360°, artists can create continuous depth with layered panels, exposed “machinery,” and realistic skin-ripping effects that follow the natural muscle flow from shoulder to wrist.
In New York studios like Inknation, clients often combine biomechanical elements with personal symbolism (dates, coordinates, or subtle script) for a truly custom narrative.
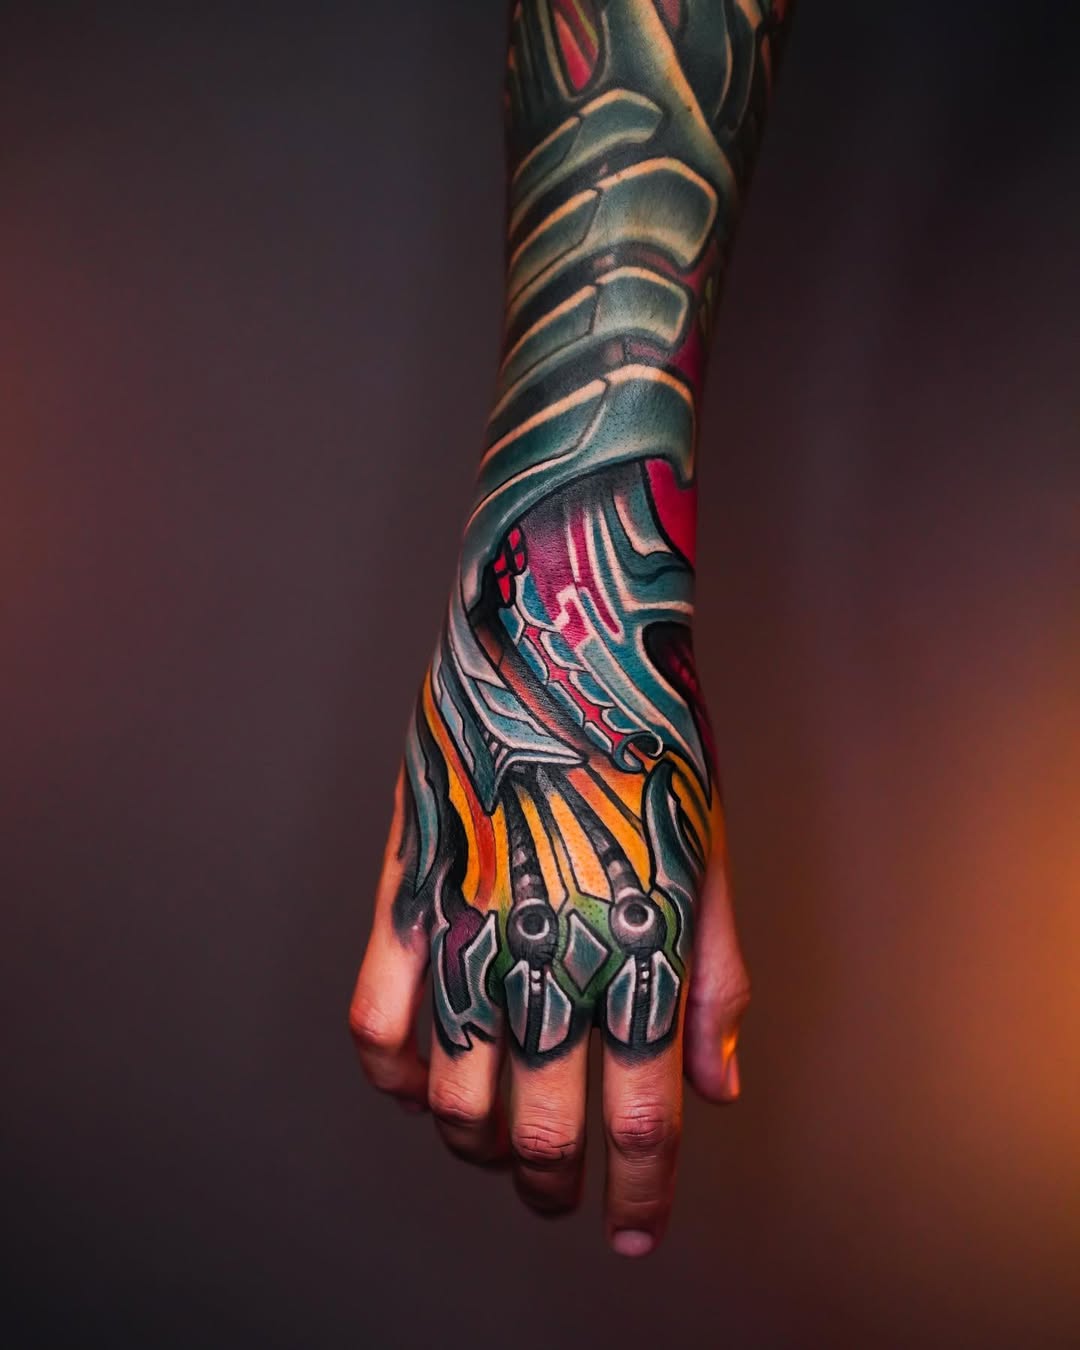
Bio Organic Tattoo Trends 2026
Black and grey bio organic tattoos are exploding in popularity for their sculptural depth and timeless healing. Color versions lean into vibrant gradients, iridescent membranes, and glowing organic elements. Many clients in NYC are requesting hybrid designs that blend subtle biomechanical details into predominantly bio organic pieces.
Design Process: What Makes These Styles Successful?
Both styles demand advanced technical skill and anatomical knowledge. At Inknation Studio we follow a strict custom process:
- Detailed anatomical mapping of your body
- Concept consultation focused on personal meaning
- Custom sketch with multiple revisions
- Stencil testing for natural flow and movement
- Layered sessions to build realistic depth

What to Expect When Getting a Biomechanical or Bio Organic Tattoo
Consultation Phase Discussion of concept, style preference, placement, and symbolism. Book here: https://inknationstudio.com/book-now/
Design Phase Custom drawing tailored to your exact anatomy and movement.
Session Timeline
- Small/medium piece: 2-4 hours per session
- Full biomechanical or bio organic sleeve: 8-15+ hours across multiple sessions
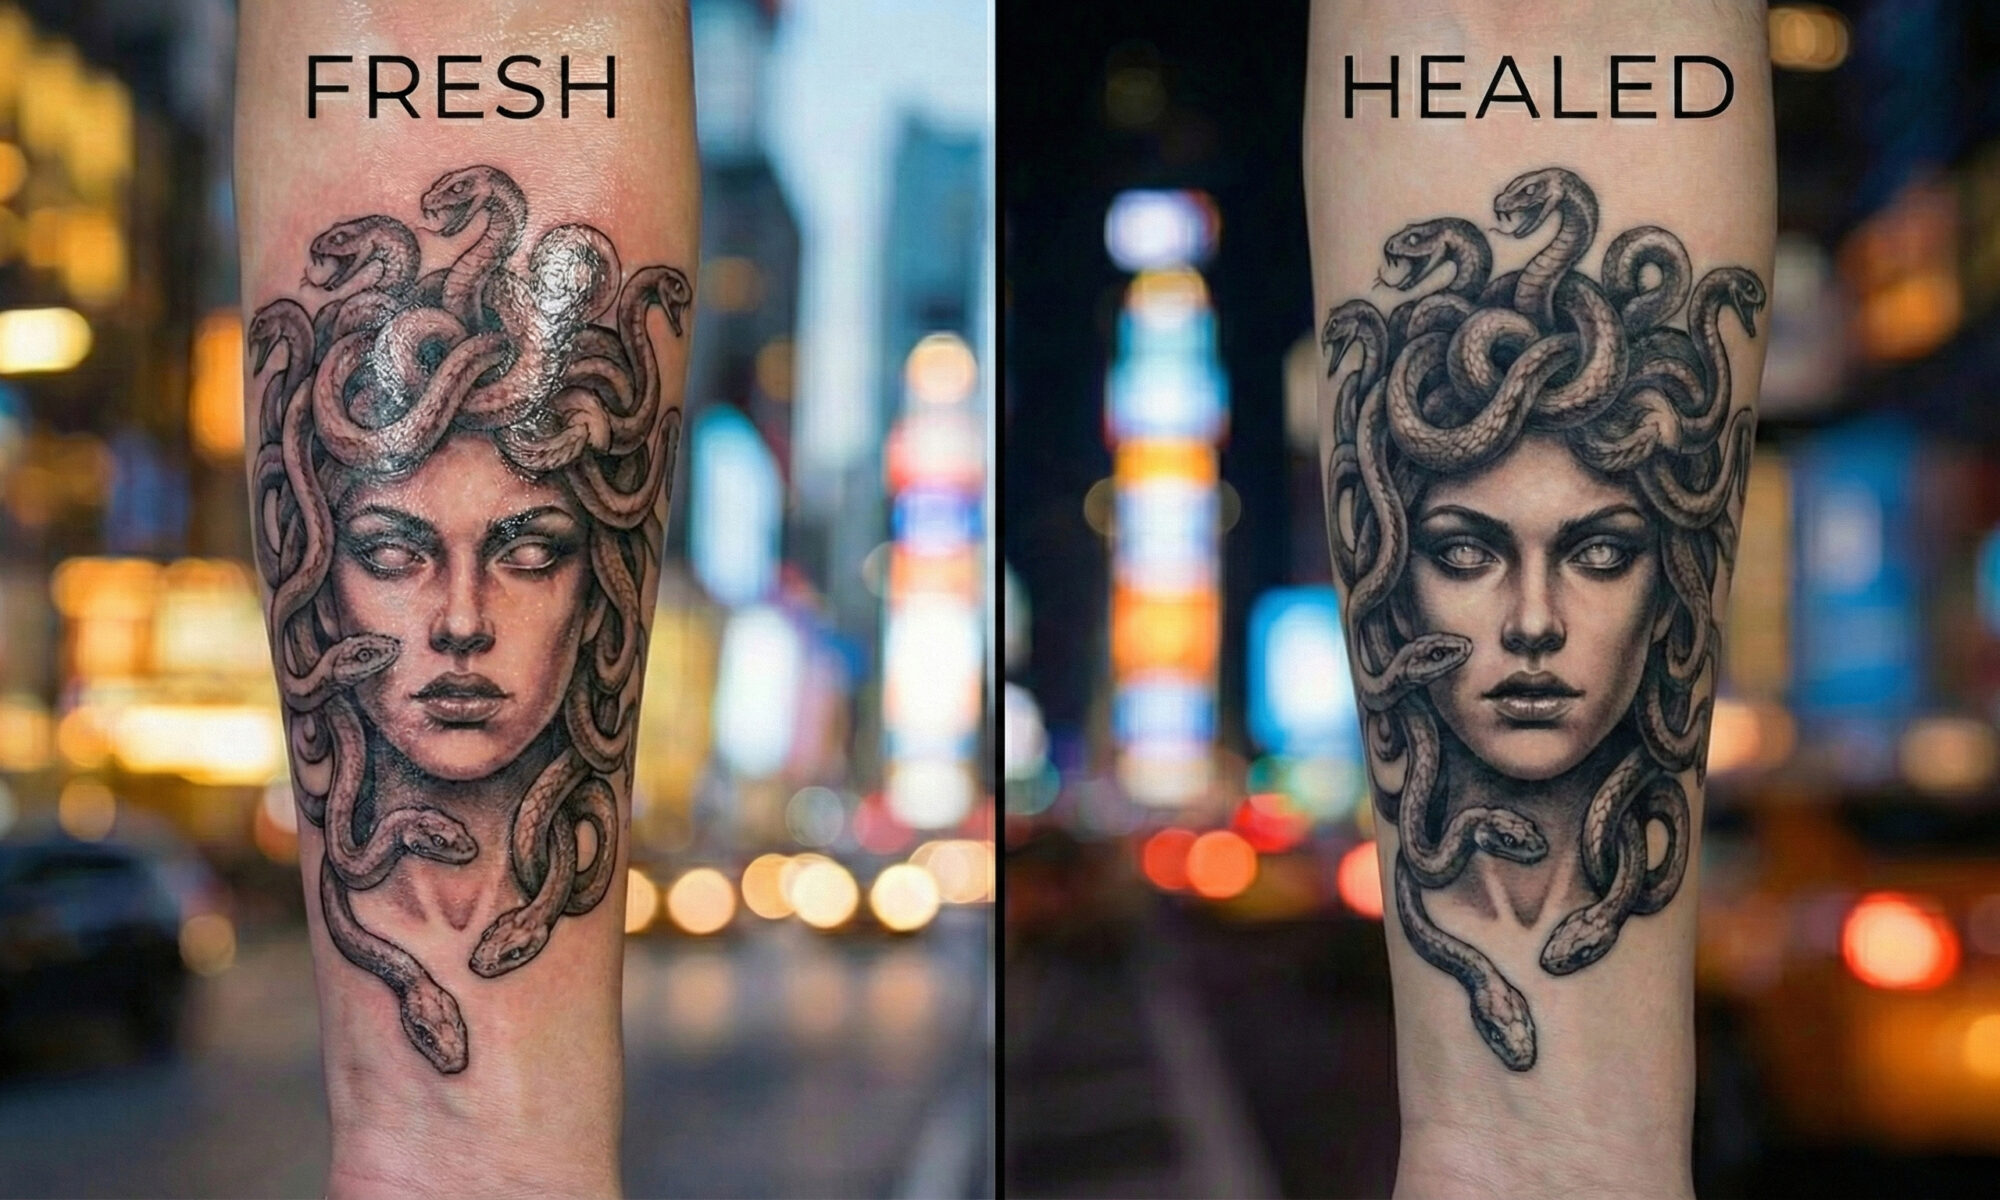
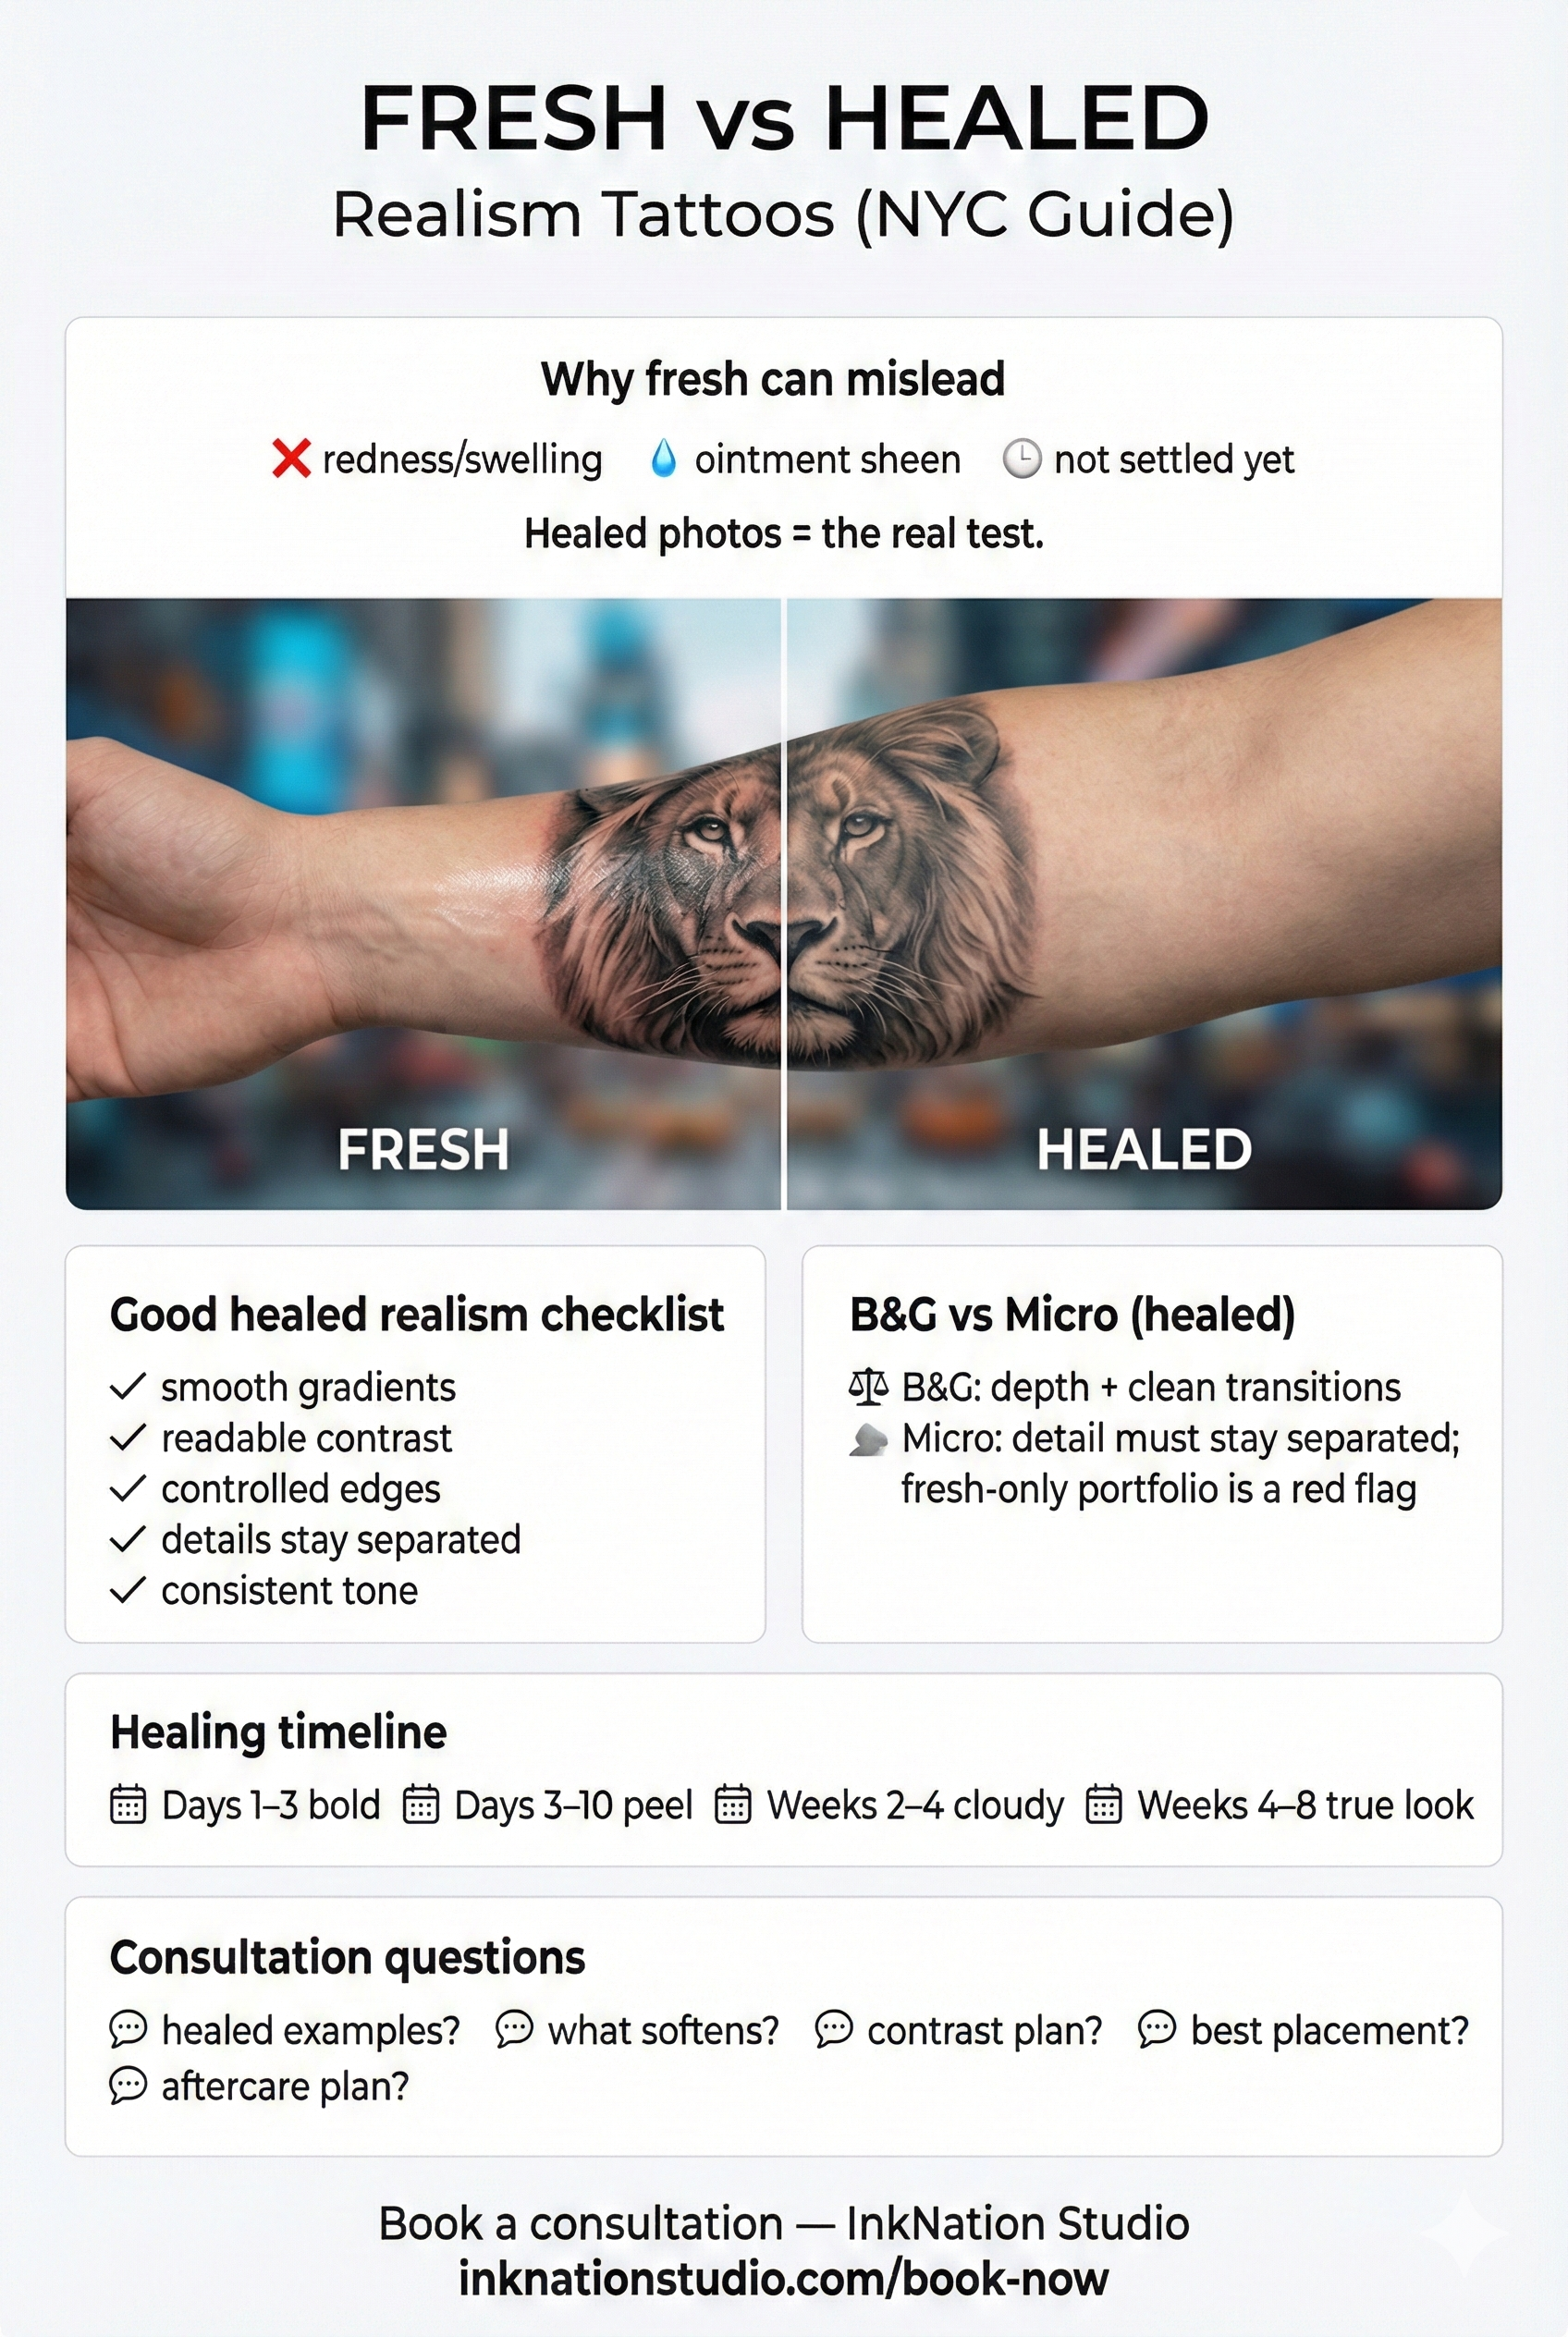
Healing Timeline
- Days 1-3: Tenderness & swelling
- Week 1-2: Peeling & itching
- Week 3-4: Surface healing
- 6-8 weeks: Full color stabilization and final look
Full aftercare guide: https://inknationstudio.com/everything-you-need-to-know-about-tattoo-aftercare/
Common Mistakes to Avoid
- Using pre-made flash or template designs
- Ignoring natural muscle flow and body movement
- Overcrowding too many details in one area
- Choosing insufficient contrast for long-term aging
- Booking with an artist who lacks proven experience in these specific styles
These are not “flash-friendly” tattoos, they require strategic, custom planning.

Frequently Asked Questions
What exactly is a biomechanical tattoo? It creates the illusion of mechanical parts integrated beneath the skin, blending human anatomy with machinery for a 3D cyborg effect.
What is the main difference between biomechanical and bio organic tattoos? Biomechanical feels engineered and mechanical; bio organic feels alive, fluid, and biologically evolved.
Can biomechanical tattoos be done in color? Yes, though black and grey realism remains the most popular and timeless choice in 2026.
Is a biomechanical sleeve painful? Pain level depends on placement, but large-scale work on arms and shoulders typically requires multiple sessions and proper aftercare.
Are bio organic tattoos trending in NYC in 2026? Yes, especially black and grey sculptural versions and subtle color gradients that emphasize organic flow.
Which style lasts better over time? Both heal excellently when done with proper contrast and technique. Black and grey versions generally show less fading long-term.
Book a consultation:
Inknation Studio NYC
Inknation Studio
56 W 45th St, Fl 18, New York, NY 10036, United States
(917) 261-6936
Hours: 11:00 AM – 6:00 PM every day (Mon–Sun)