5 Things to Know Before Getting a Realistic Animal Tattoo
-
Animal tattoos are among the most powerful symbolic designs in body art.
- Animal Tattoo Symbolism: Masculine and Feminine Meanings
-
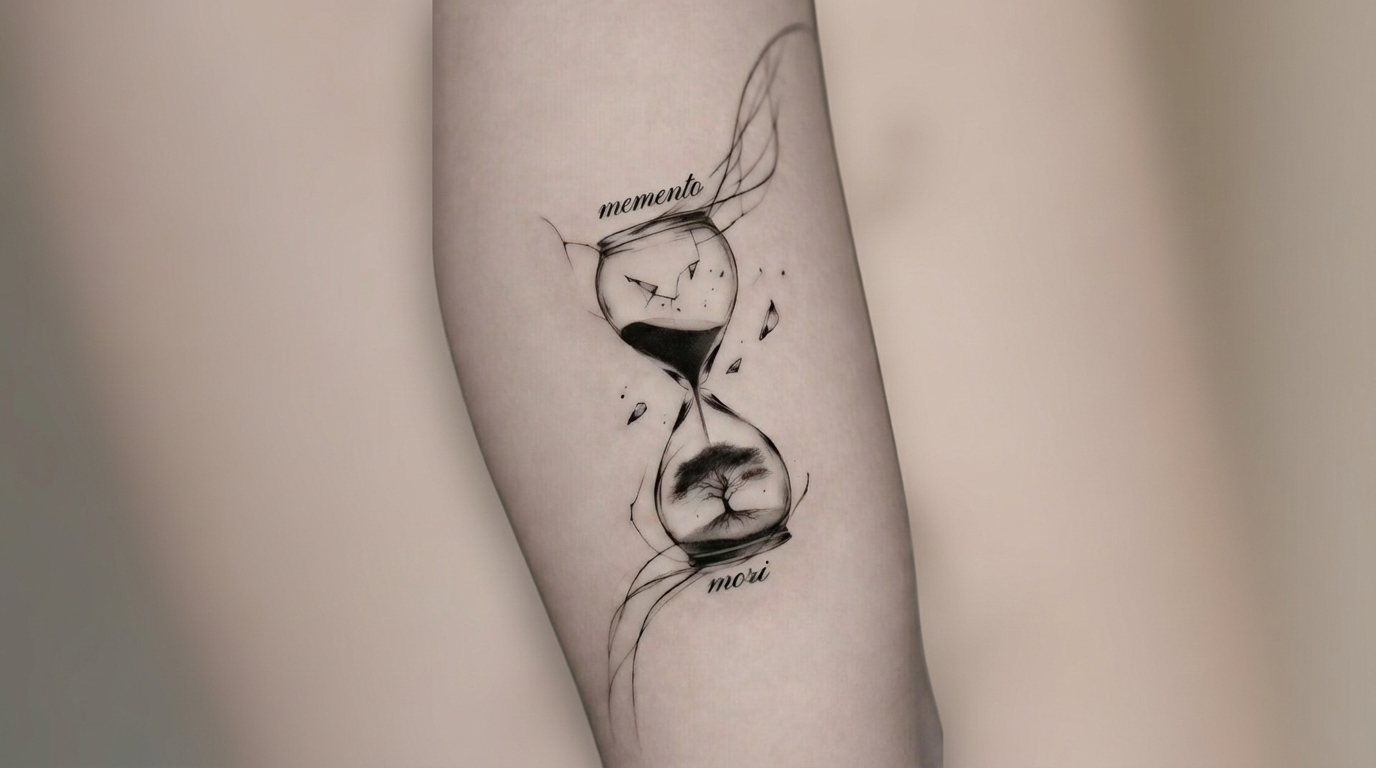
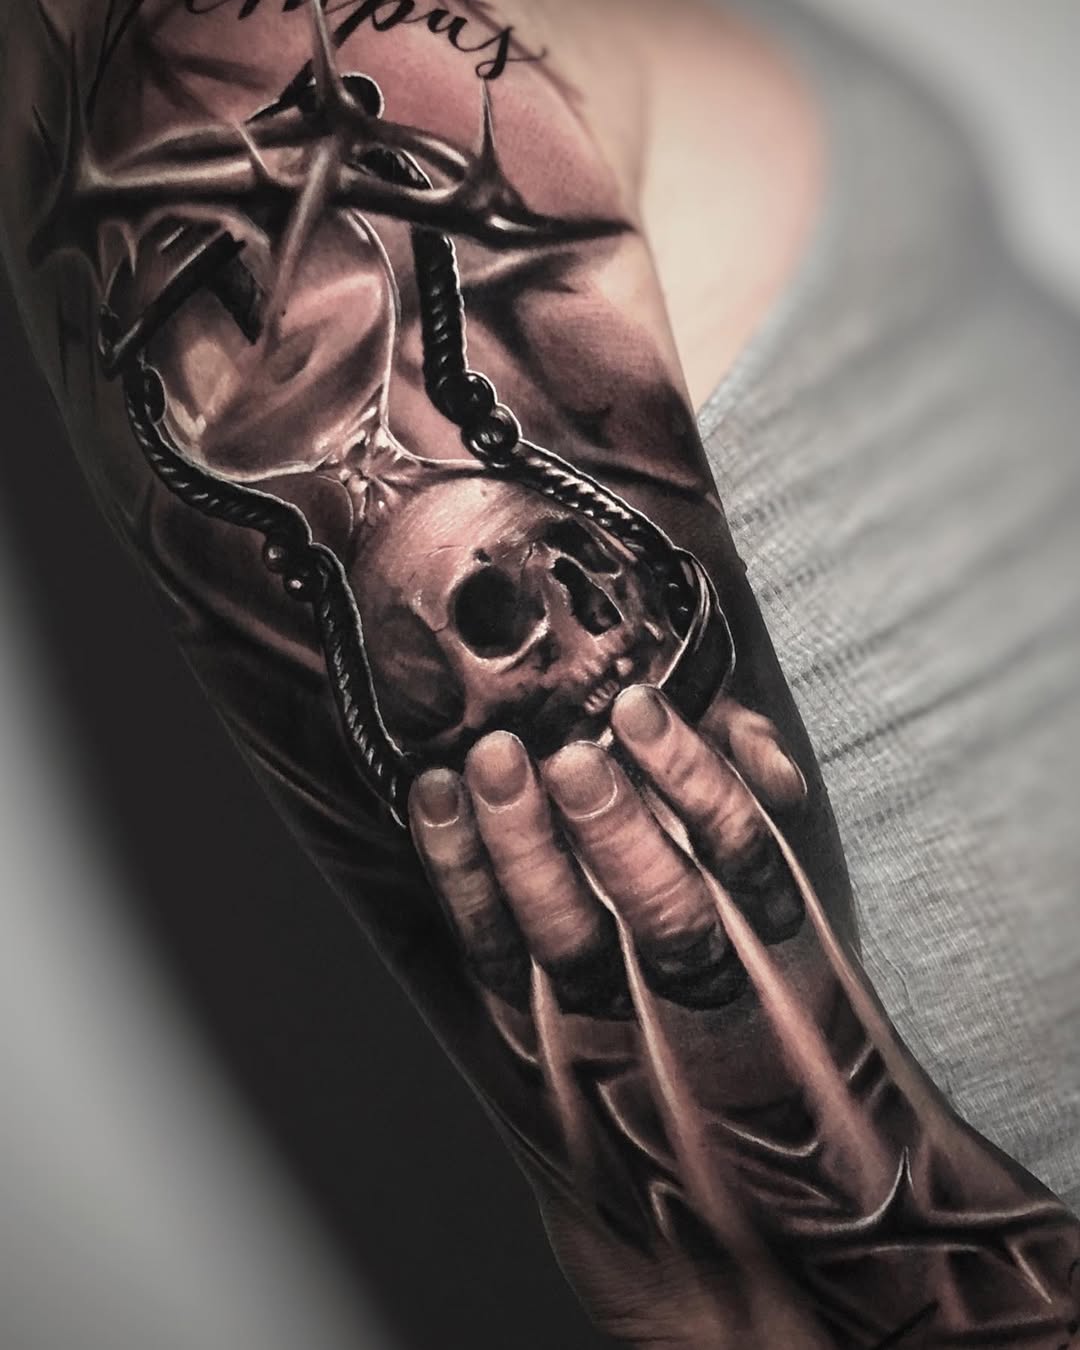
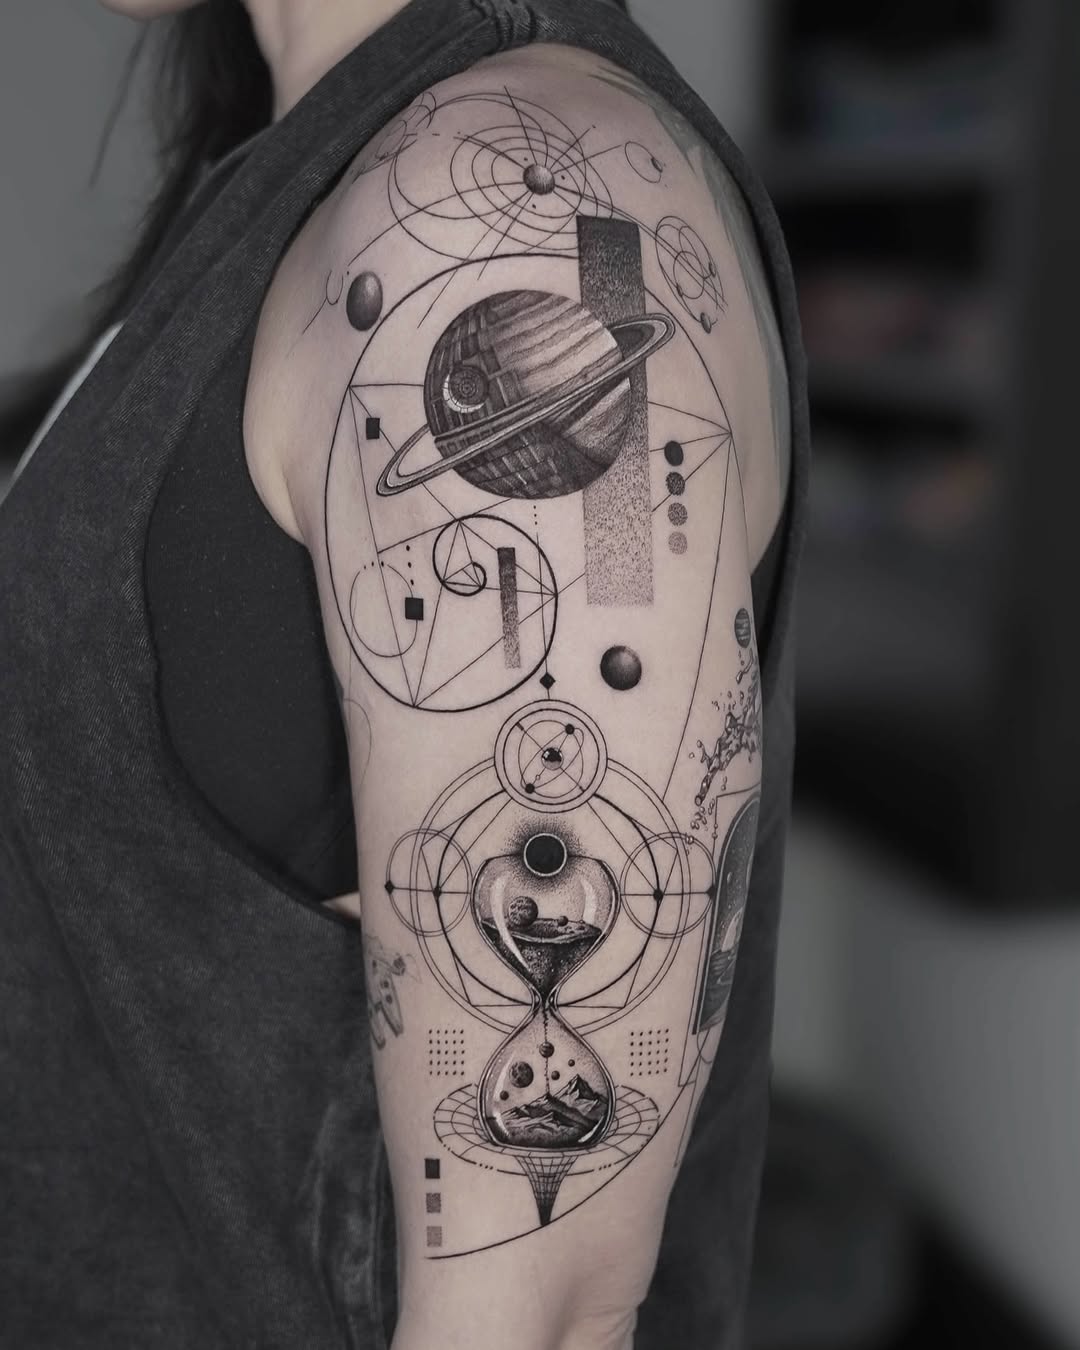
Realism brings depth, emotion, and lifelike detail to animal imagery.
-
Placement and scale determine how impactful the design will feel.
-
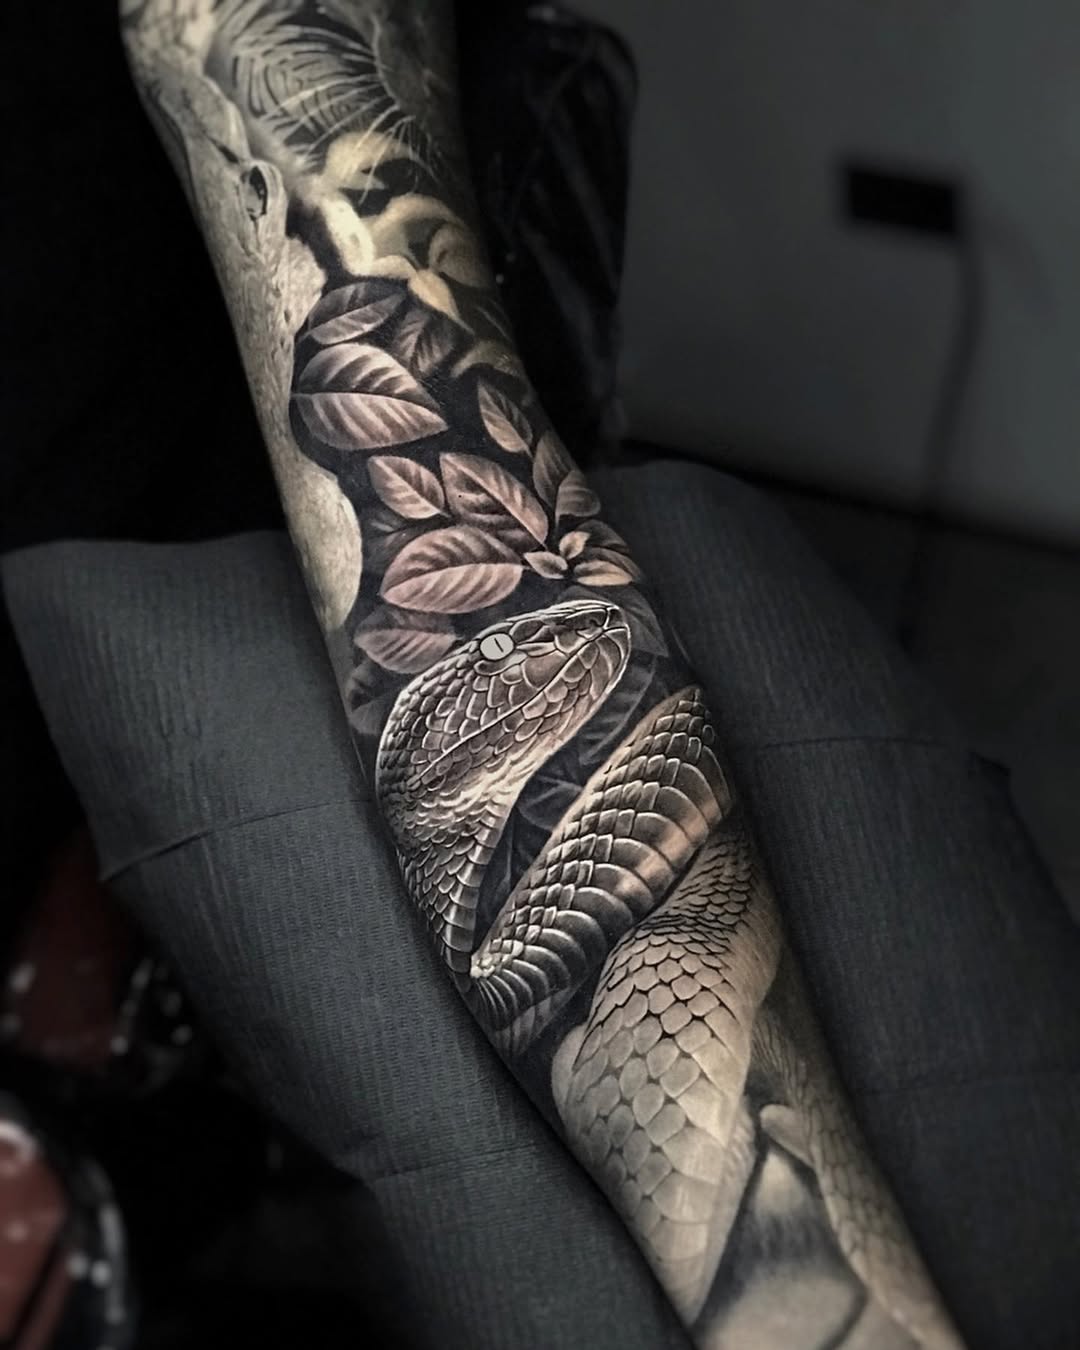
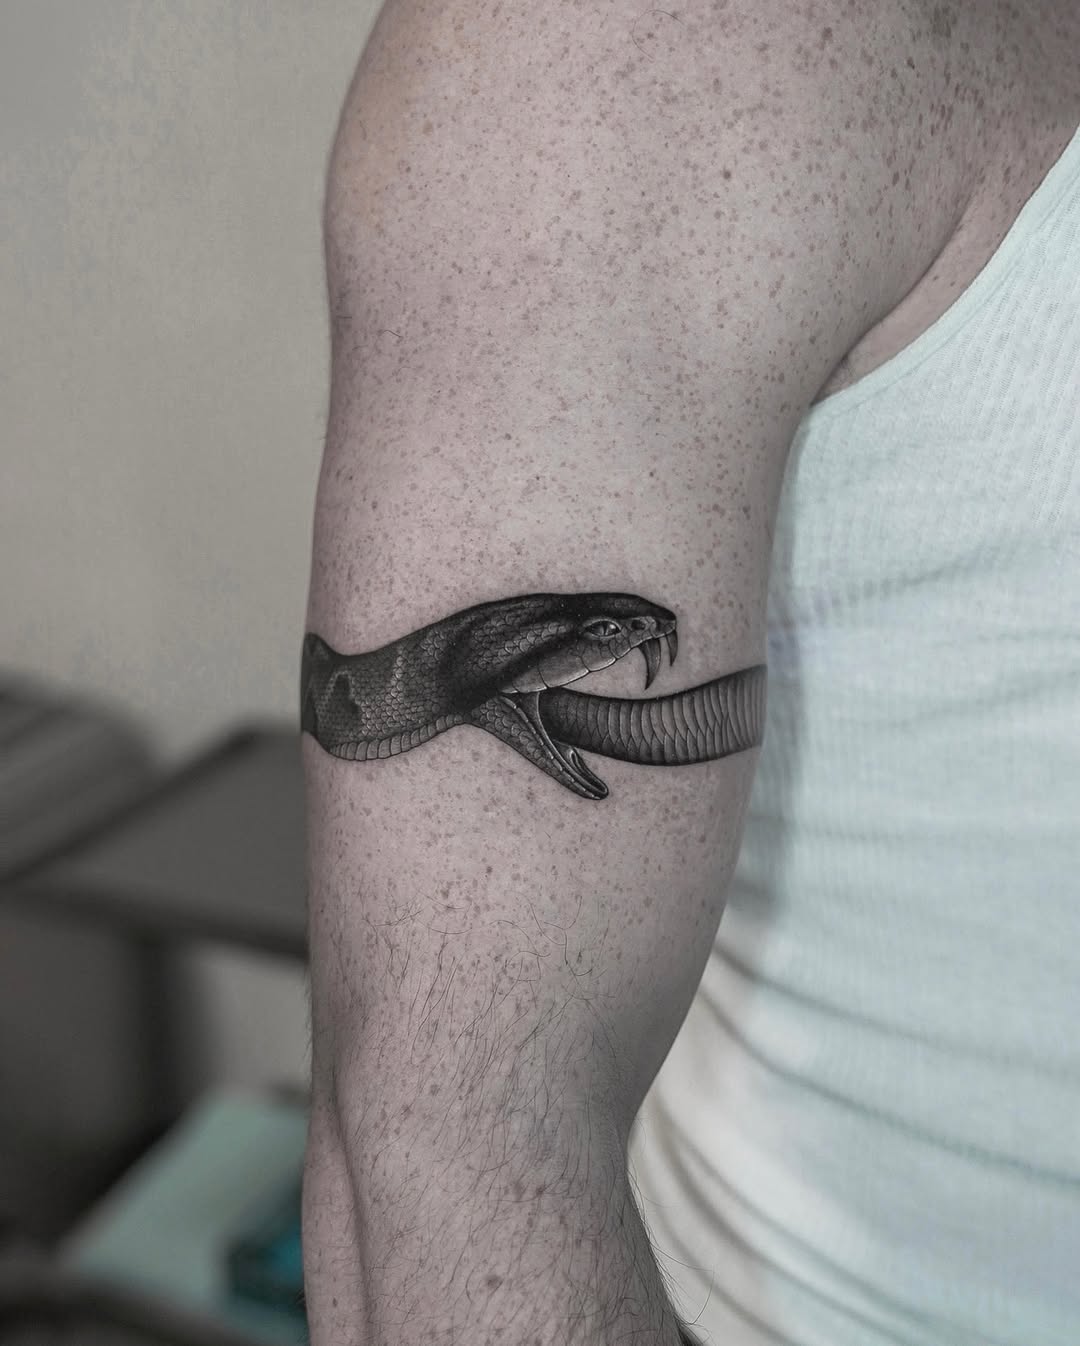
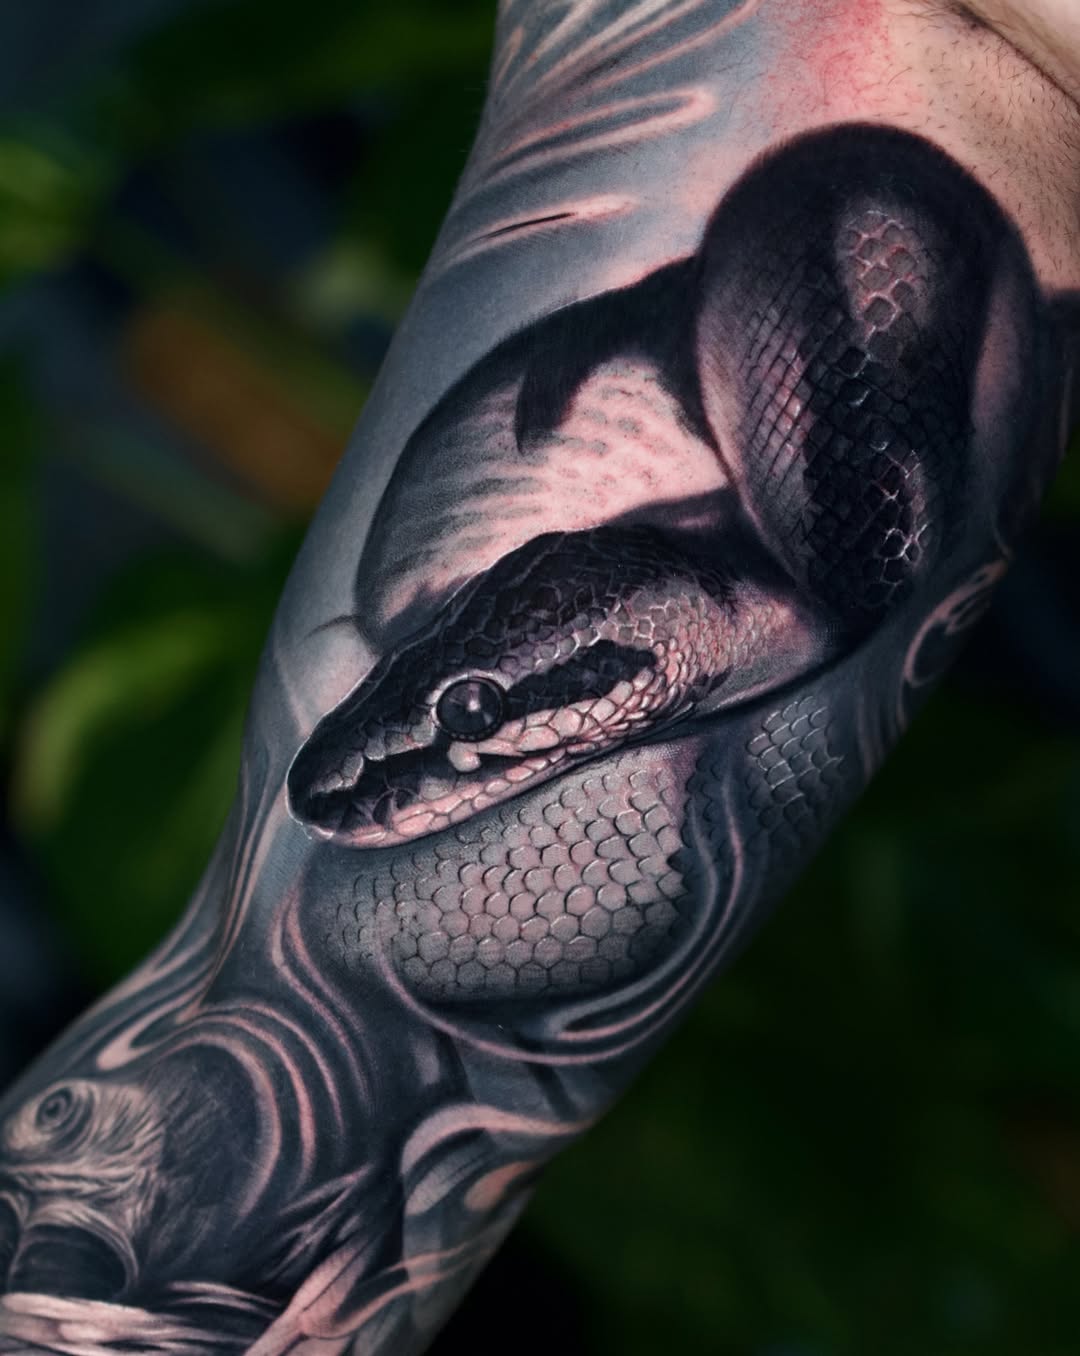
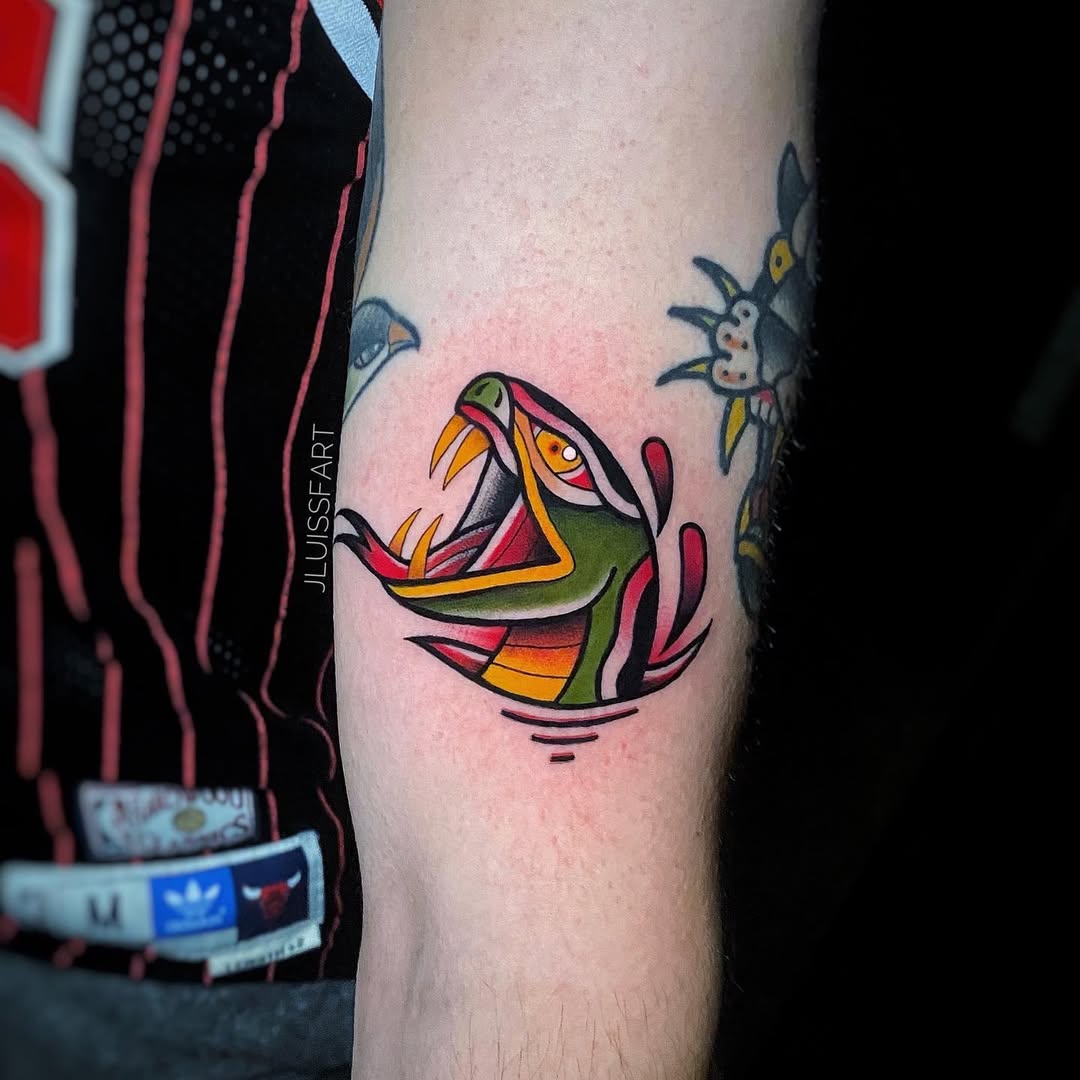
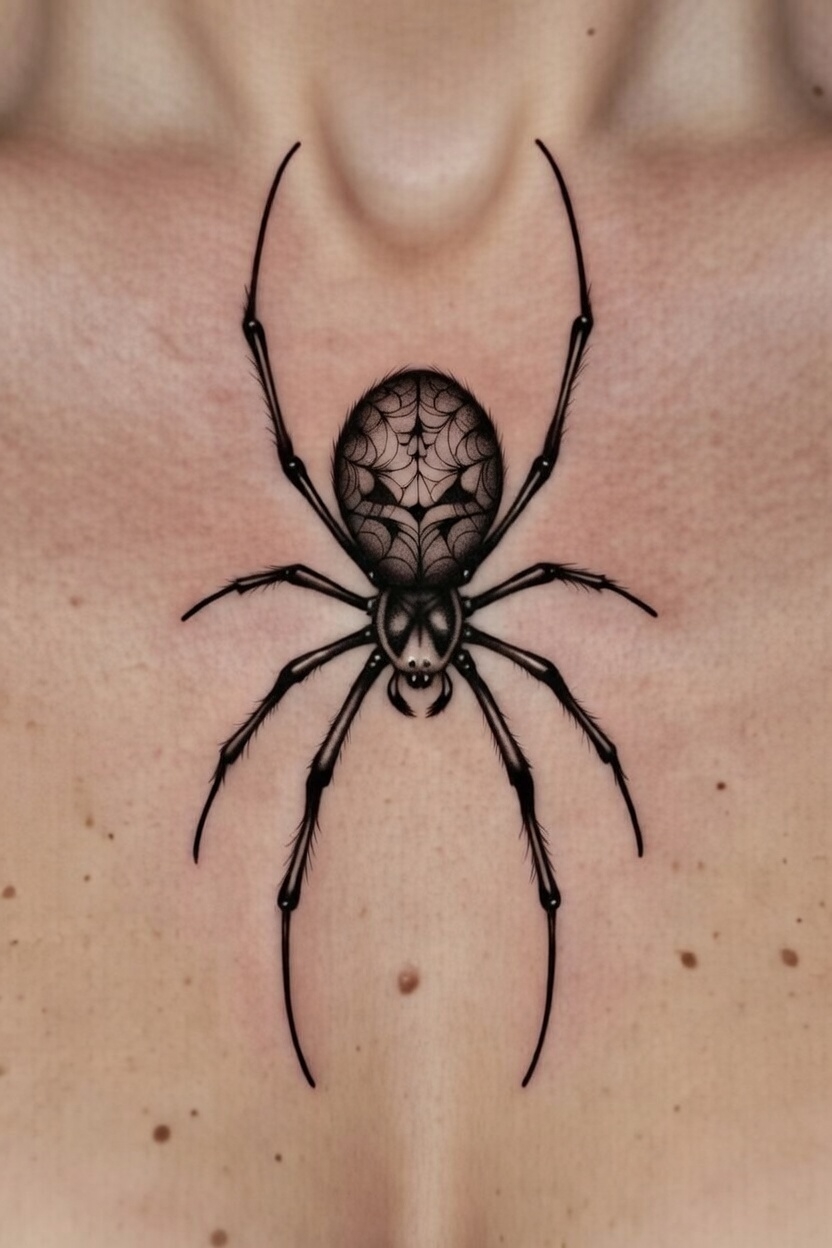
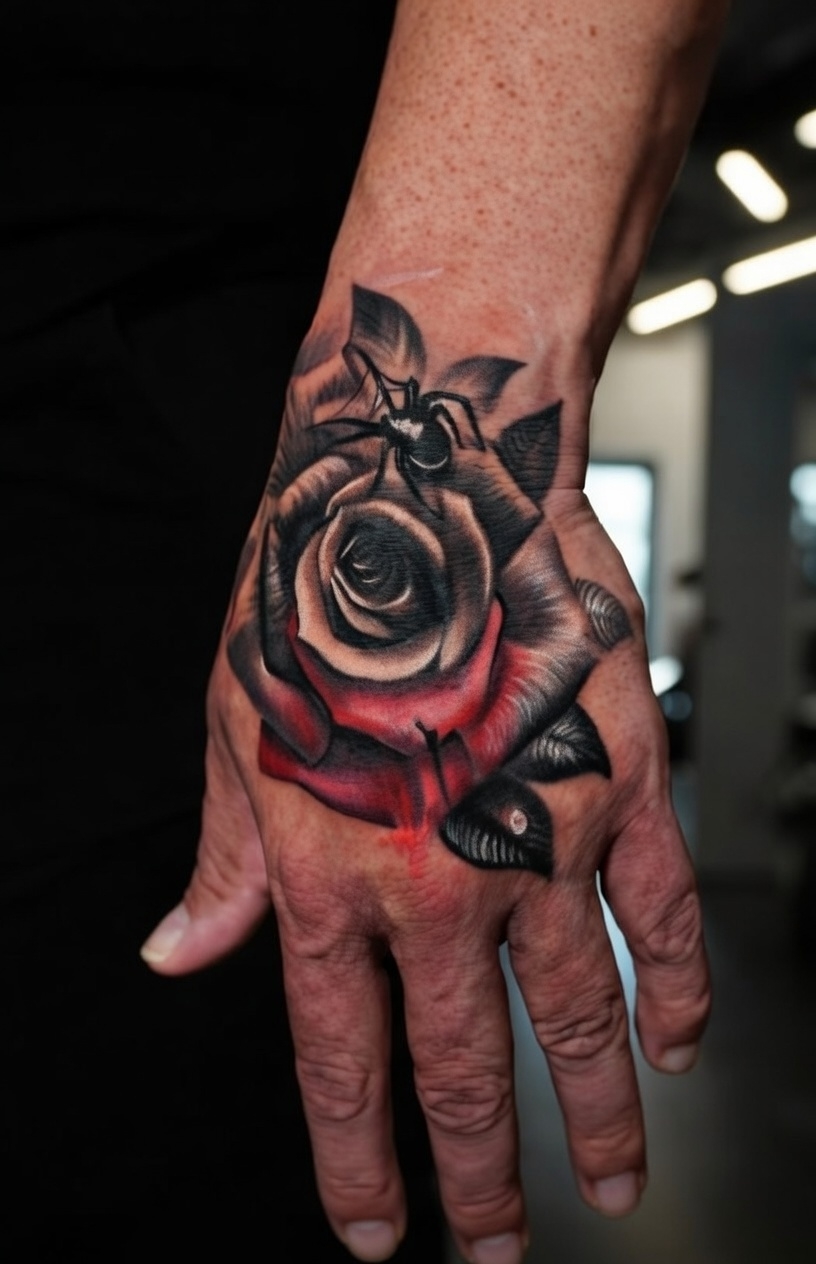
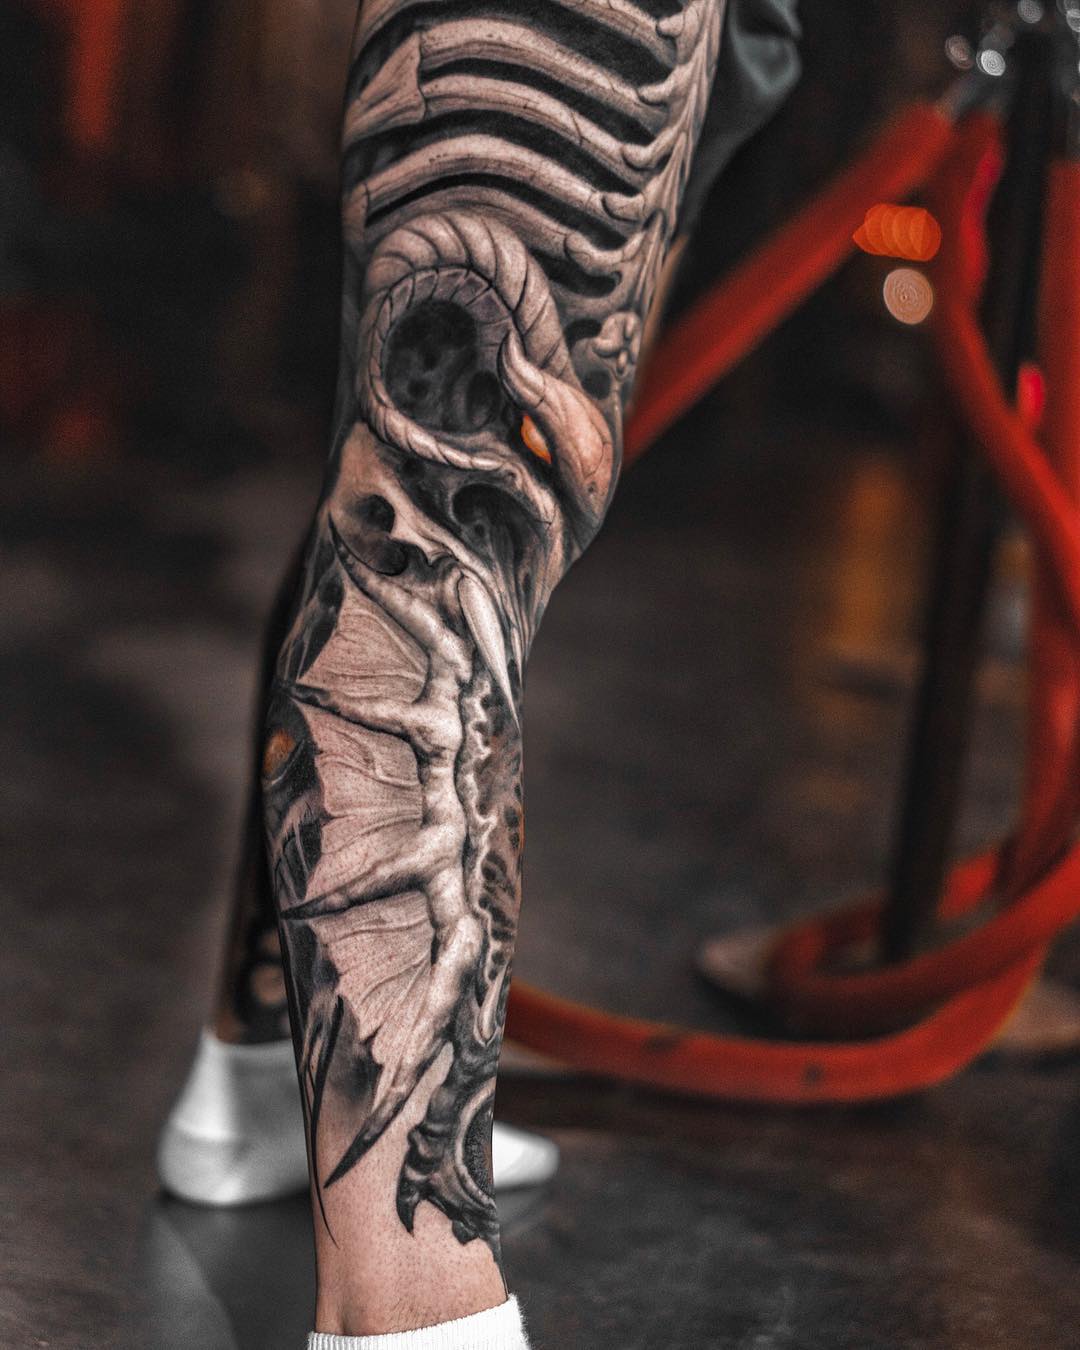
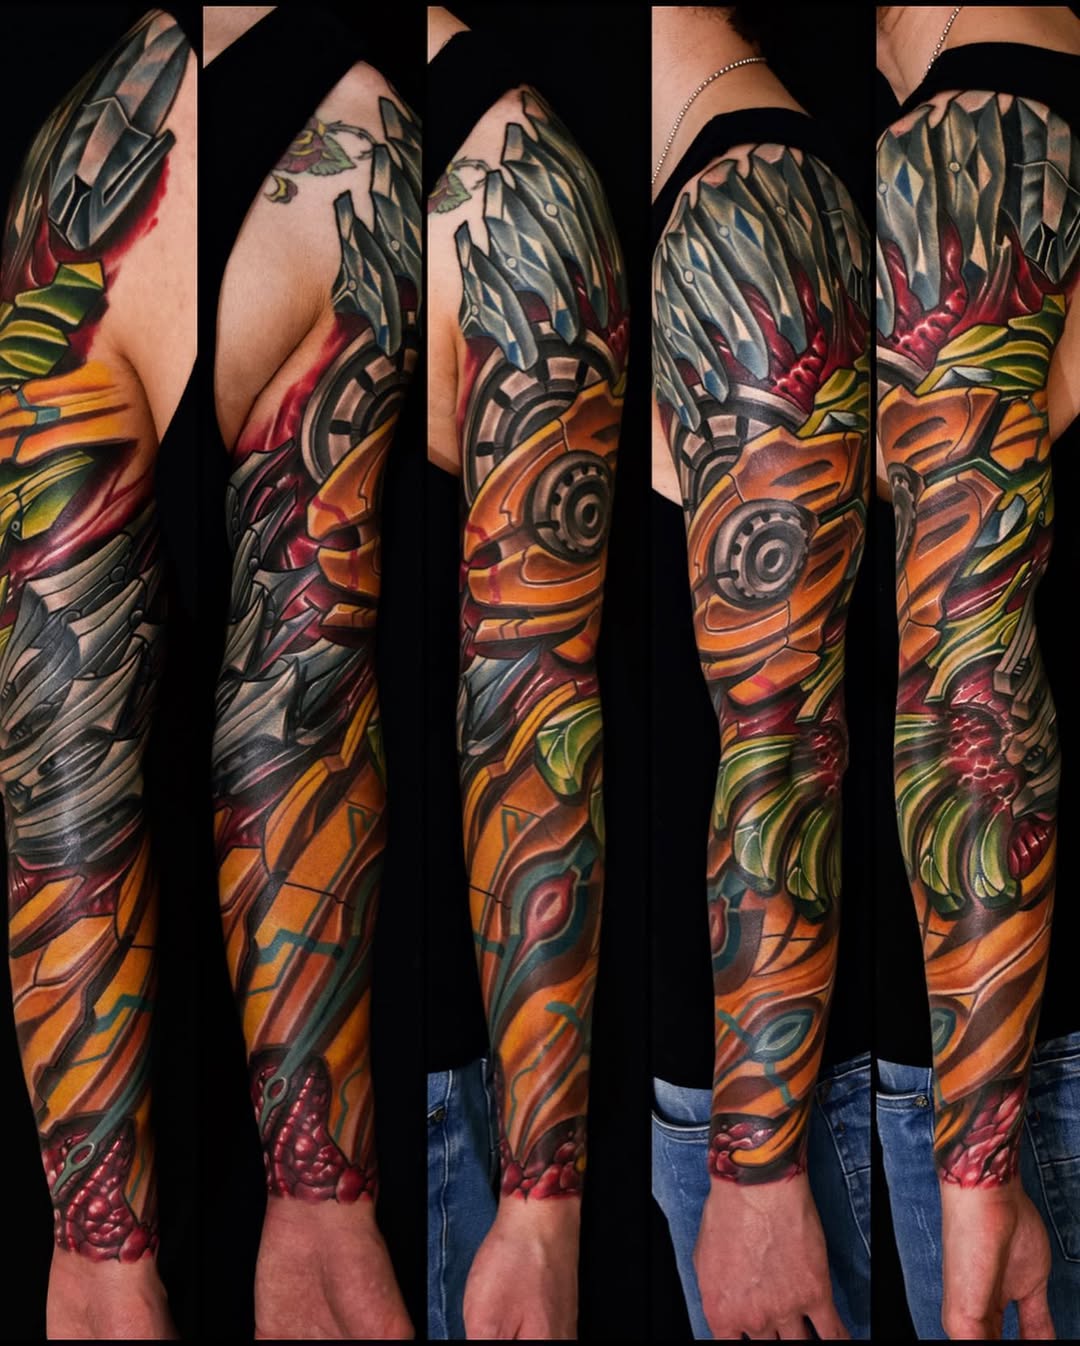
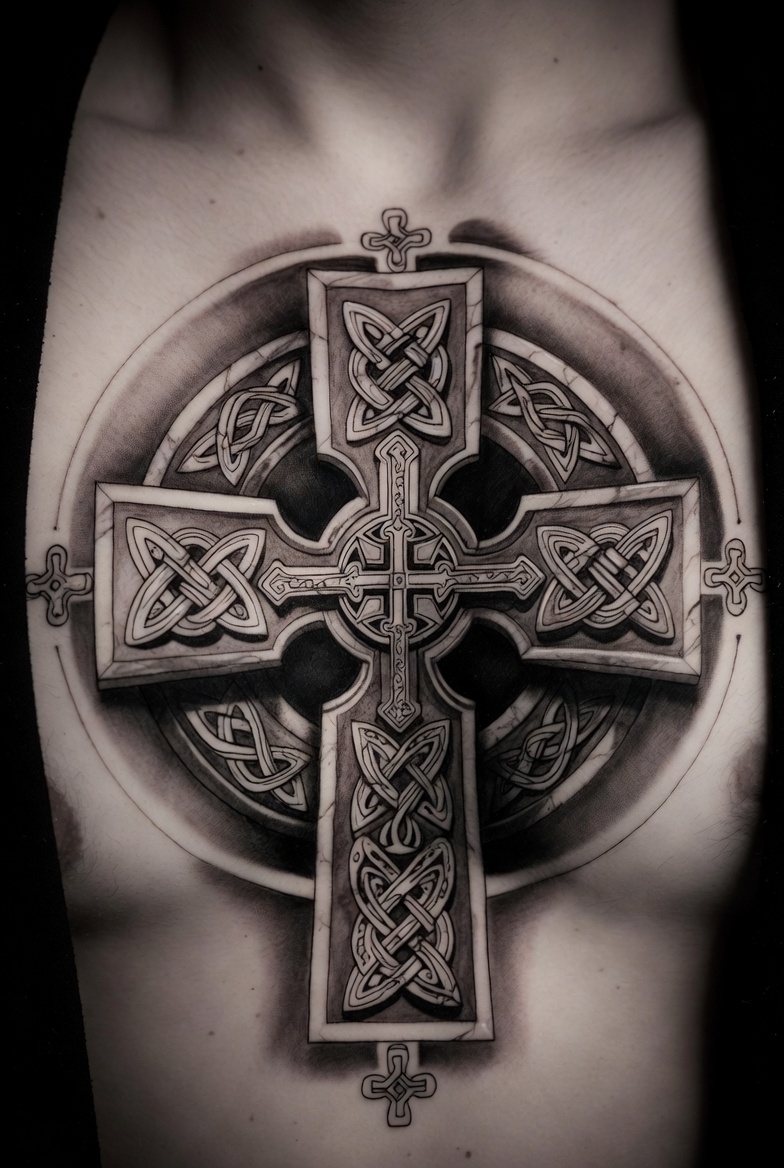
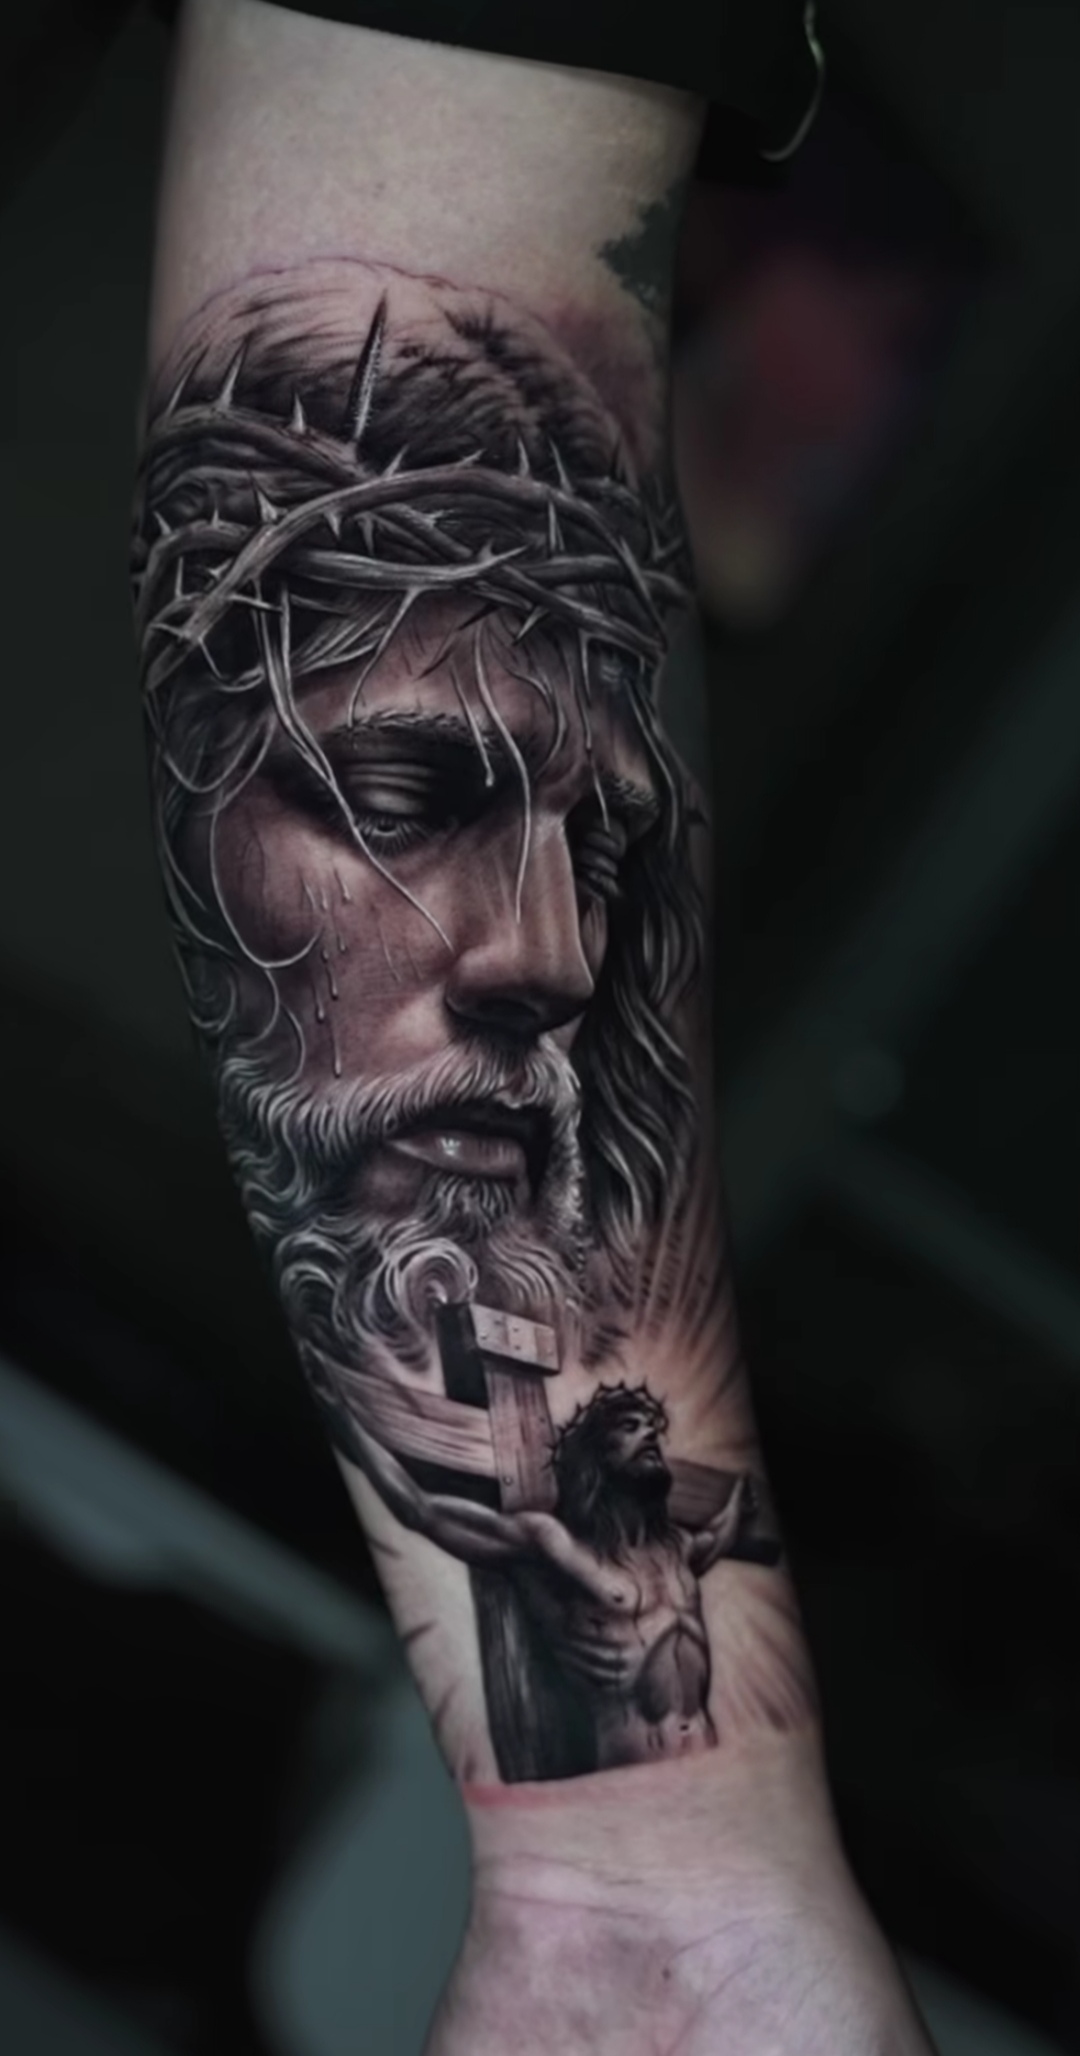
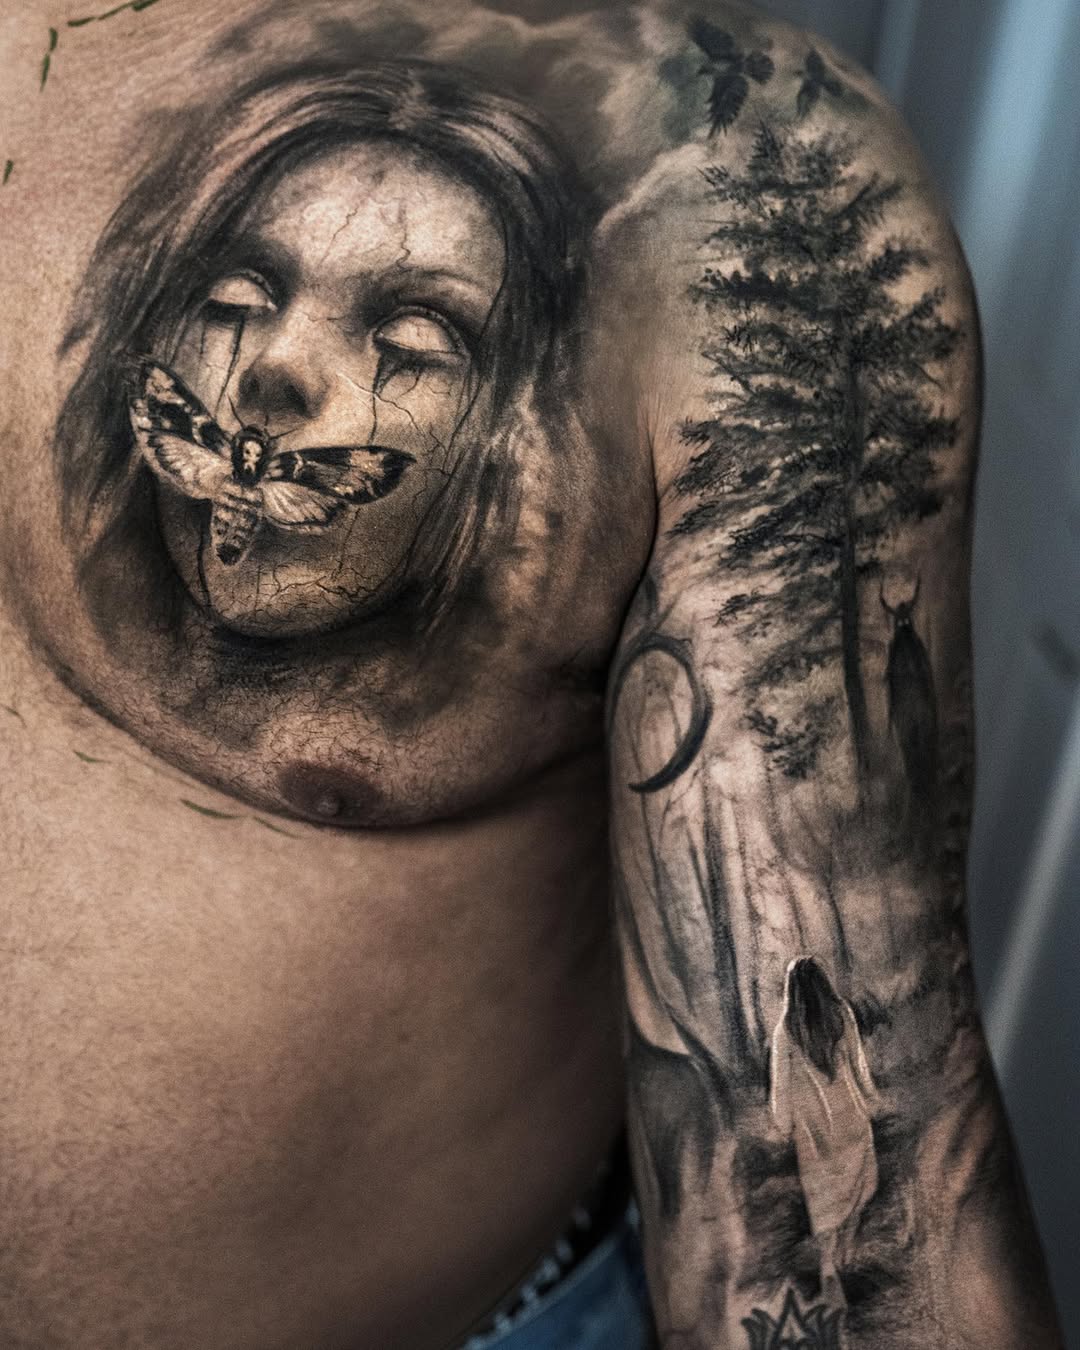
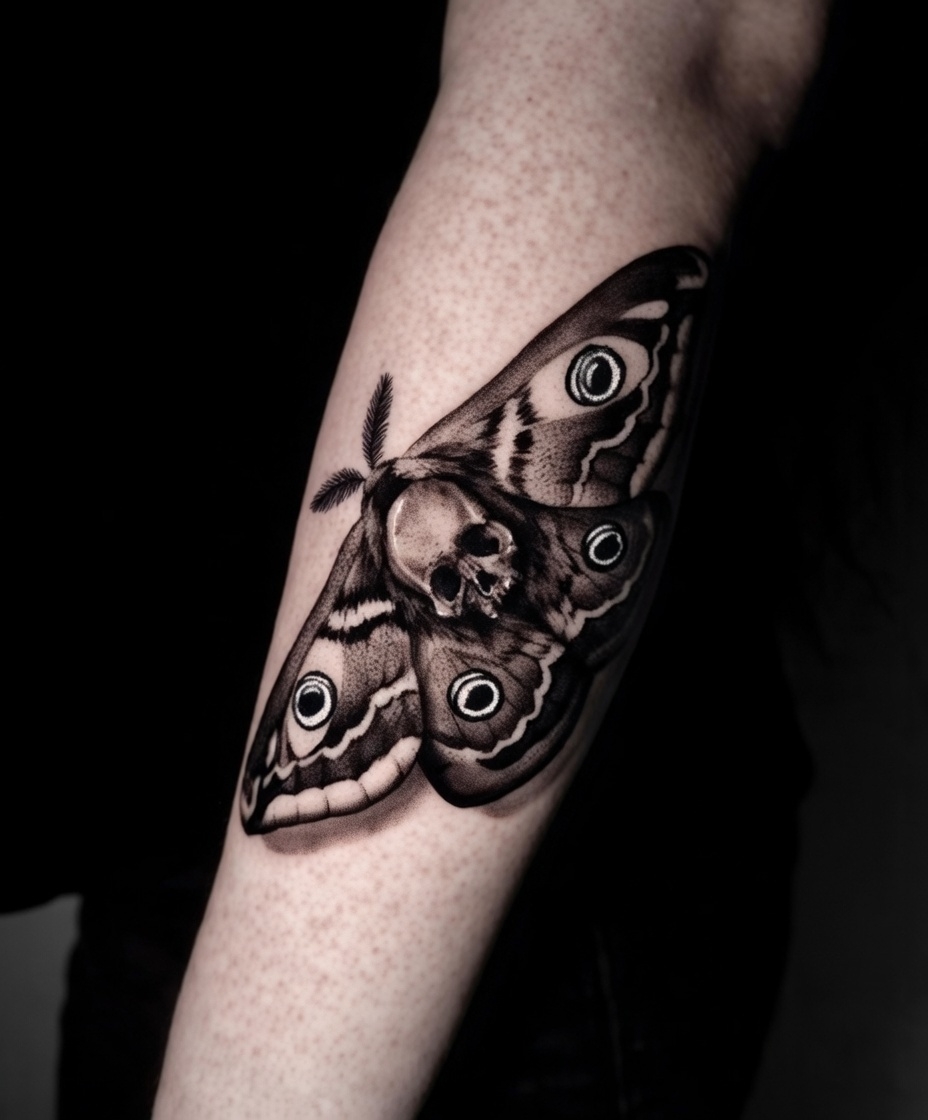
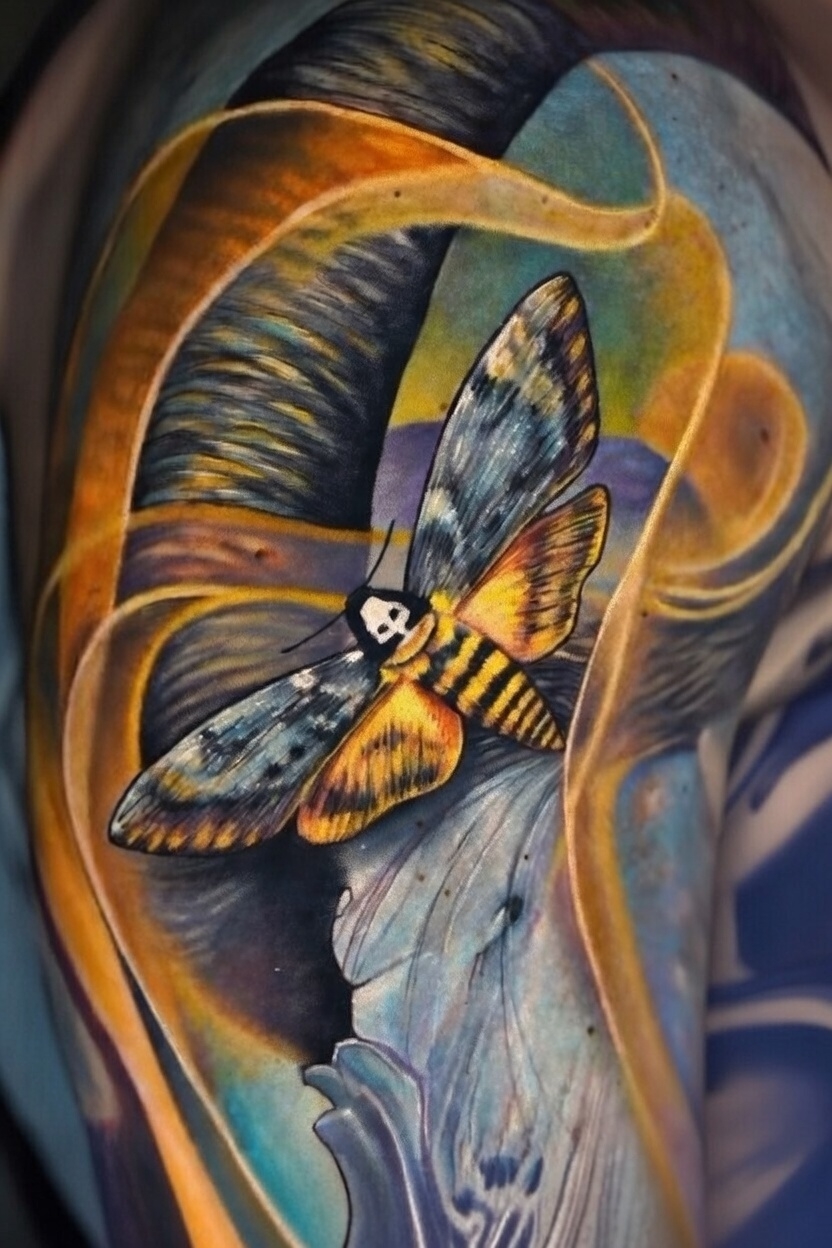
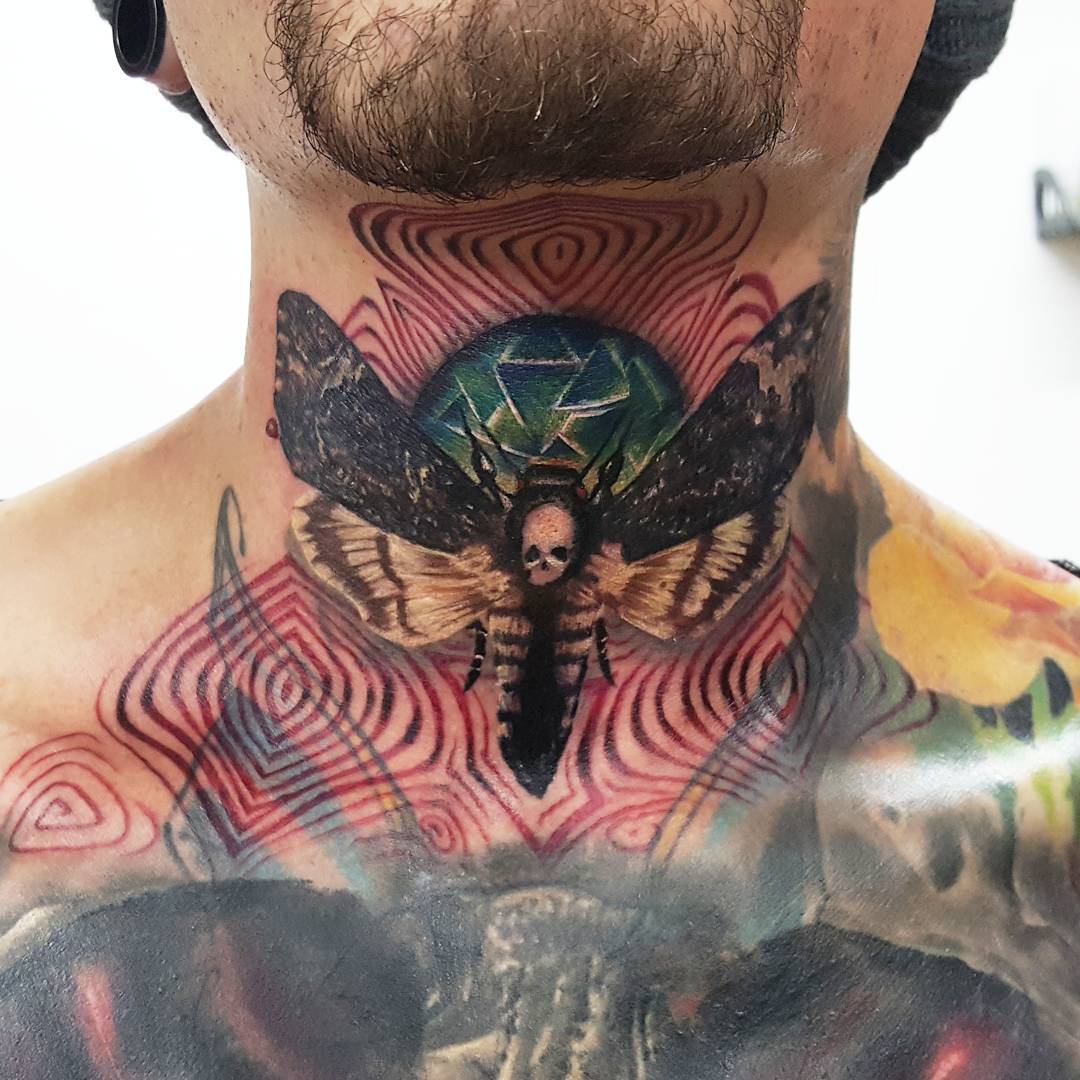
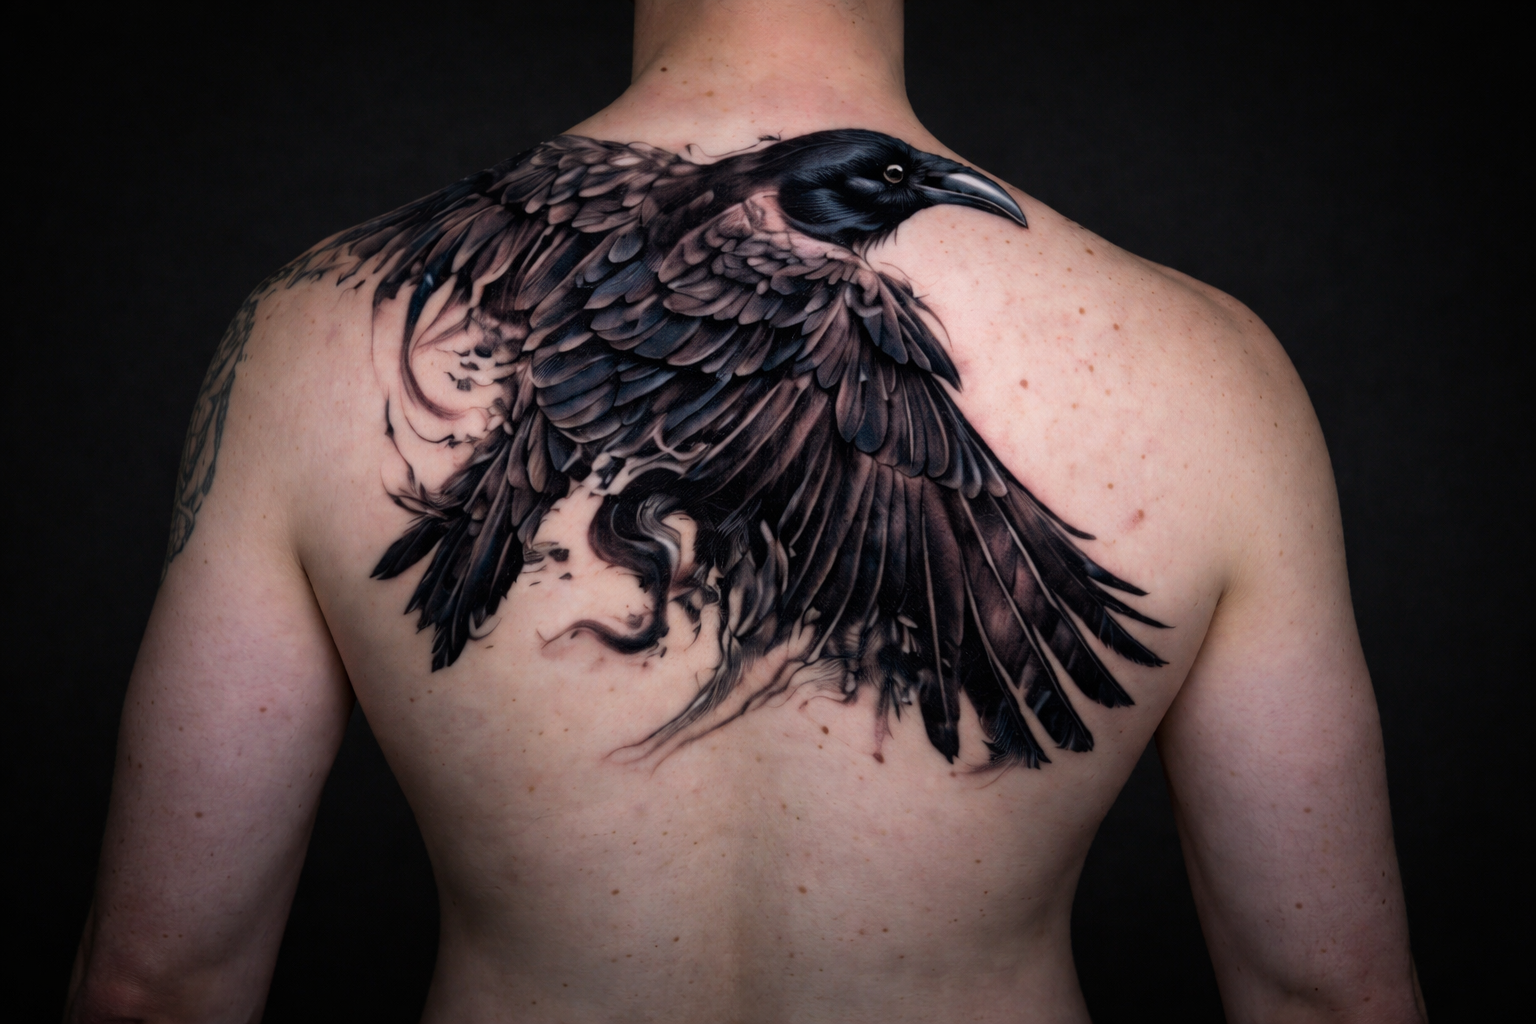
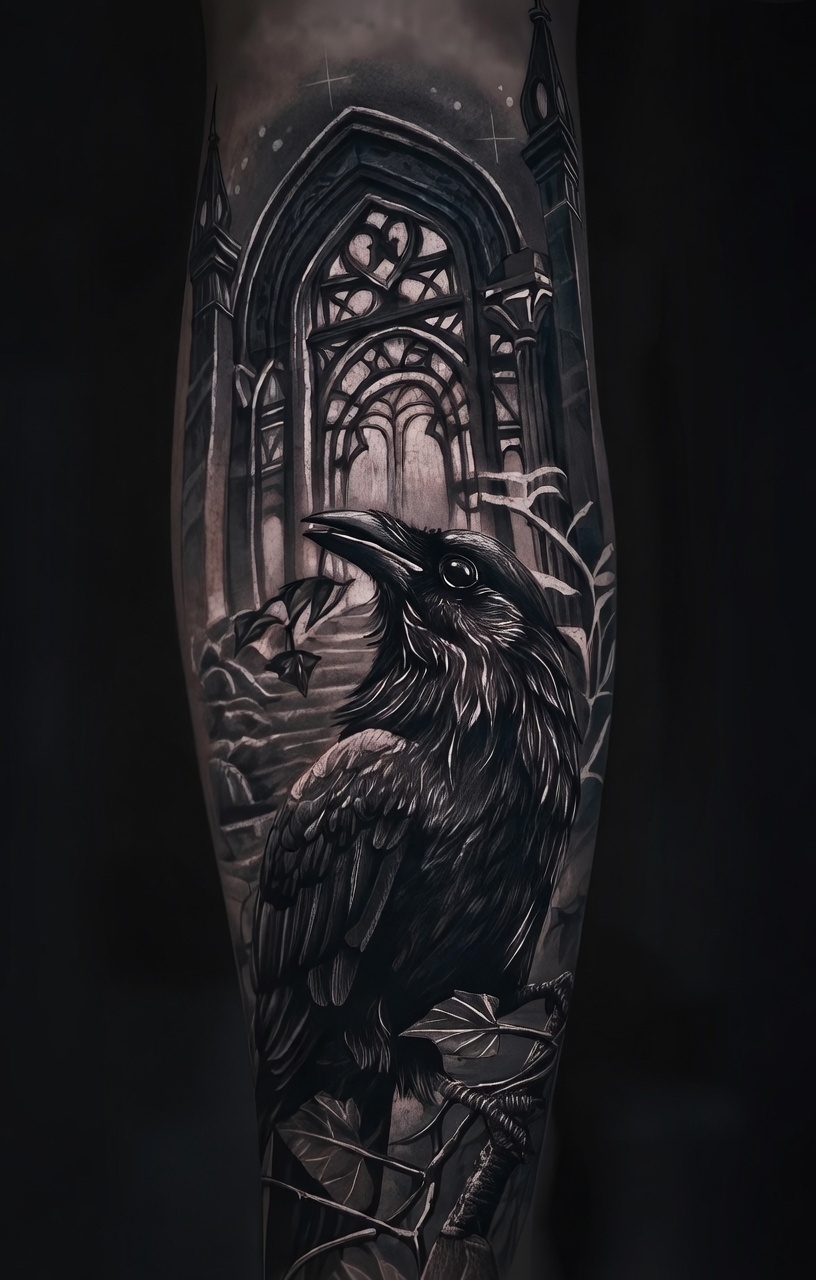
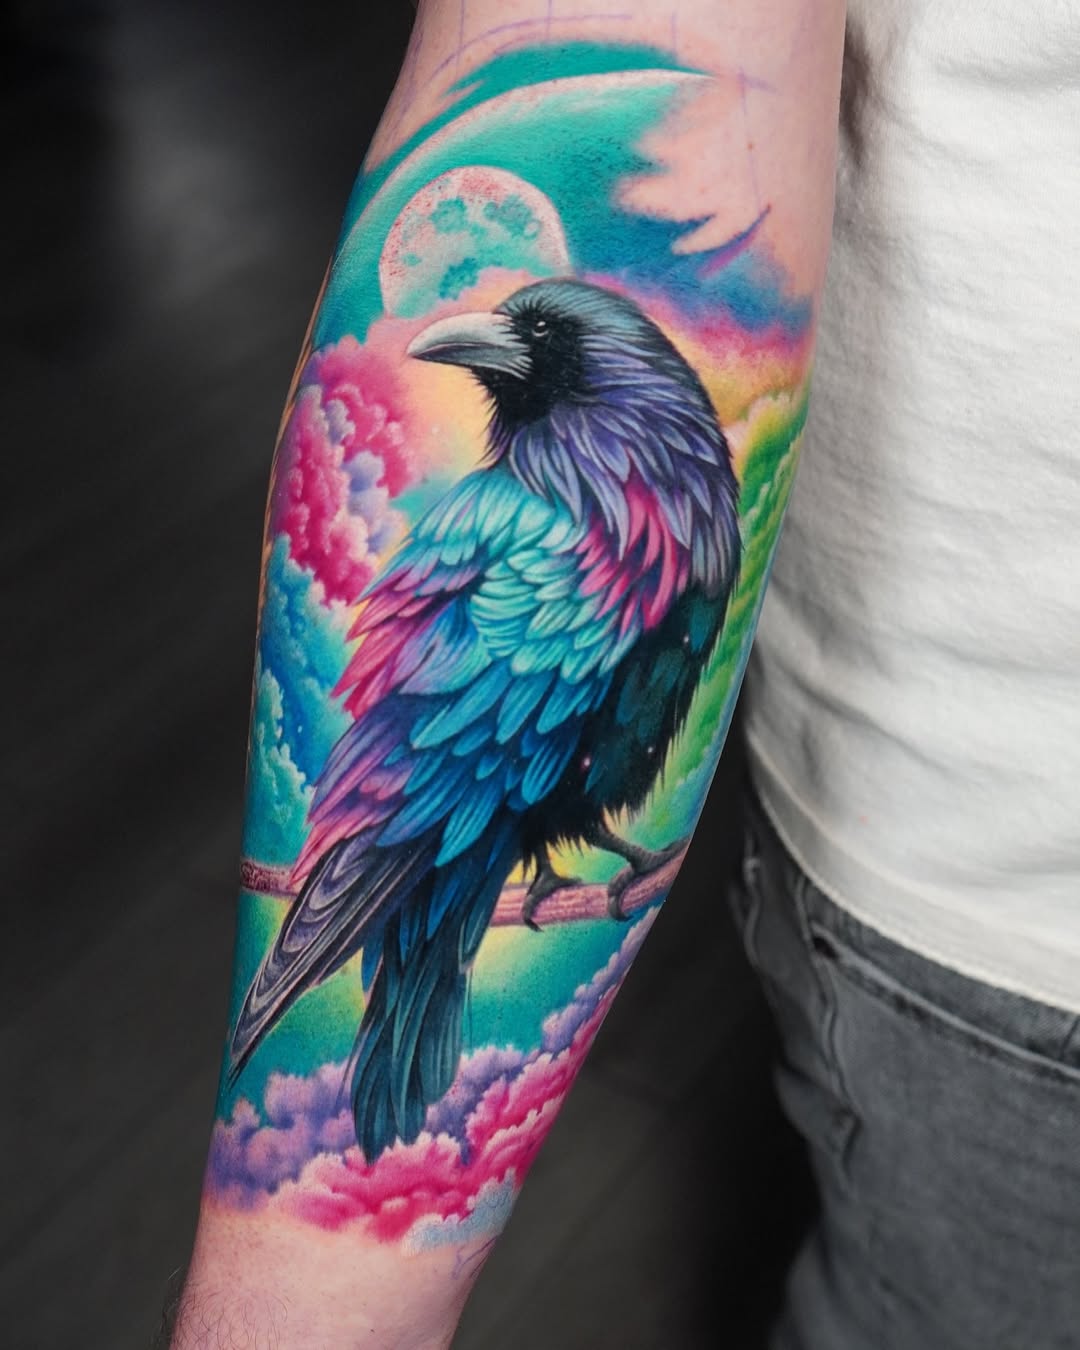
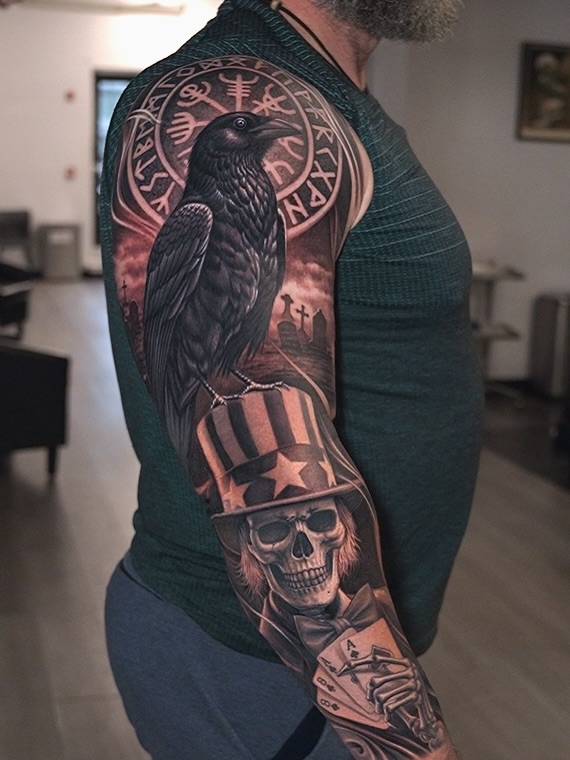
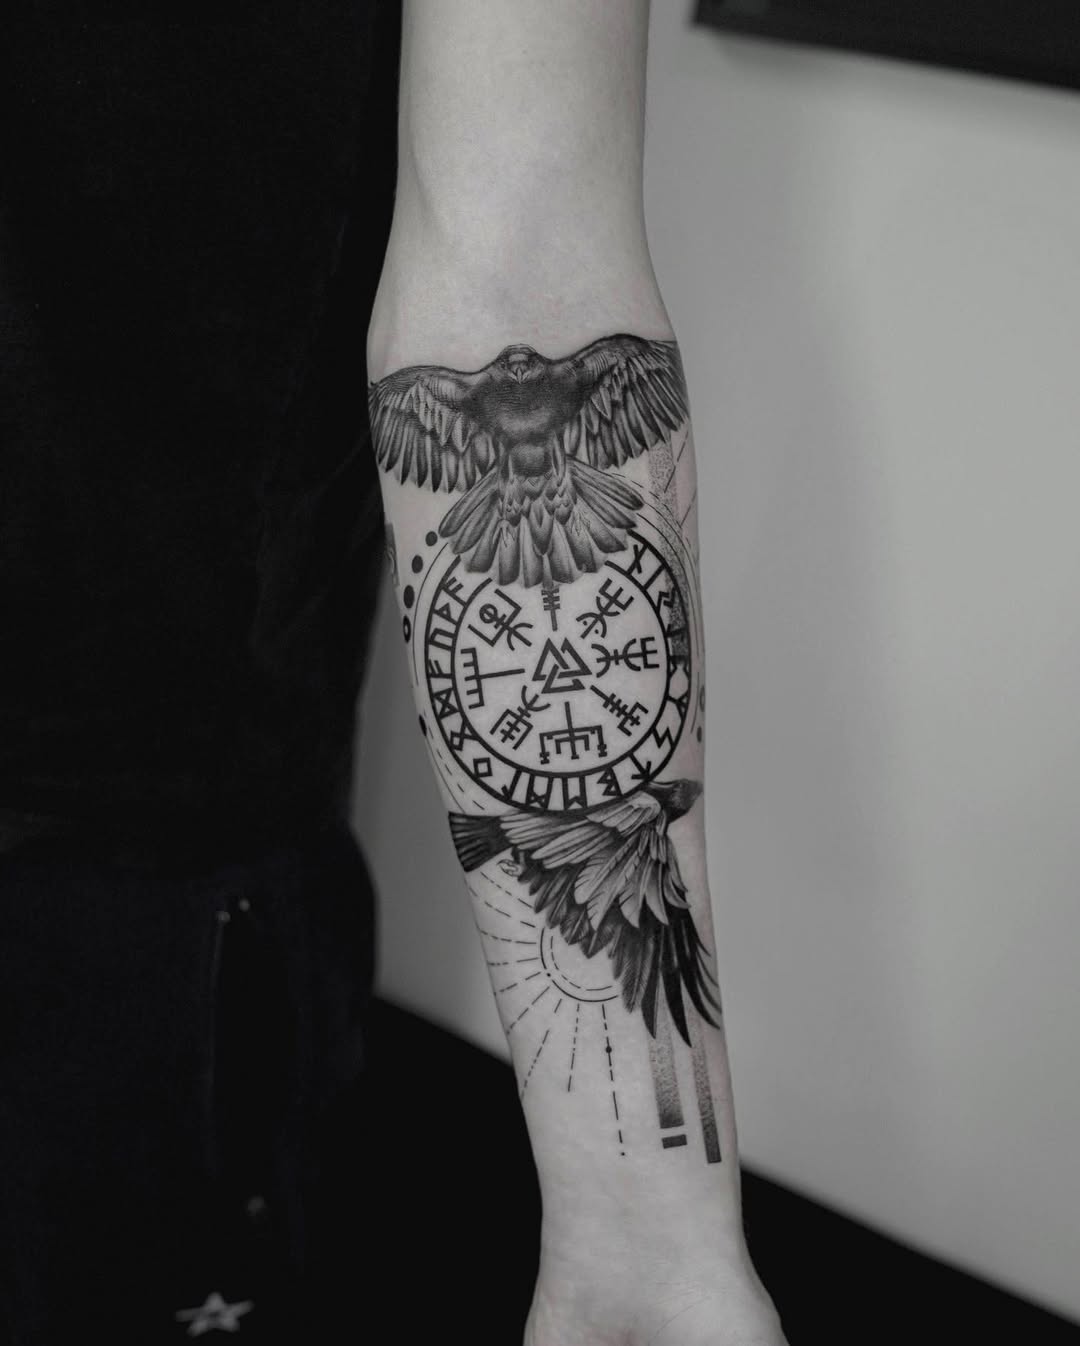
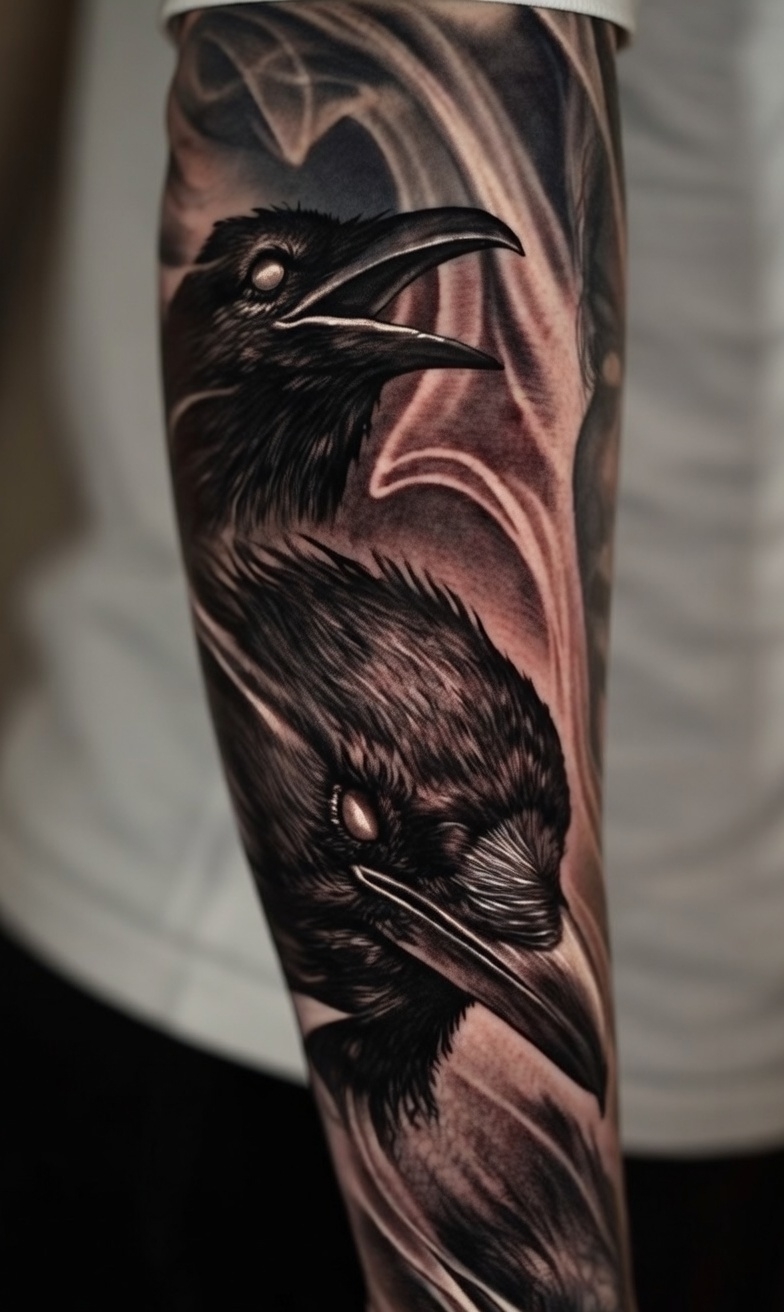
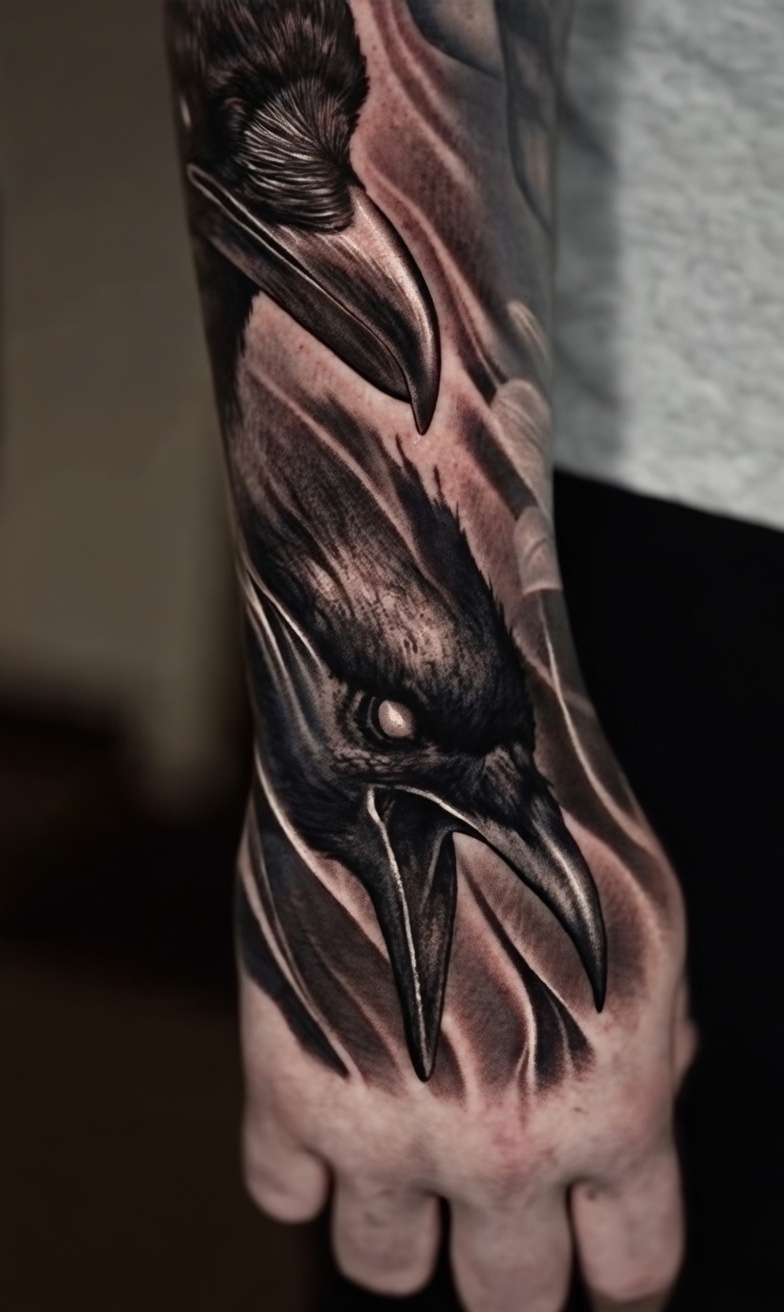
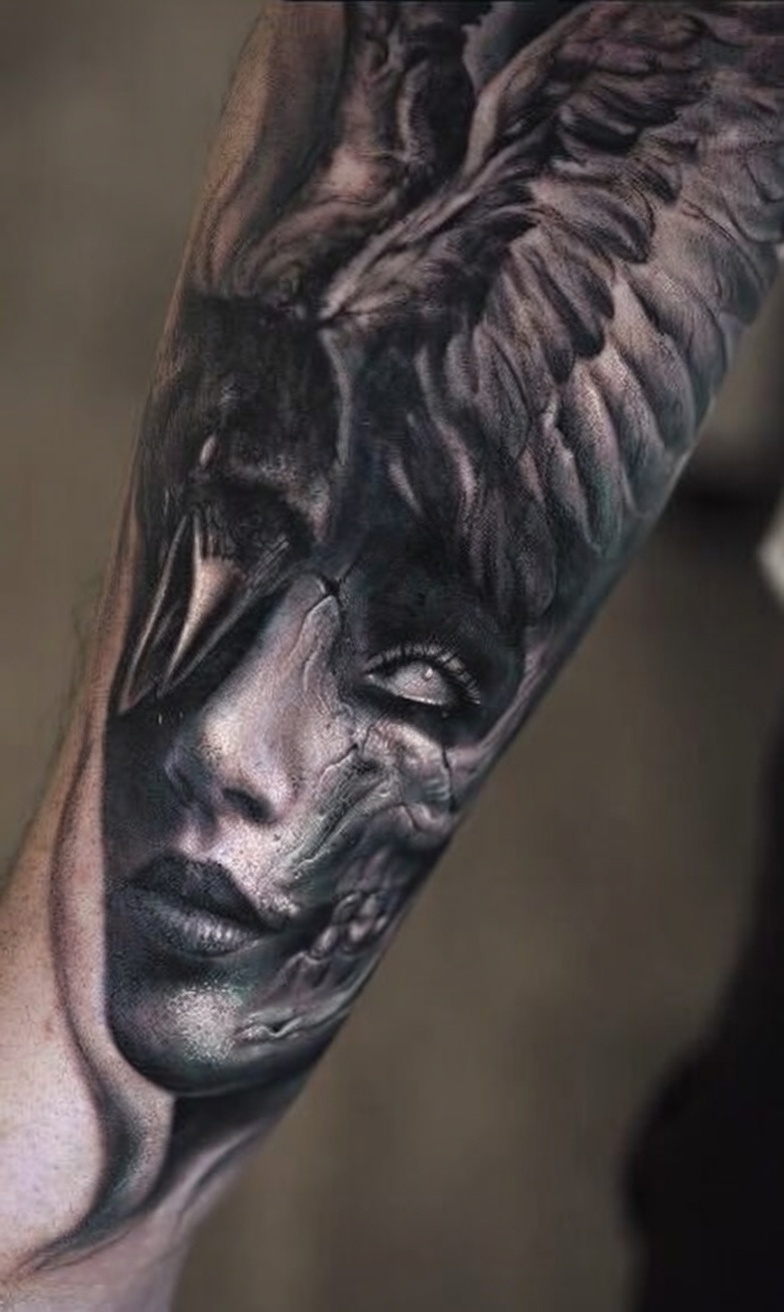
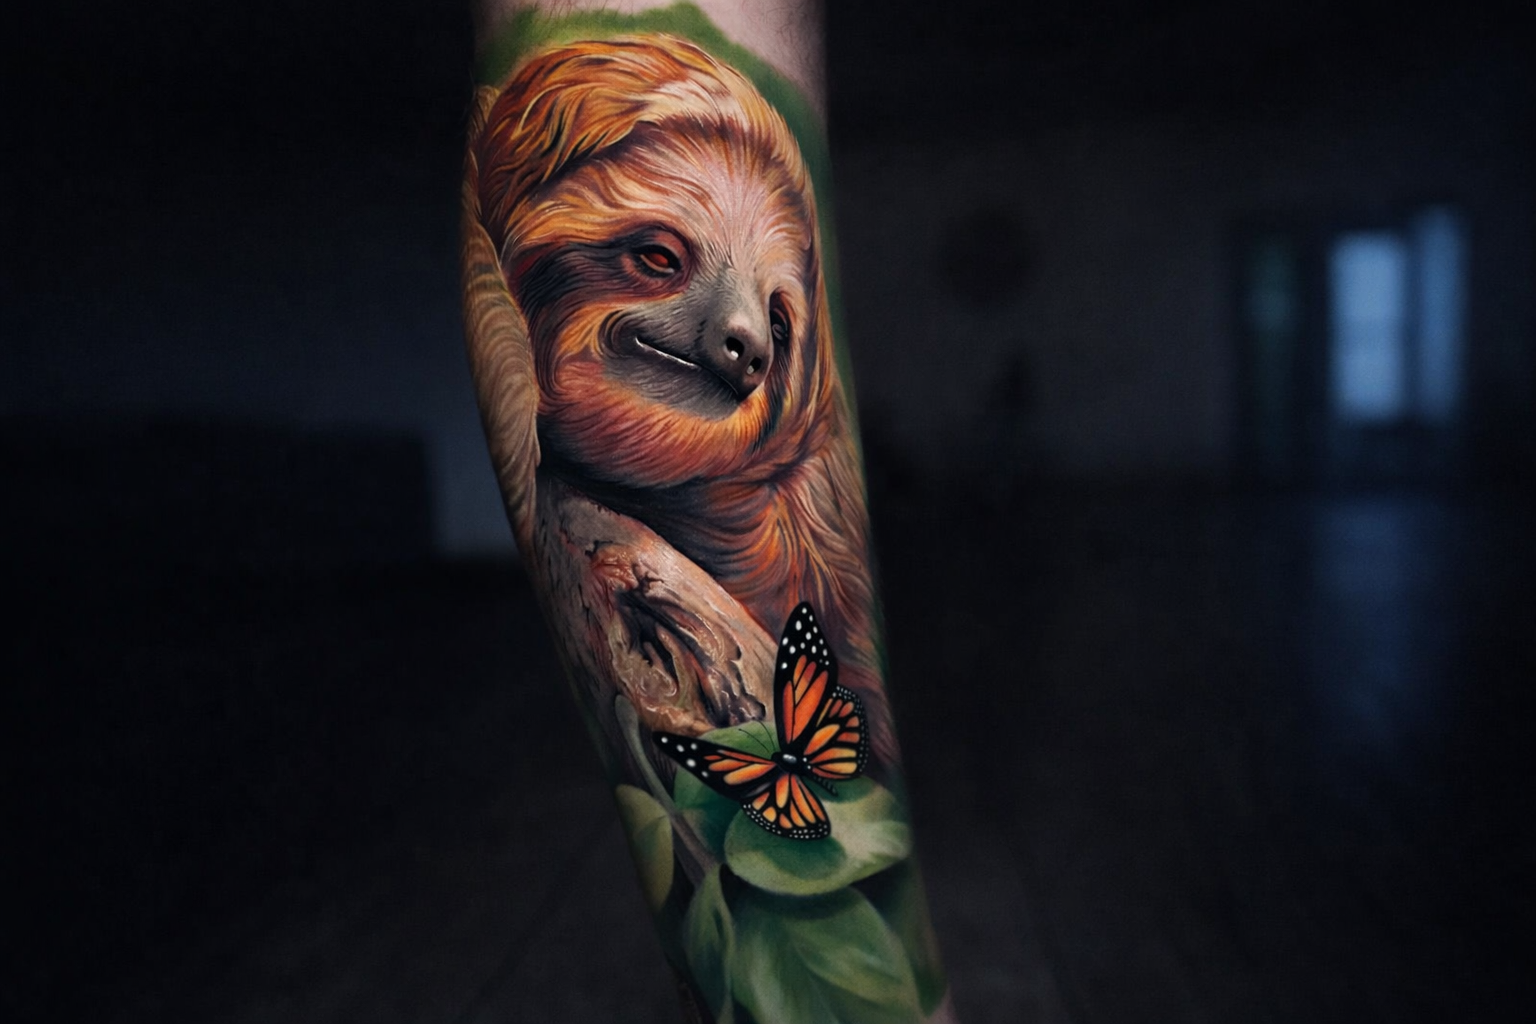
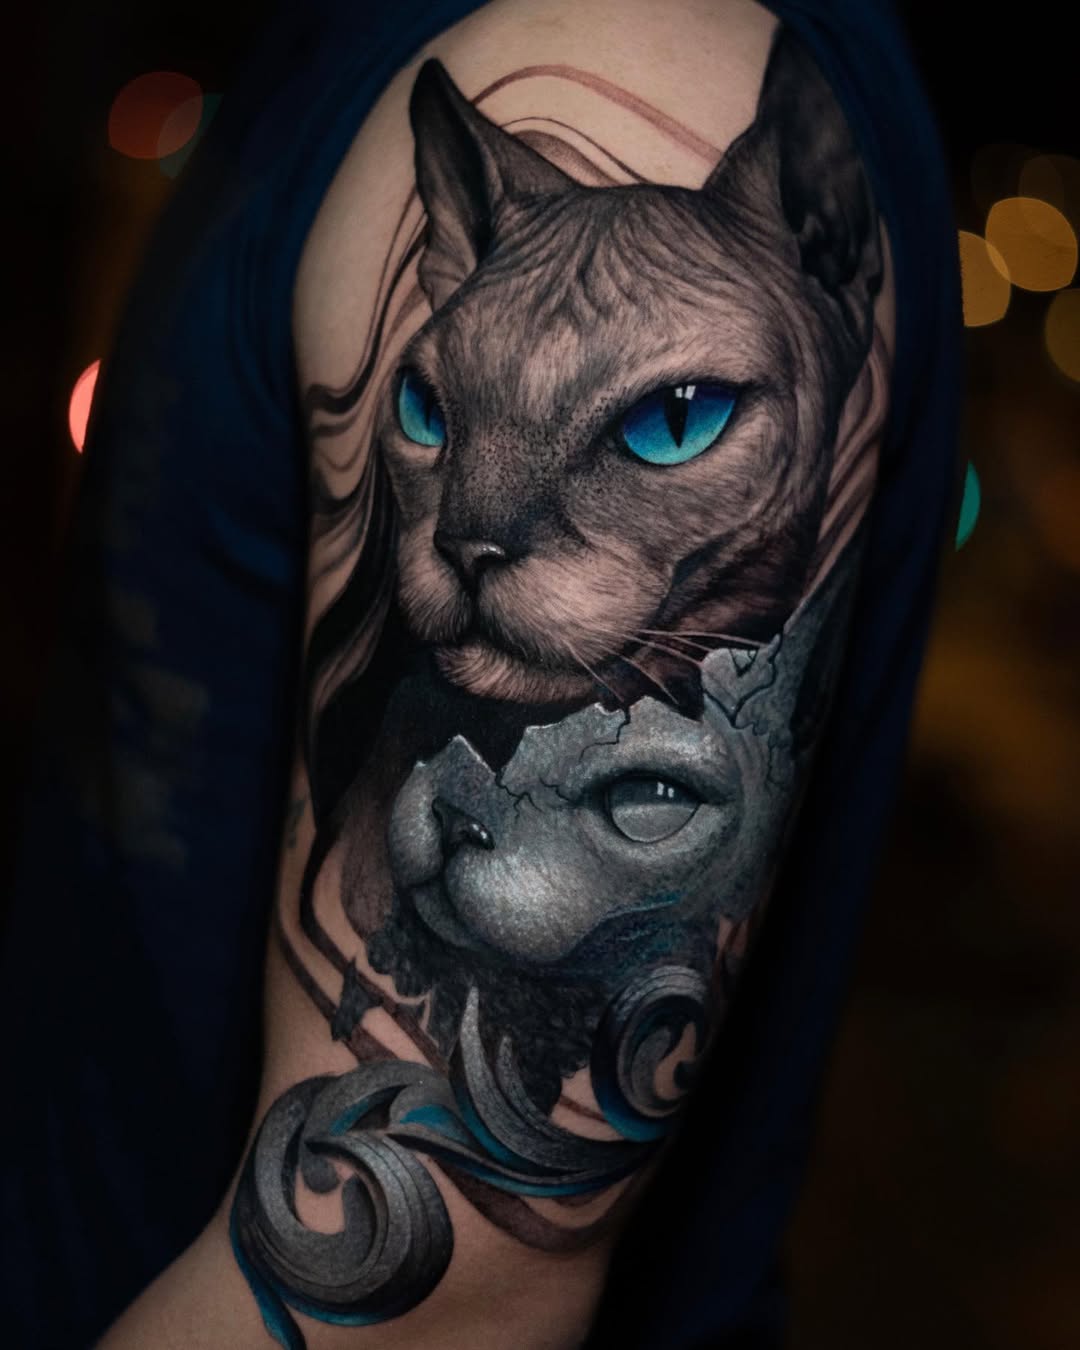
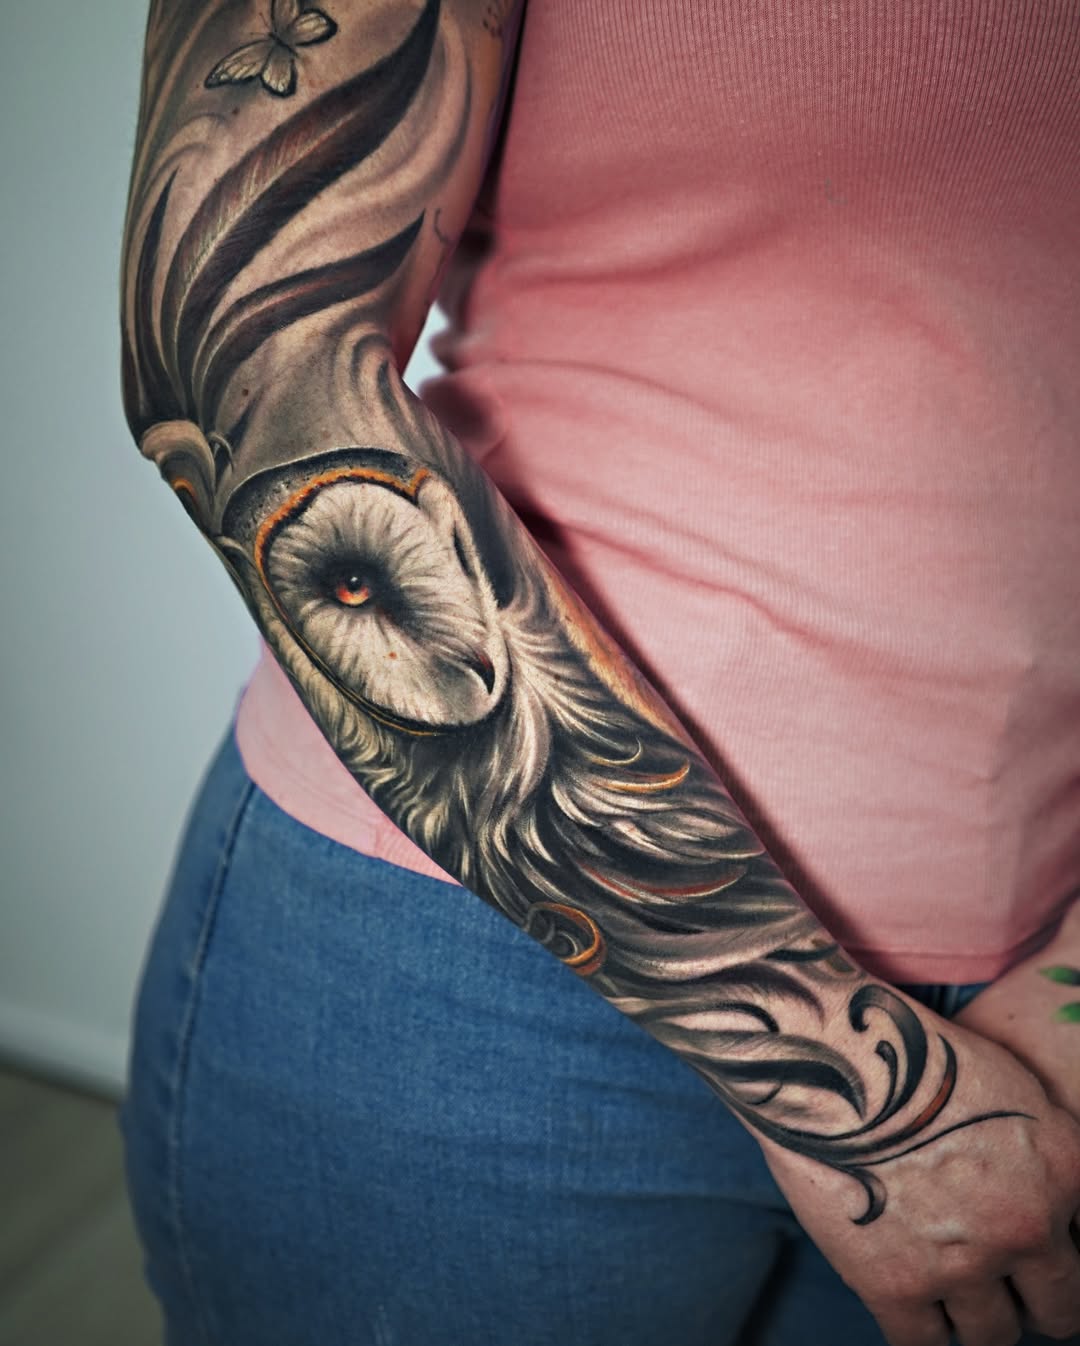
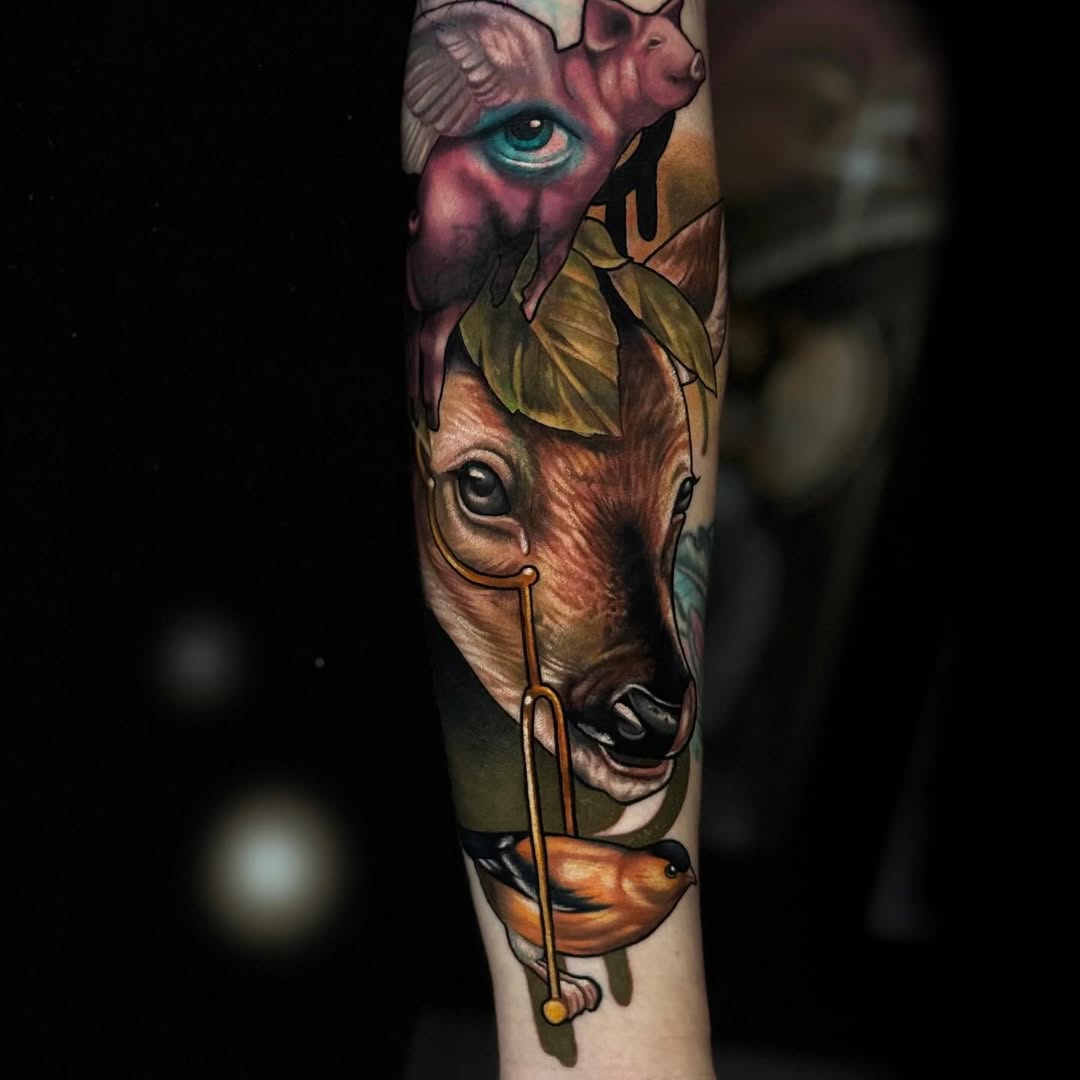
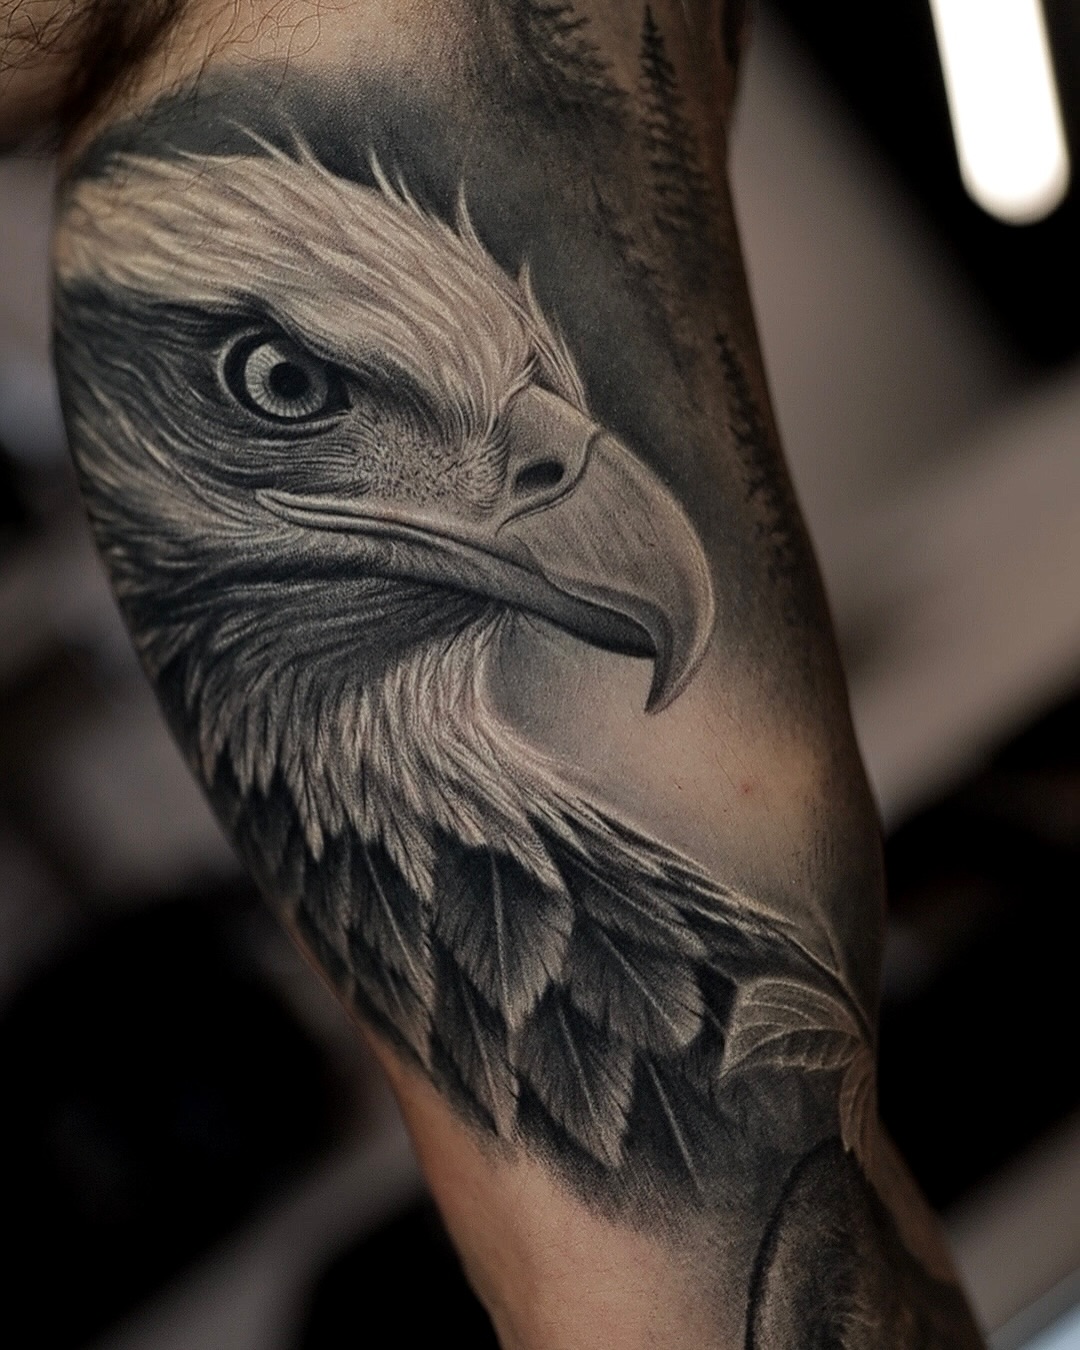
Black & grey realism remains the most requested style for animal portraits.
-
A strong consultation ensures your tattoo reflects both symbolism and anatomy accurately.
Realistic animal tattoos are among the most captivating and meaningful designs in modern tattoo culture. By capturing lifelike details, from the piercing gaze of a wolf to the intricate feathers of an eagle, these tattoos blend artistry with deep symbolism, representing personal traits, life experiences, or cultural connections.
In 2026, realistic animal tattoos are trending toward hyper-detailed black & grey portraits, color-infused wildlife scenes, and hybrid styles like cybersigilism-infused animals or micro-realism pet homages. Whether you’re drawn to symbols of strength like lions or grace like deer, this guide explores meanings, masculine vs feminine associations, popular designs, and best placements in NYC.
At Inknation Studio, realistic animal tattoos are a specialty, blending precision shading with custom storytelling. Book a consultation: https://inknationstudio.com/book-now/
What Are Realistic Animal Tattoos?
Realistic animal tattoos replicate the subject’s true anatomy, texture, and expression using advanced techniques like fine needlework, gradient shading, and 3D depth. Unlike abstract or illustrative styles, realism prioritizes:
- Accurate light and shadow for lifelike volume
- Detailed fur, scales, or feathers
- Emotional realism (e.g., a tiger’s fierce stare)
- Proportional accuracy to the animal’s natural form
This style ages well with proper care and is ideal for medium-to-large pieces. Explore our realism portfolio: https://inknationstudio.com/tattoo-styles/realism-tattoos/
Animal Tattoo Symbolism: Masculine and Feminine Meanings
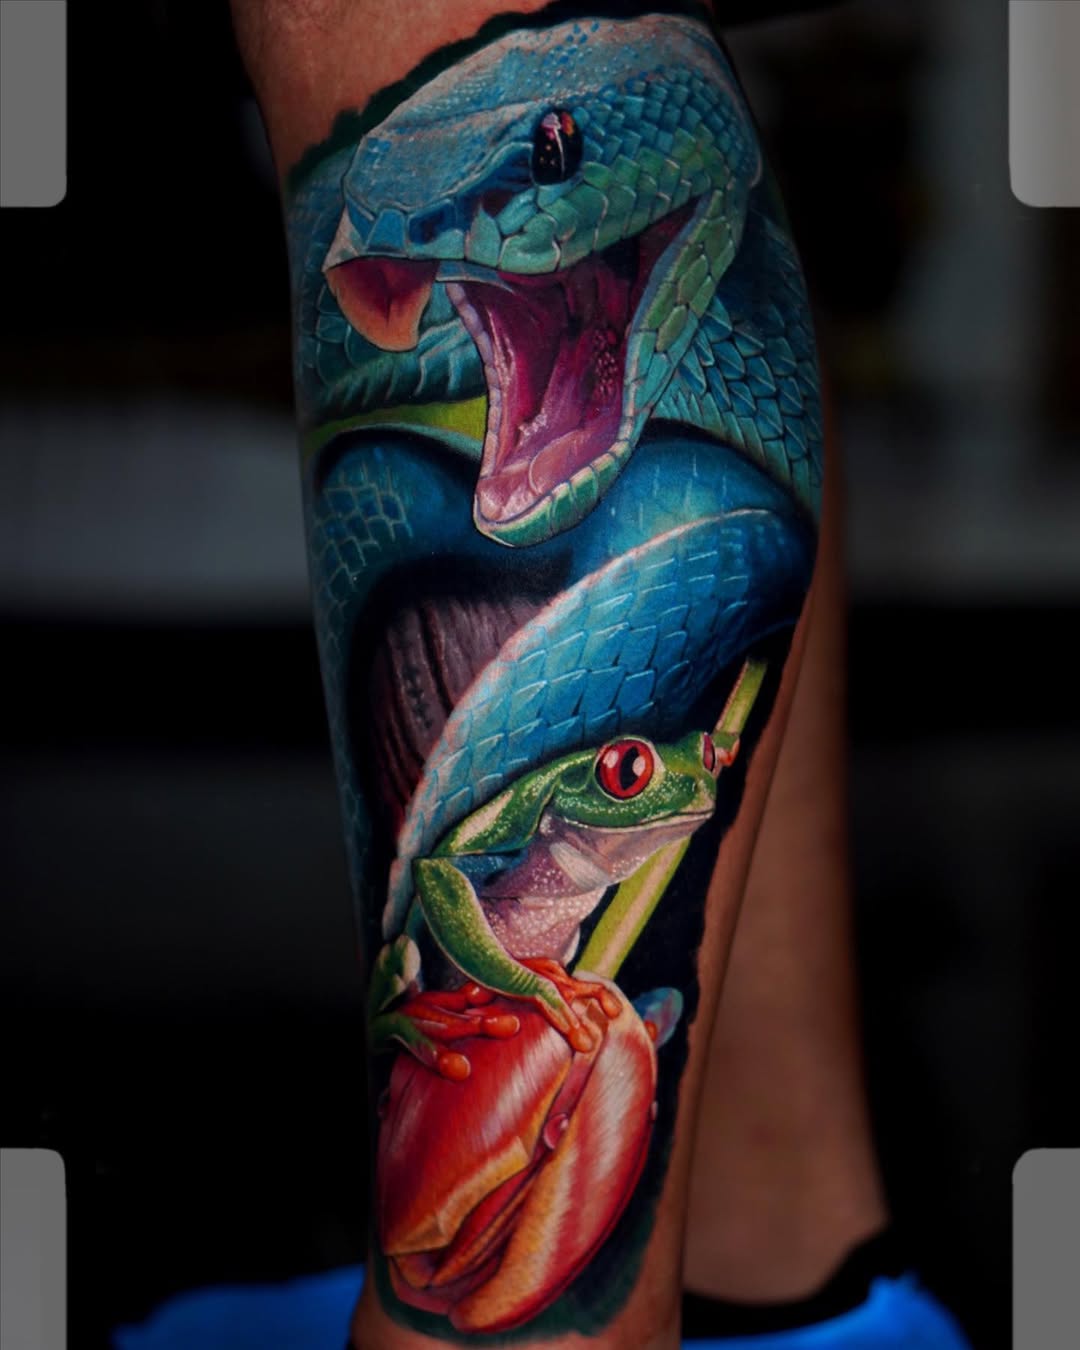
Animals in tattoos often reflect gender-associated traits based on cultural perceptions, though meanings are personal and fluid. Below are two tables covering the most searched animals in 2026 (based on trends like lions for strength, butterflies for transformation, wolves for loyalty, eagles for freedom, tigers for power, owls for wisdom, elephants for memory, bears for protection, deer for grace, foxes for cunning, horses for freedom, sharks for fearlessness, dragons for mythical power, phoenixes for rebirth, cats for independence, dogs for loyalty, birds for liberation, snakes for renewal, and more). We’ve categorized them into masculine-leaning (strength, protection, dominance) and feminine-leaning (grace, intuition, transformation) but many overlap.
Masculine-Leaning Animal Tattoos & Symbolism (2026 Guide)
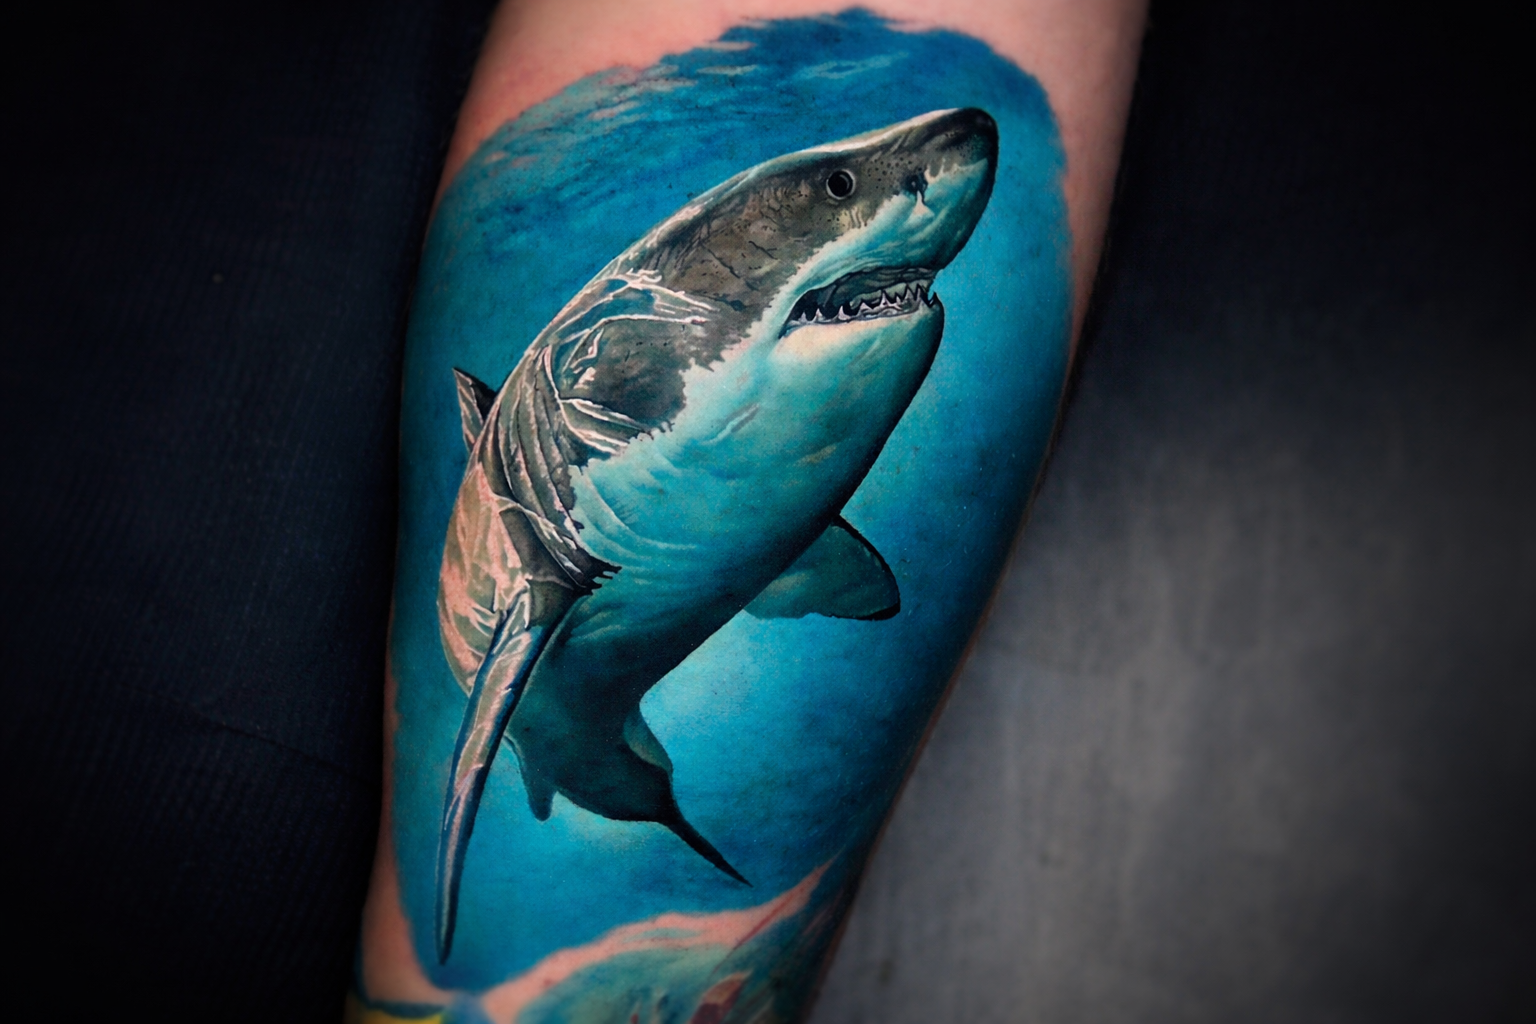
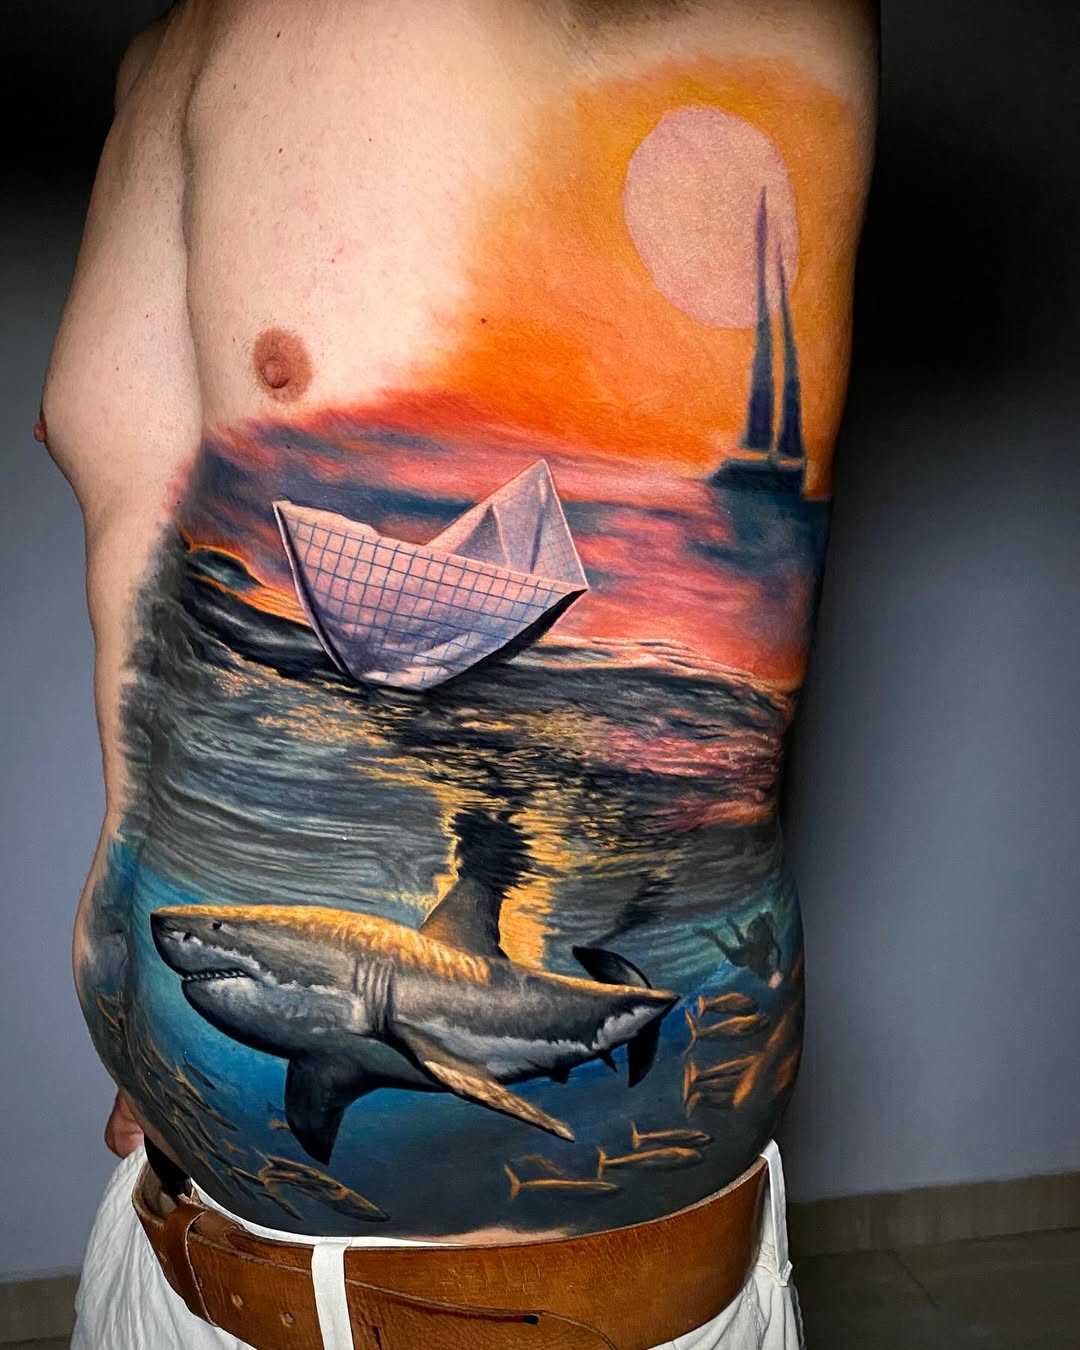
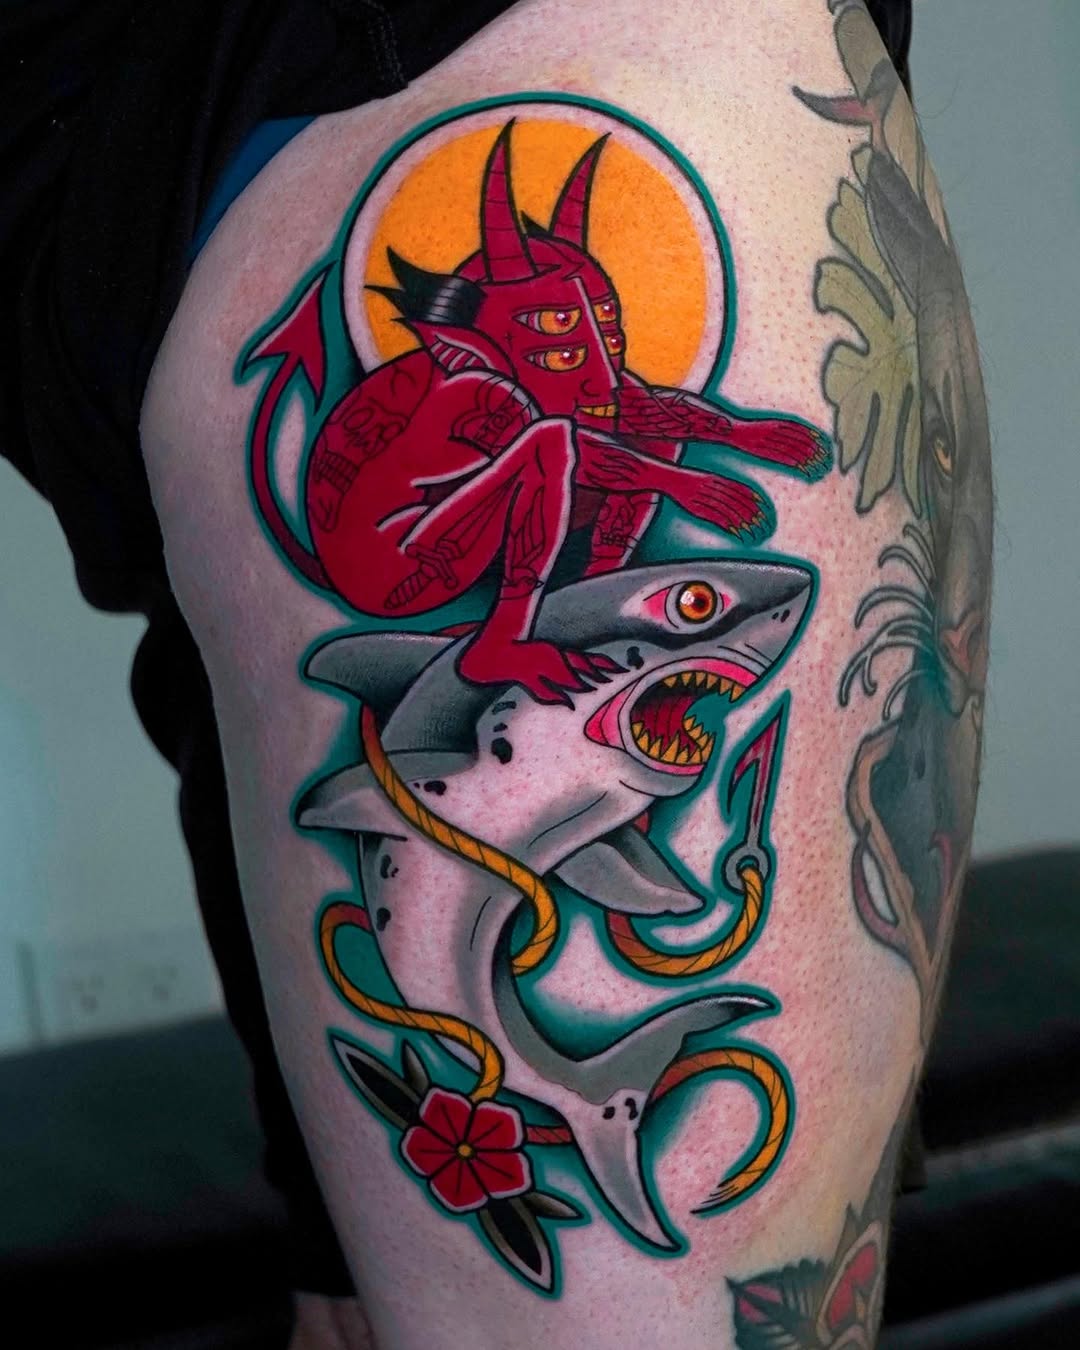
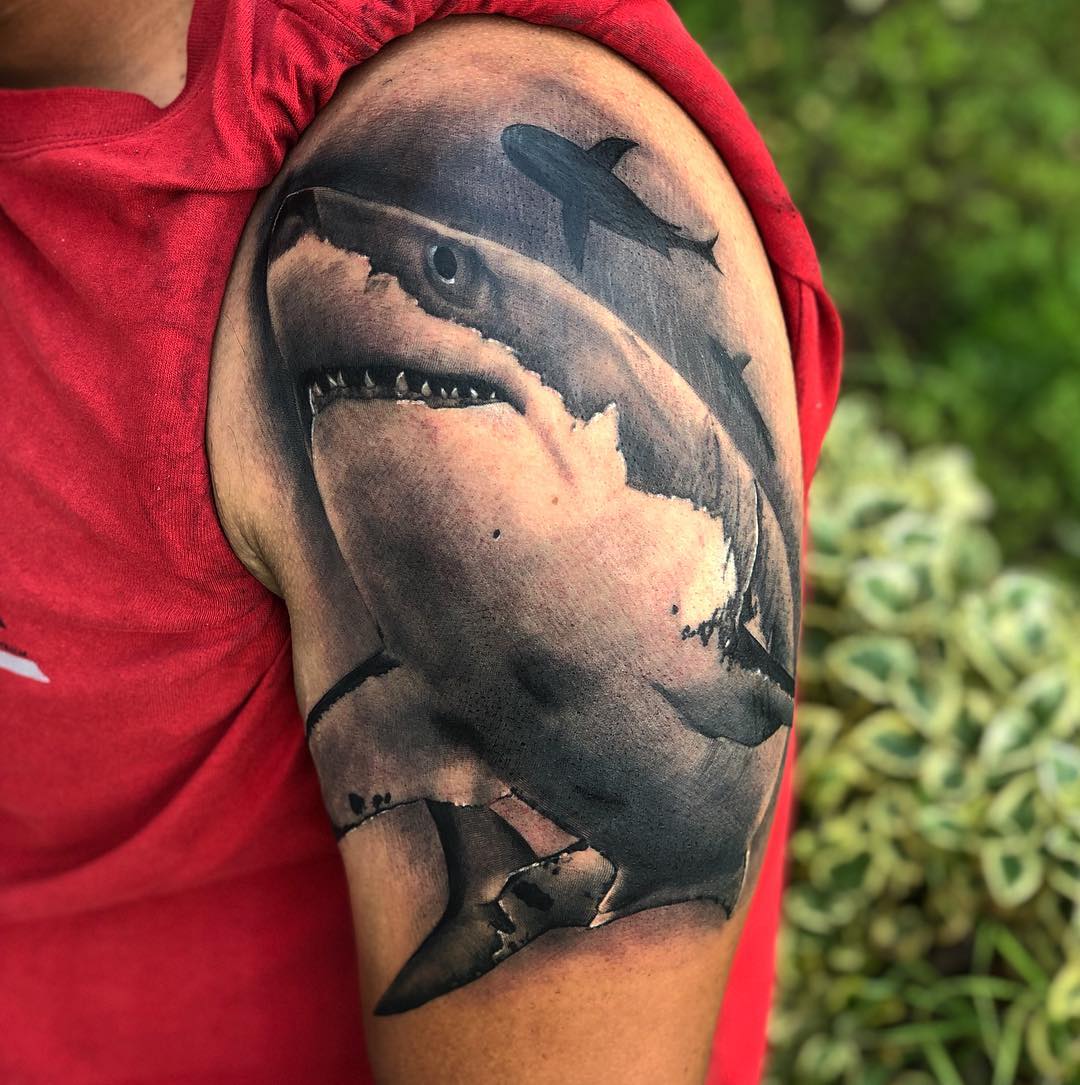
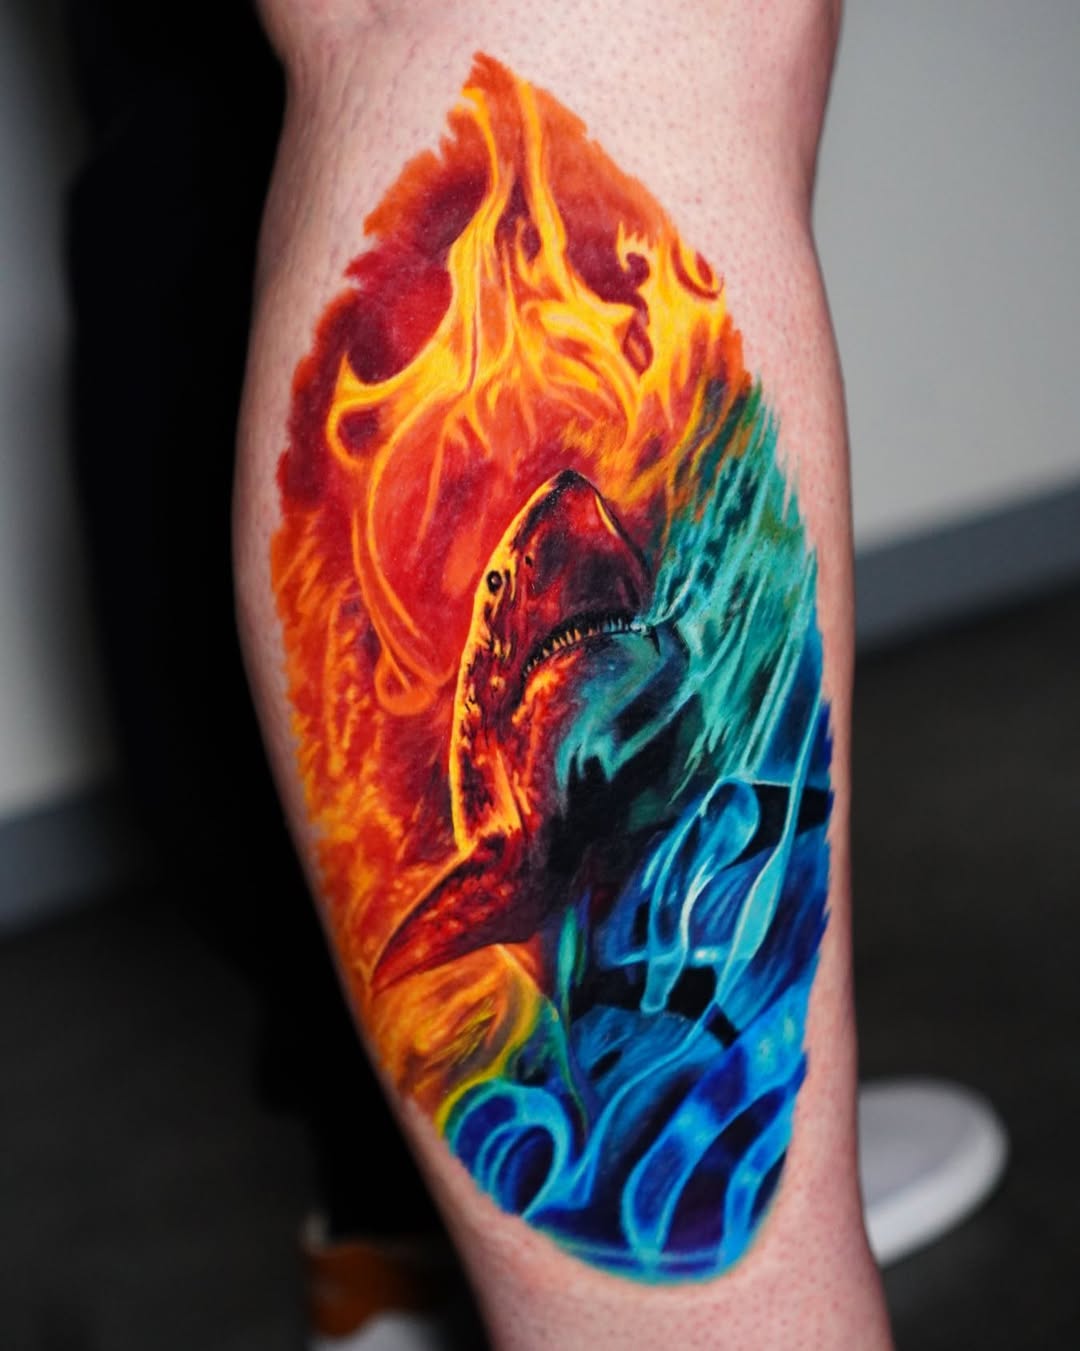
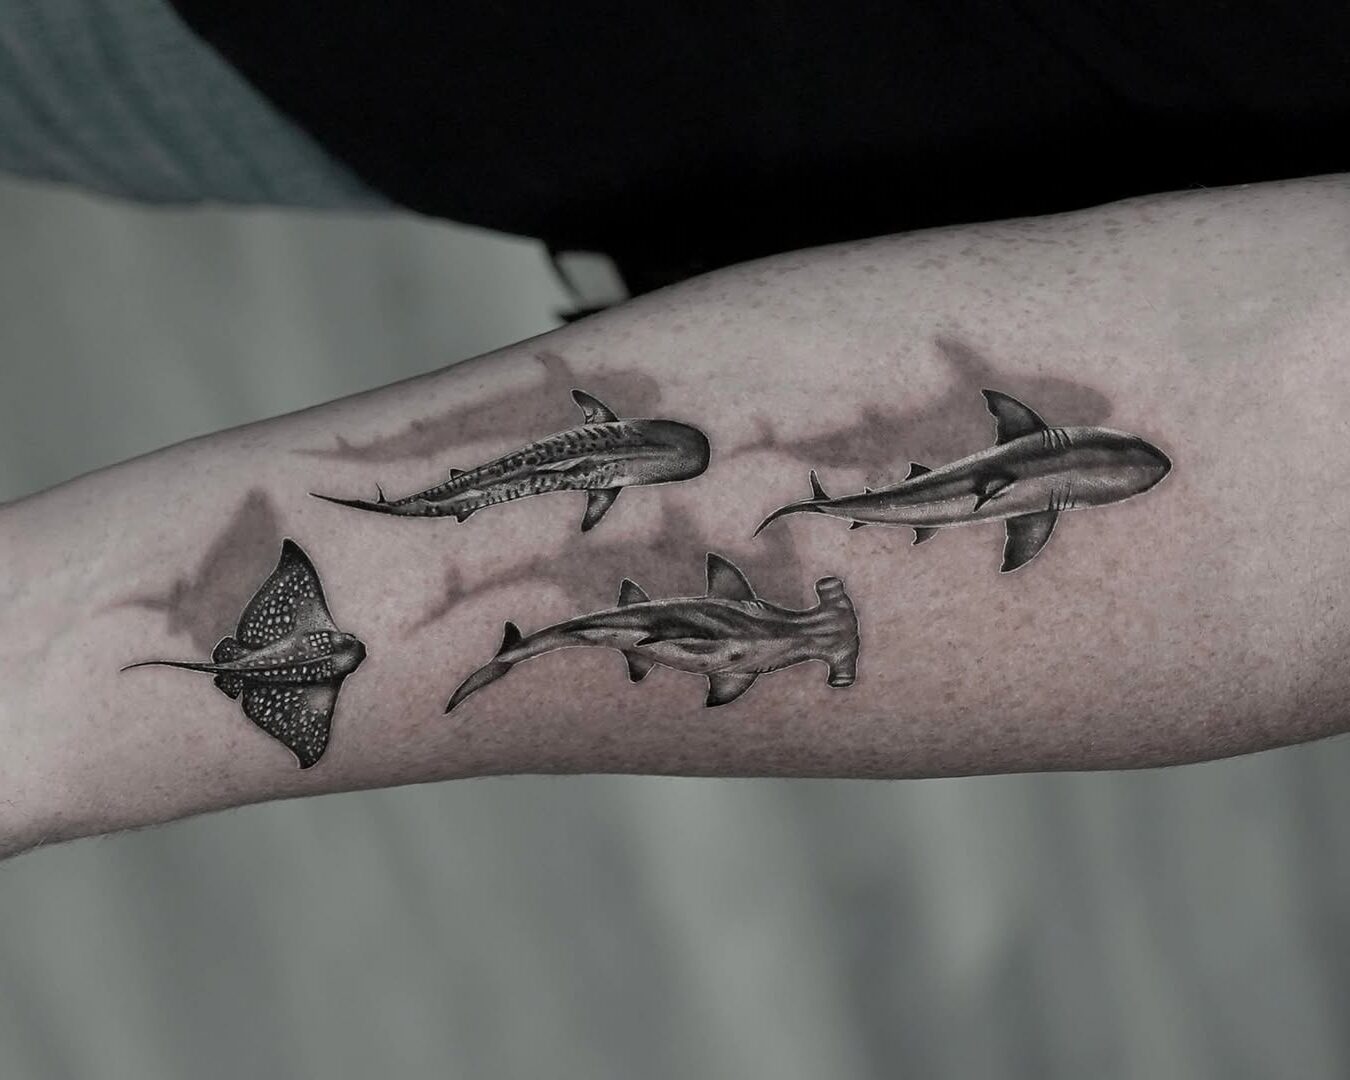
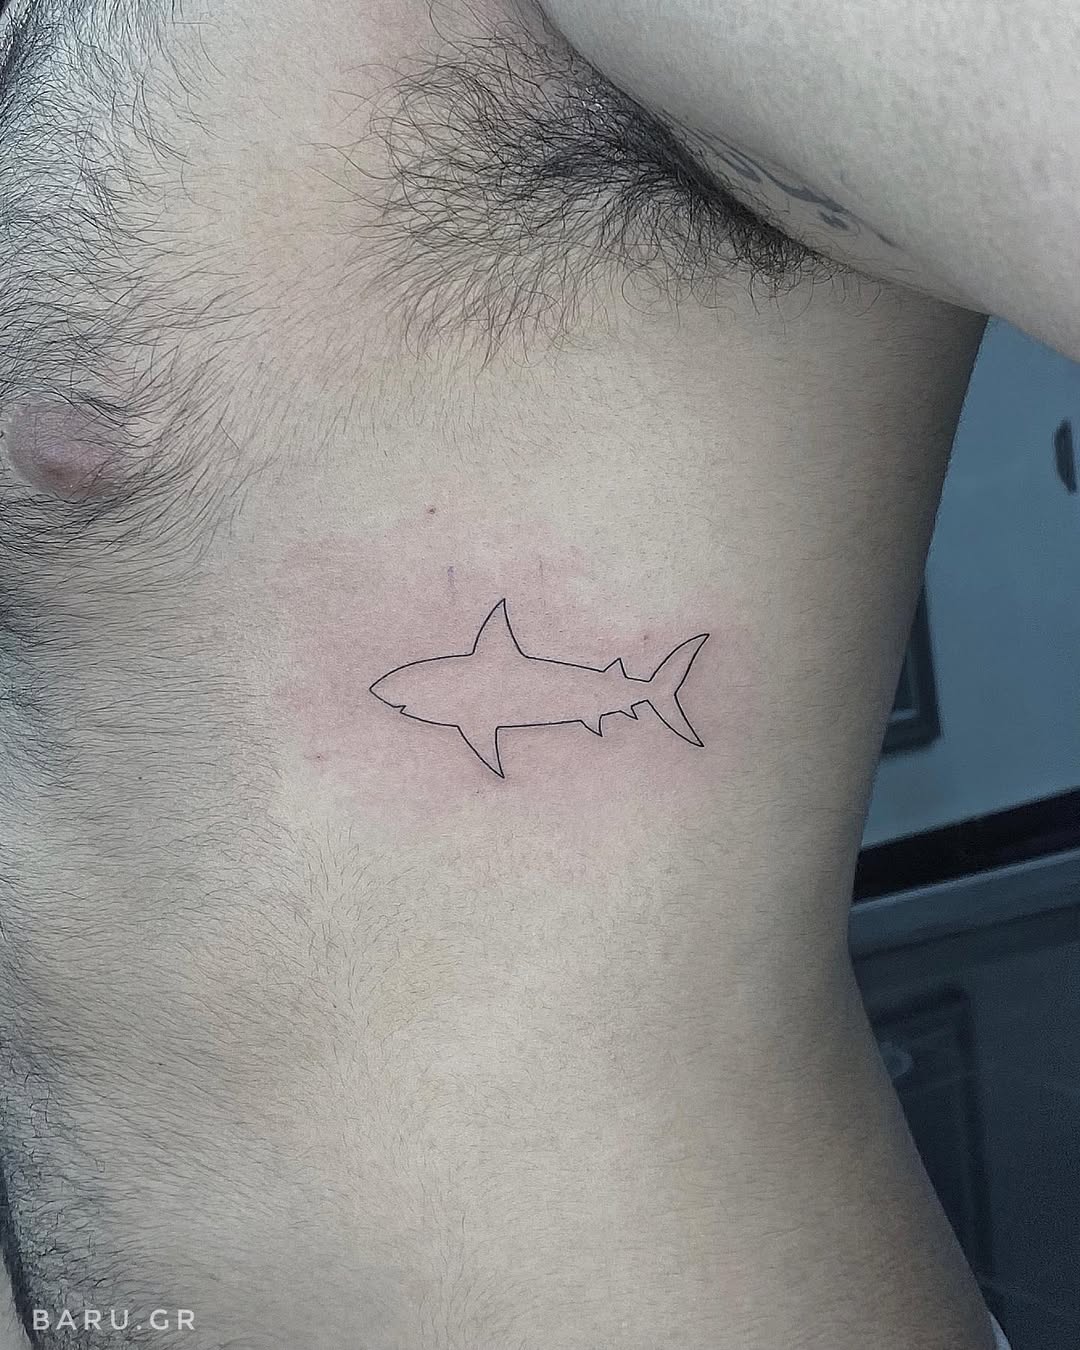
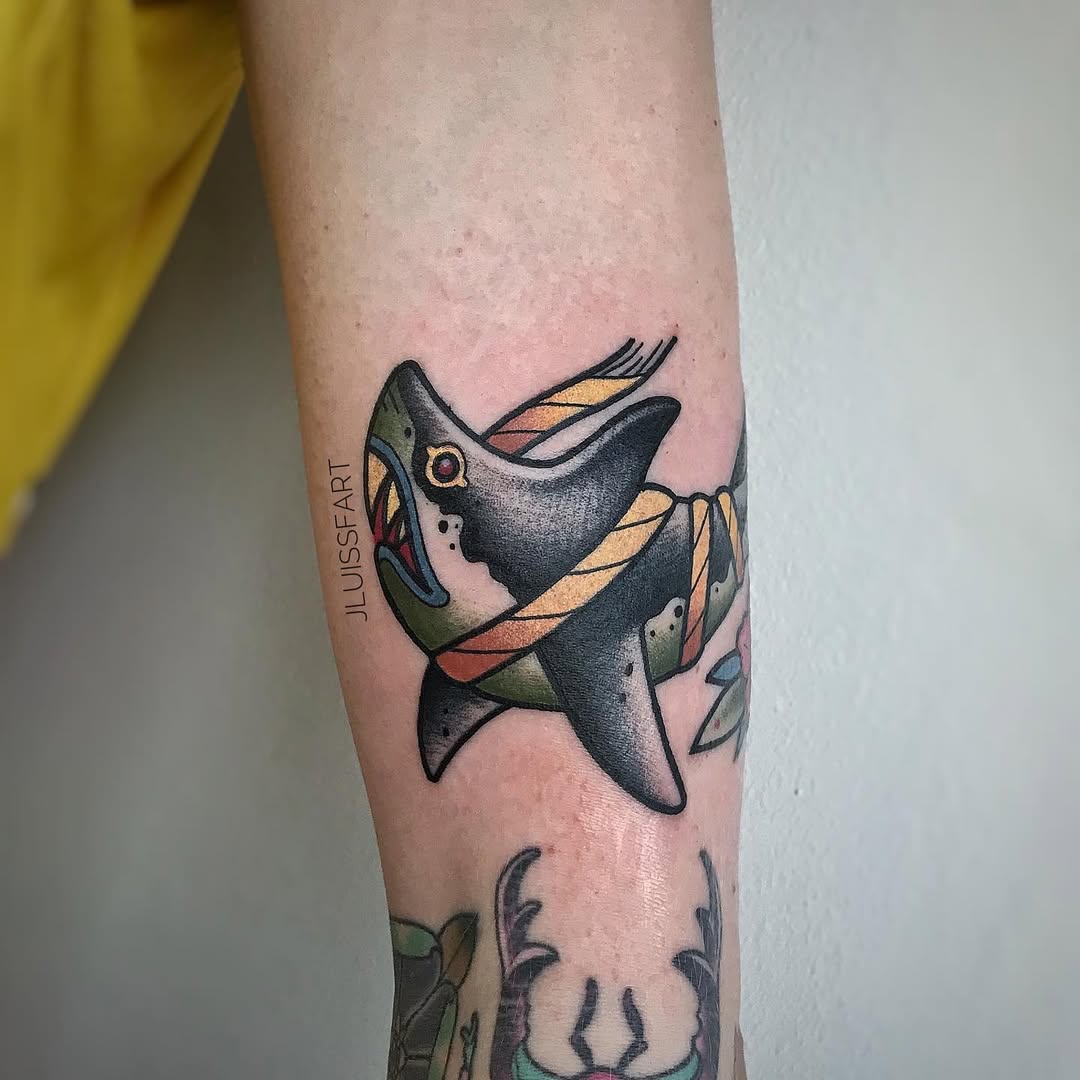
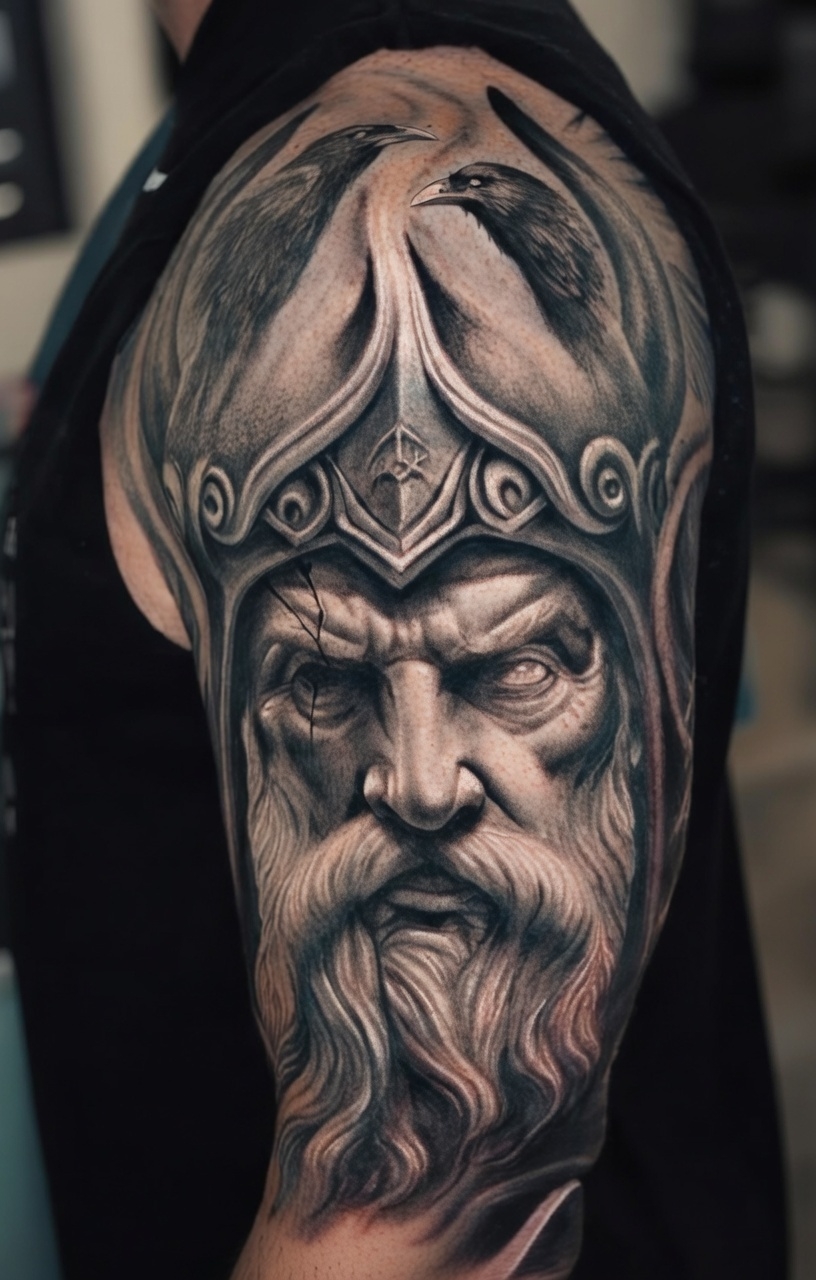
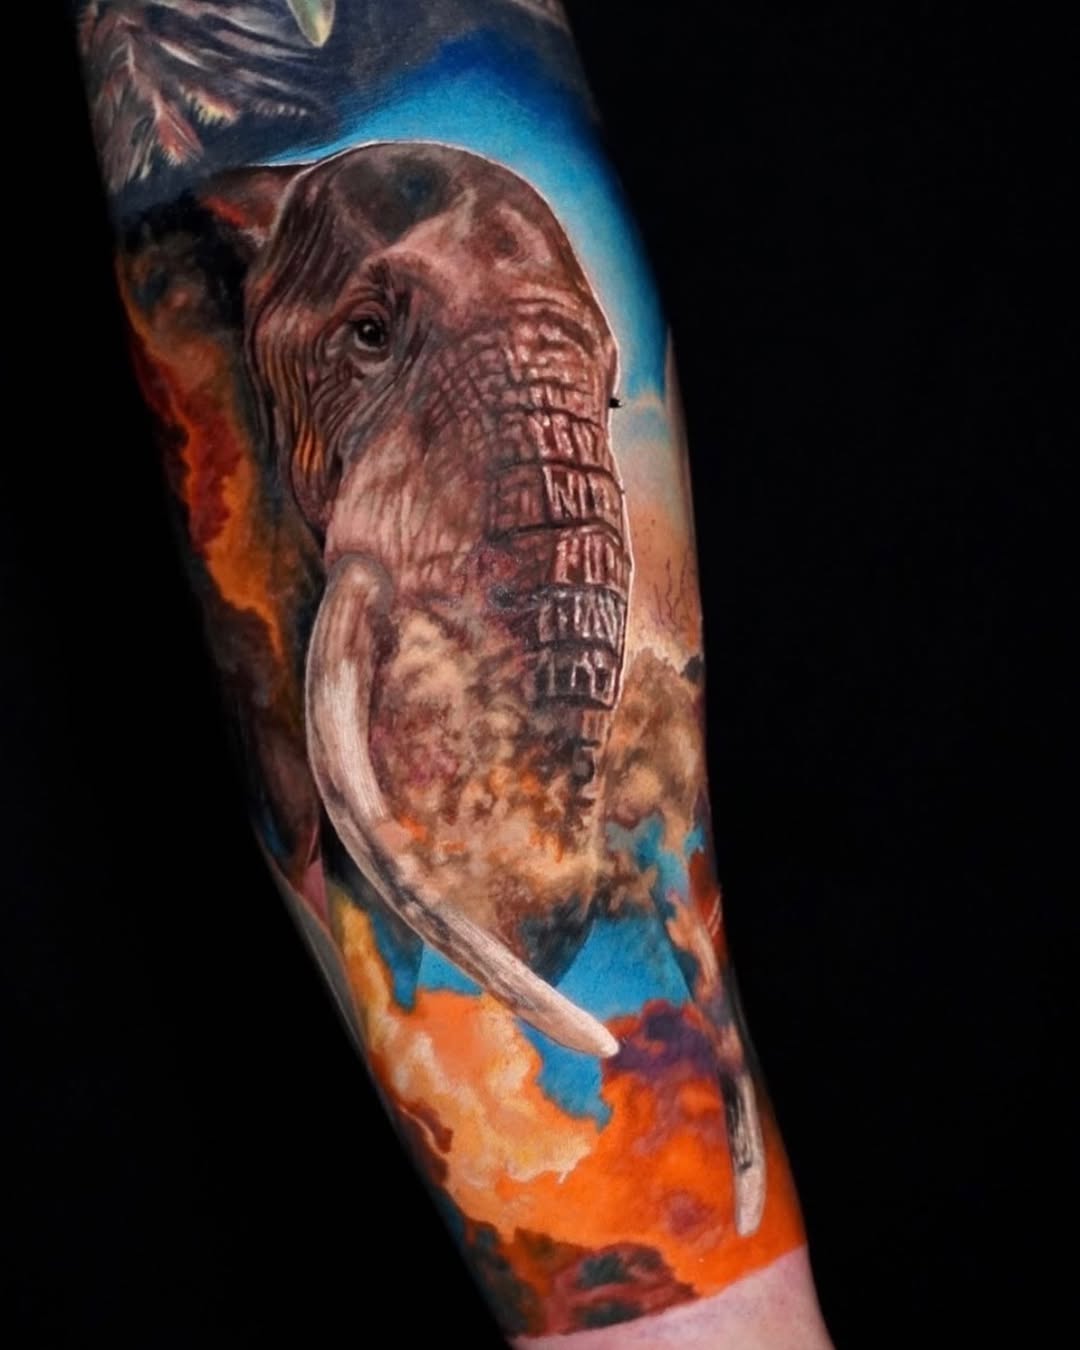
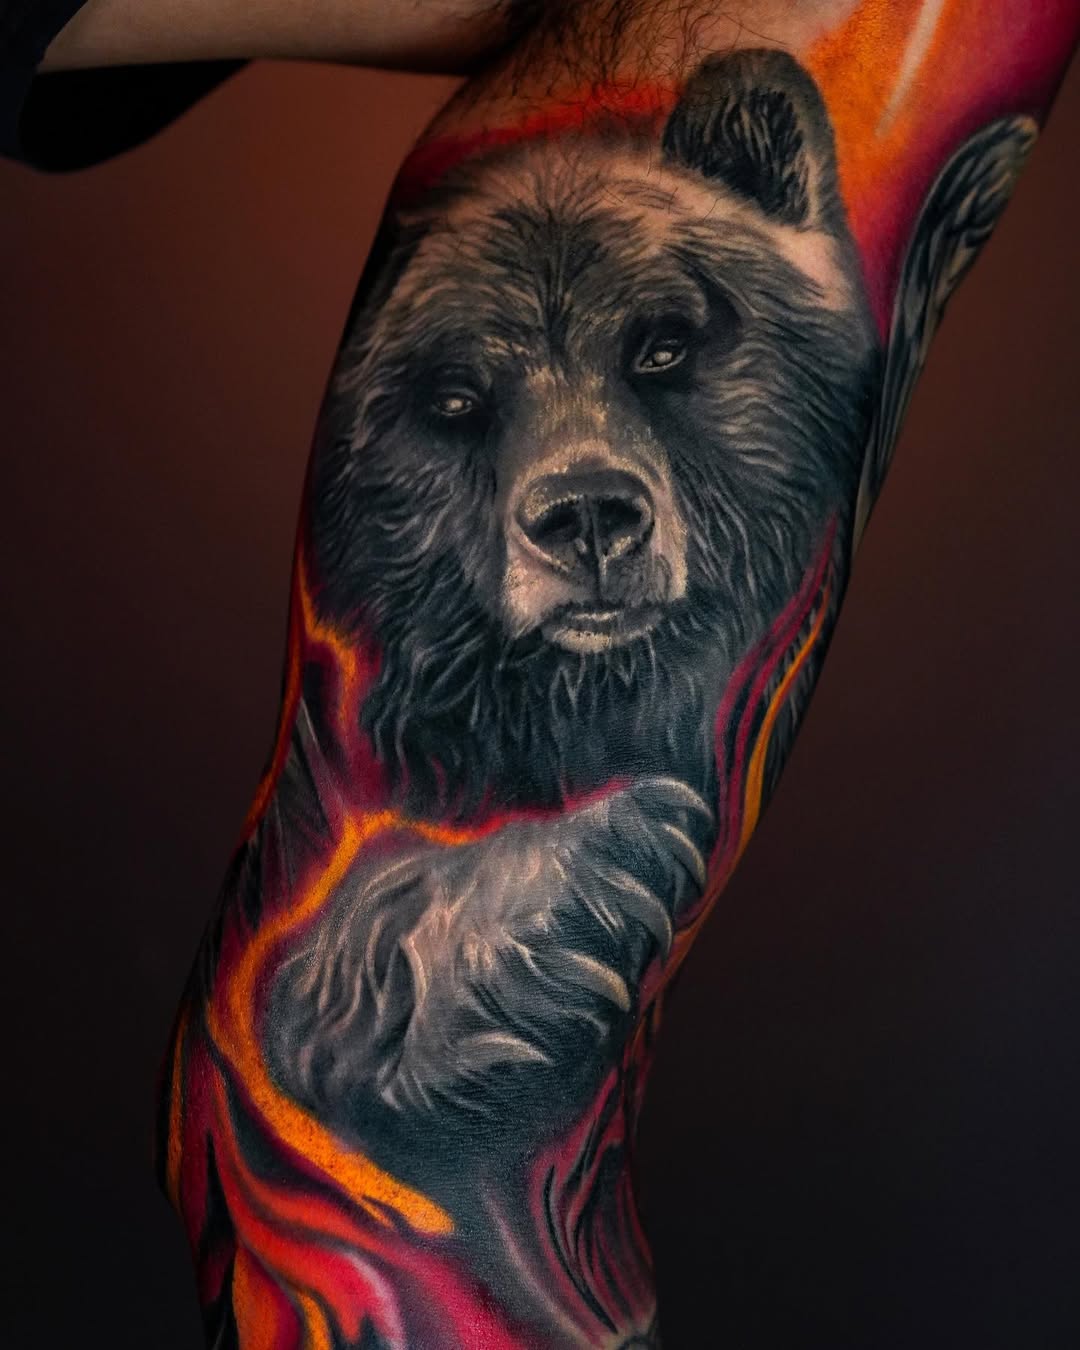
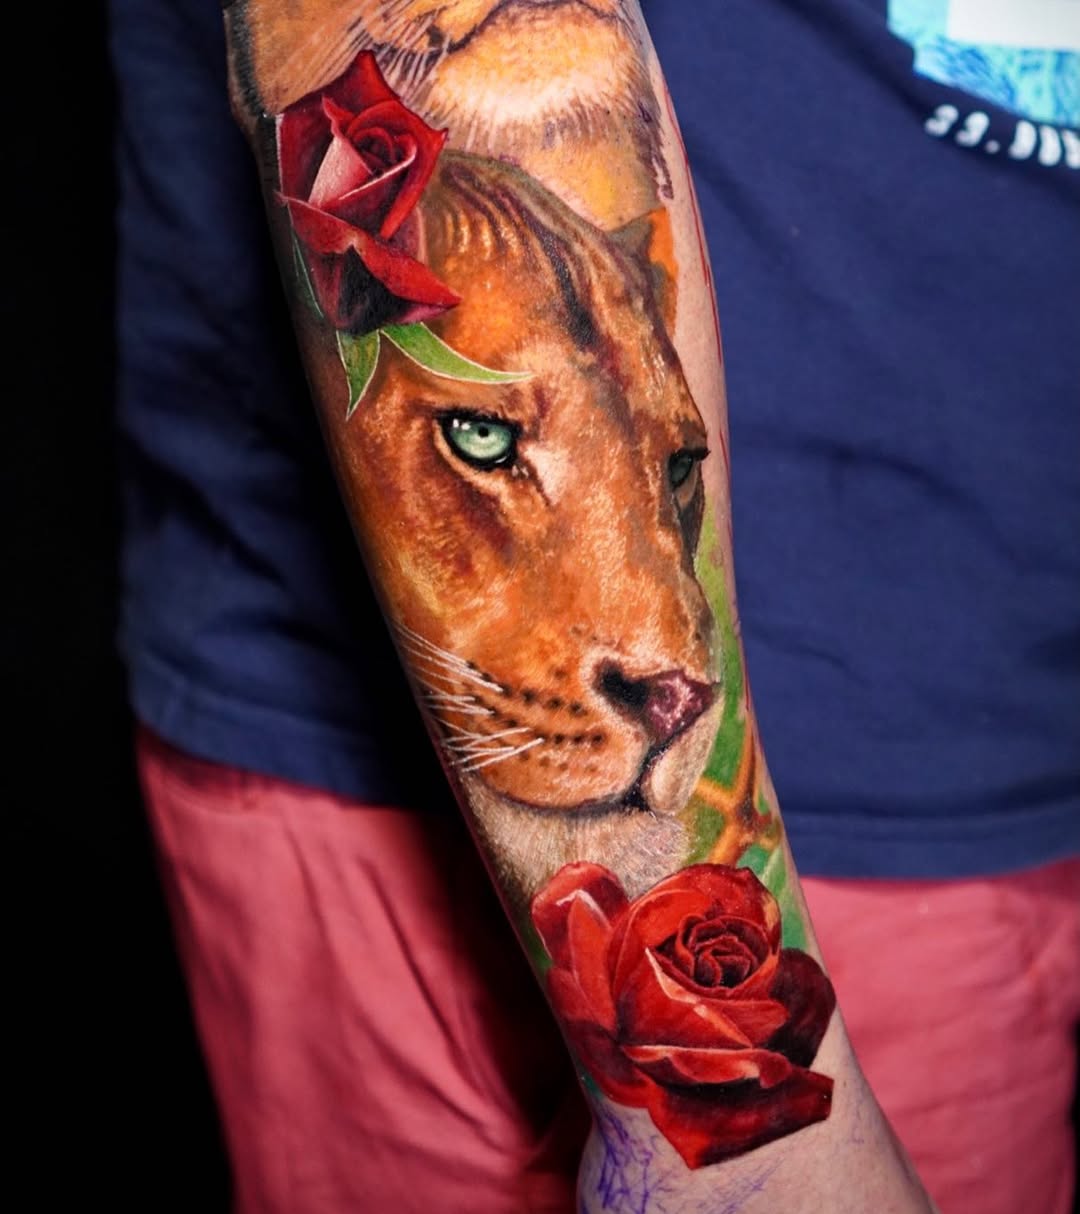
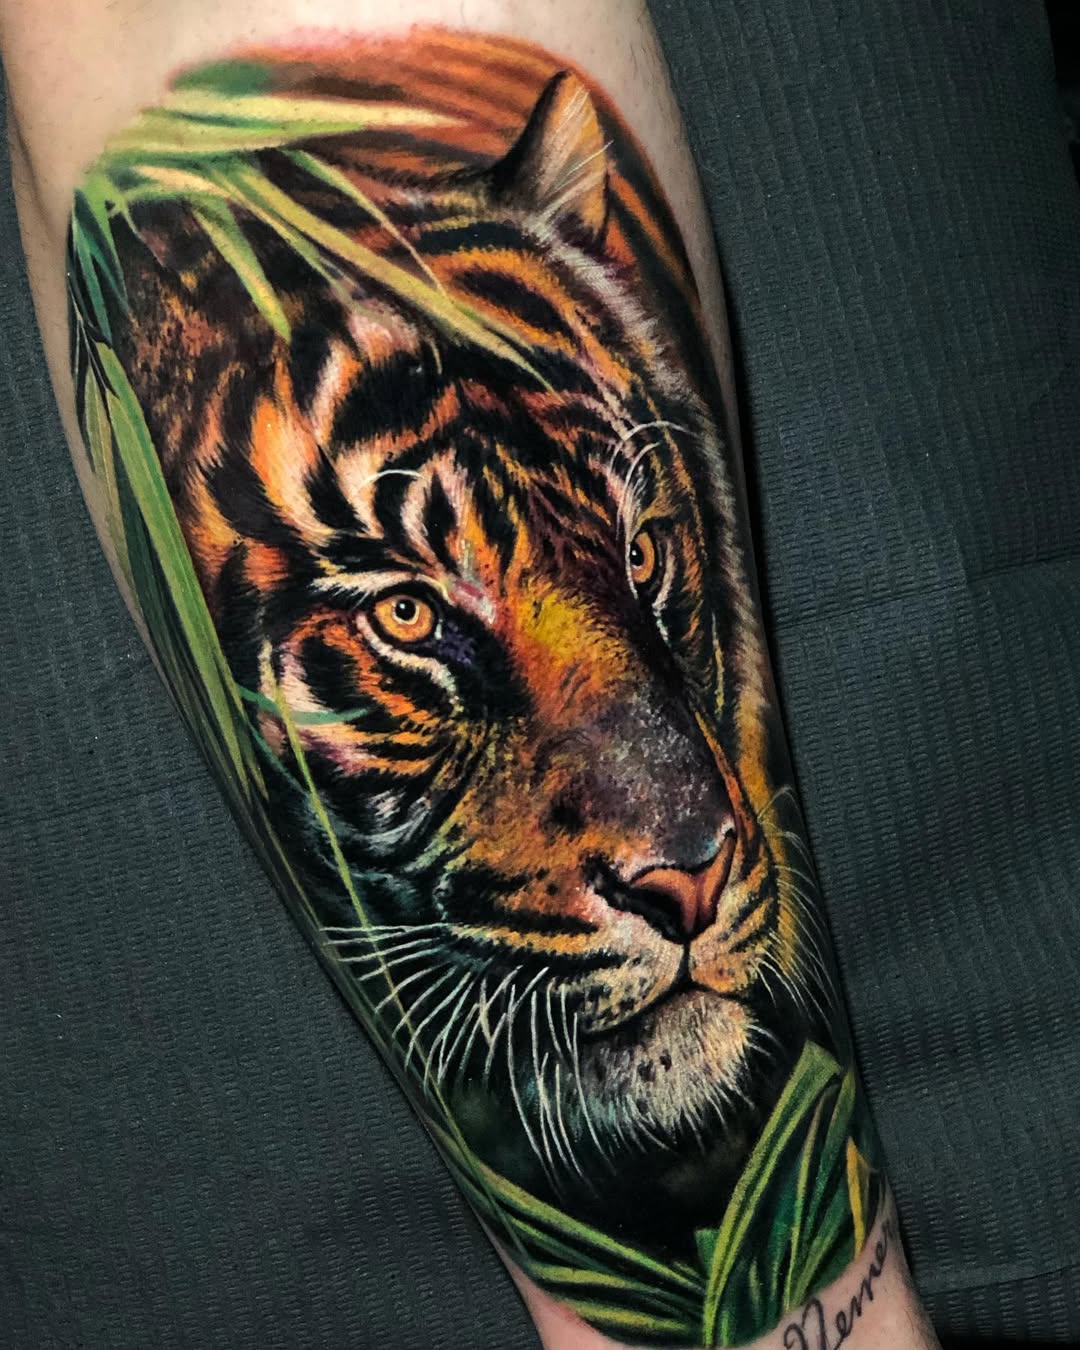
Animal Primary Symbolism Best Styles 2026 Ideal Placements Popularity Trend Lion Leadership, courage, protection, raw power Hyper-realism mane, black & grey Chest, forearm, full sleeve Very High Wolf Loyalty, instinct, family bonds, survival Dramatic gaze realism, pack scenes Upper arm, calf High Tiger Strength, determination, ferocity Color stripes, black & grey muscle Bicep, thigh Rising Eagle Freedom, vision, dominance Spread-wing 3D, fine feather detail Back, shoulder Steady Bear Protection, resilience, grounded power Fur texture realism, claw accents Chest, upper back High Shark Fearlessness, adaptability, primal instinct Underwater realism, jaw focus Forearm, calf Trending Dragon Mythical power, wisdom, transformation Scaled hyper-realism, fire elements Full sleeve, back Very High Horse Freedom, endurance, wild spirit Flowing mane realism, motion capture Thigh, shoulder Steady These masculine-leaning designs often draw from cultural symbols of warriors and guardians (e.g., lions in African folklore or wolves in Native American traditions).
Feminine-Leaning Animal Tattoos & Symbolism (2026 Guide)
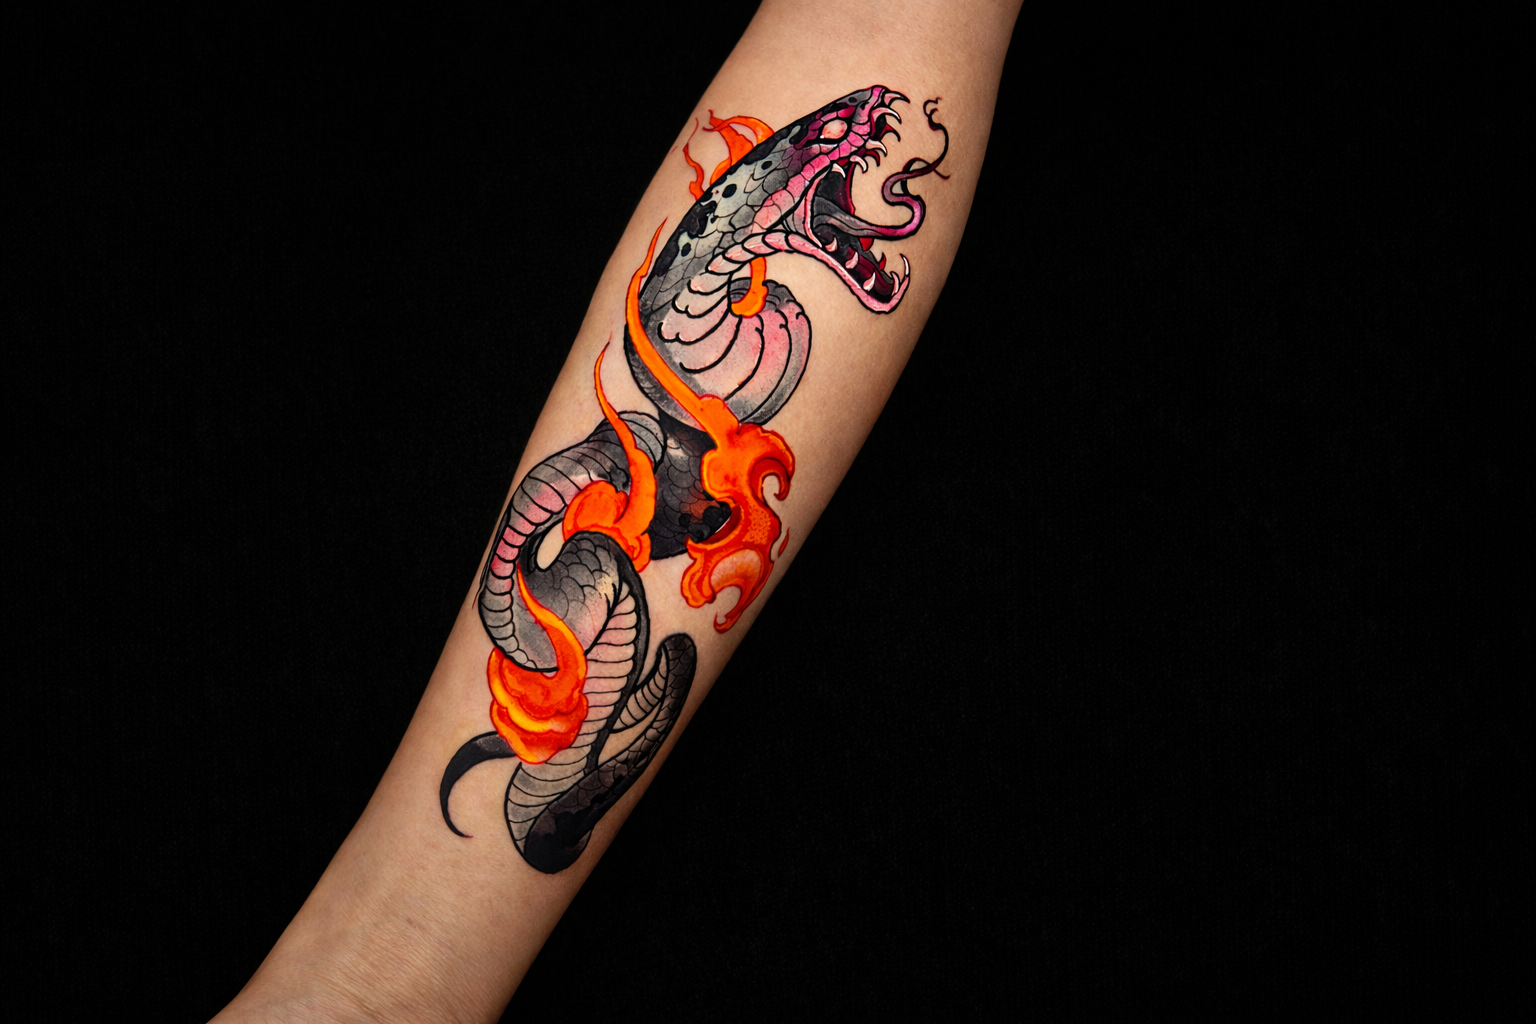
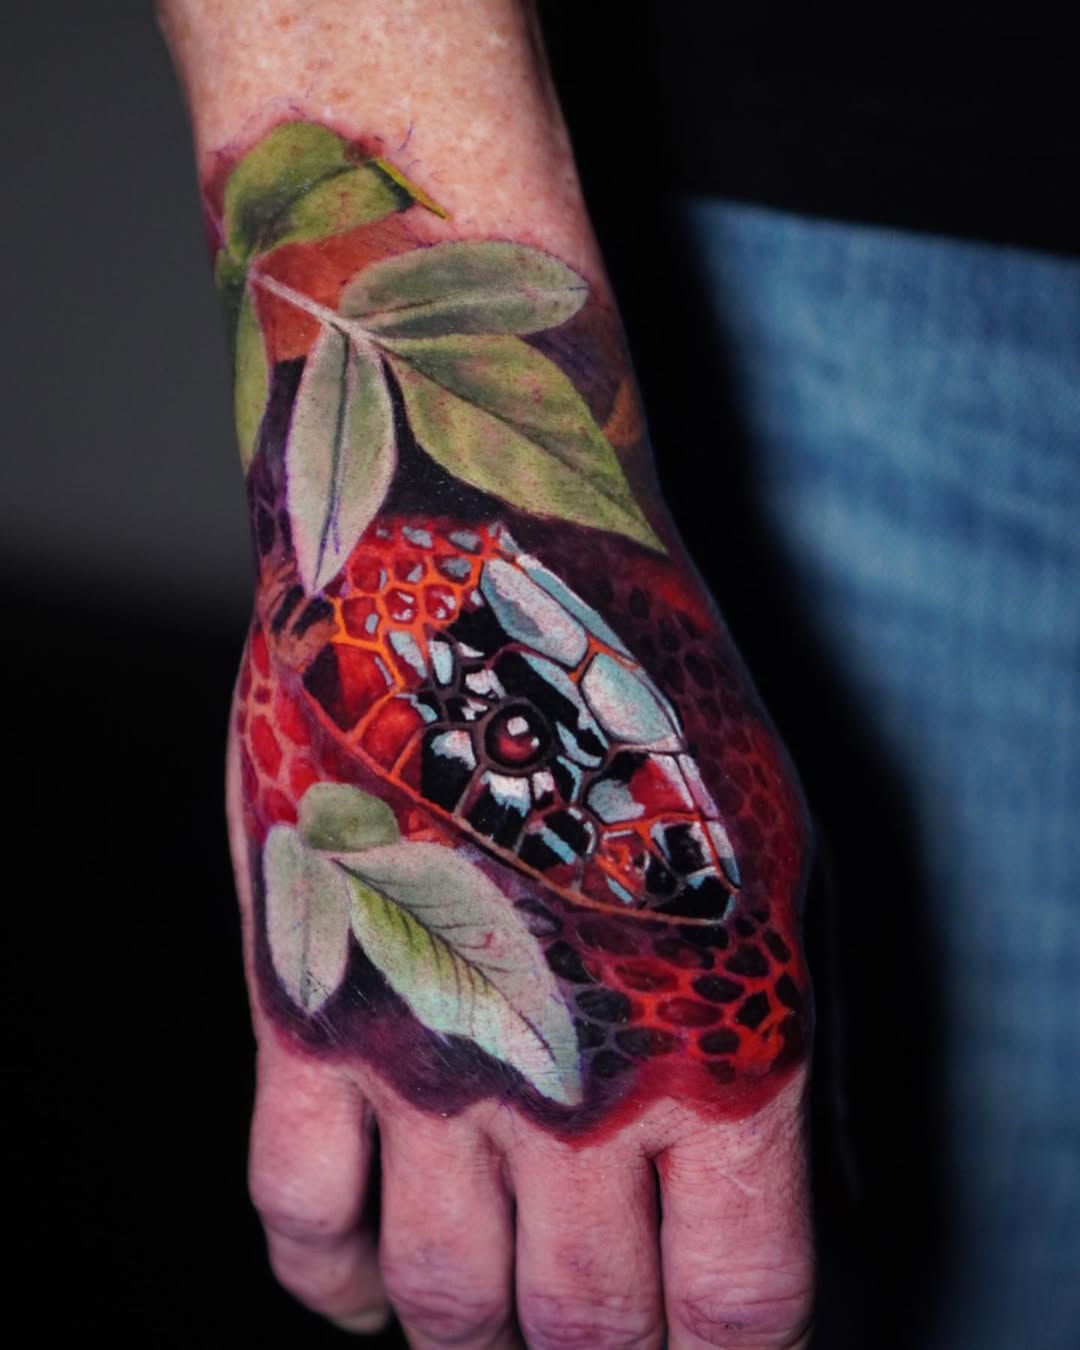
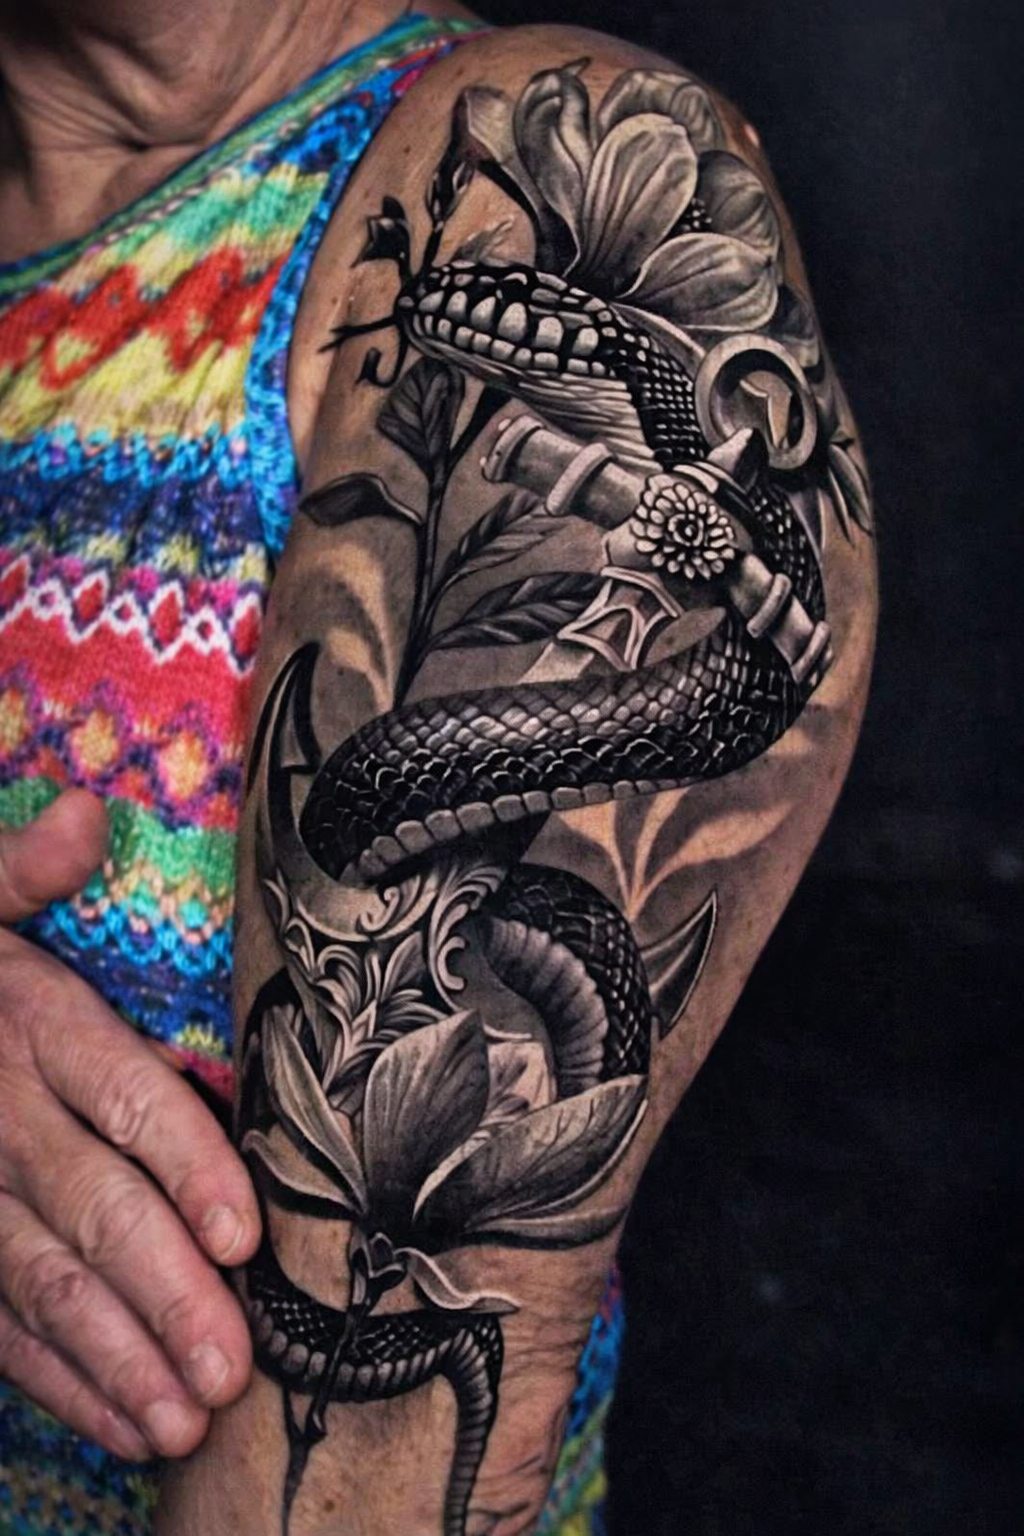
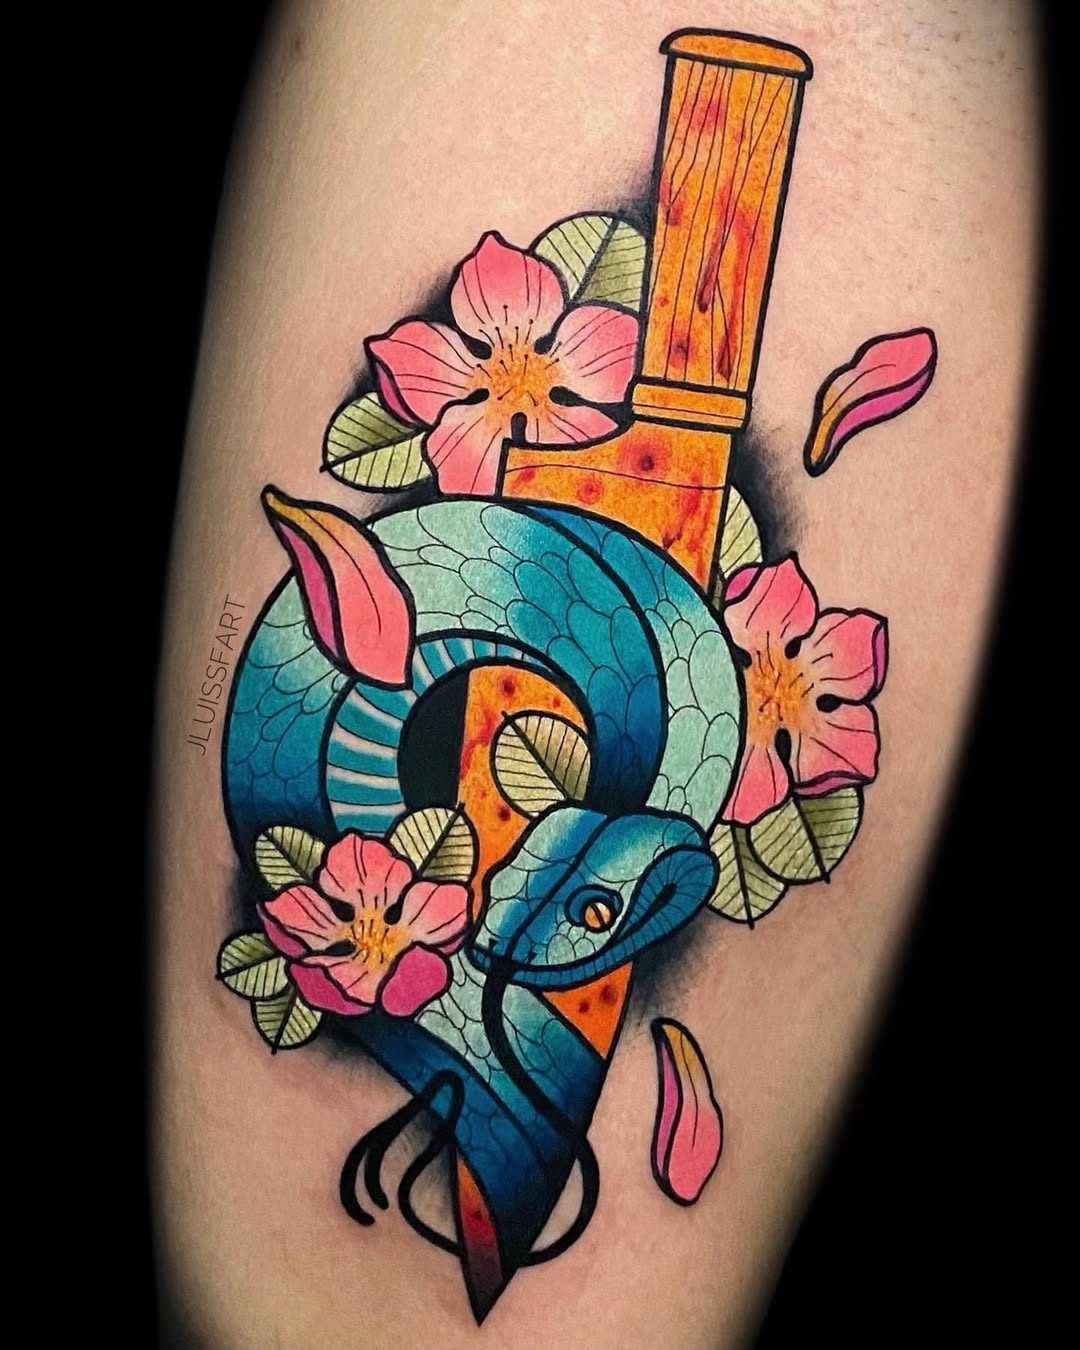
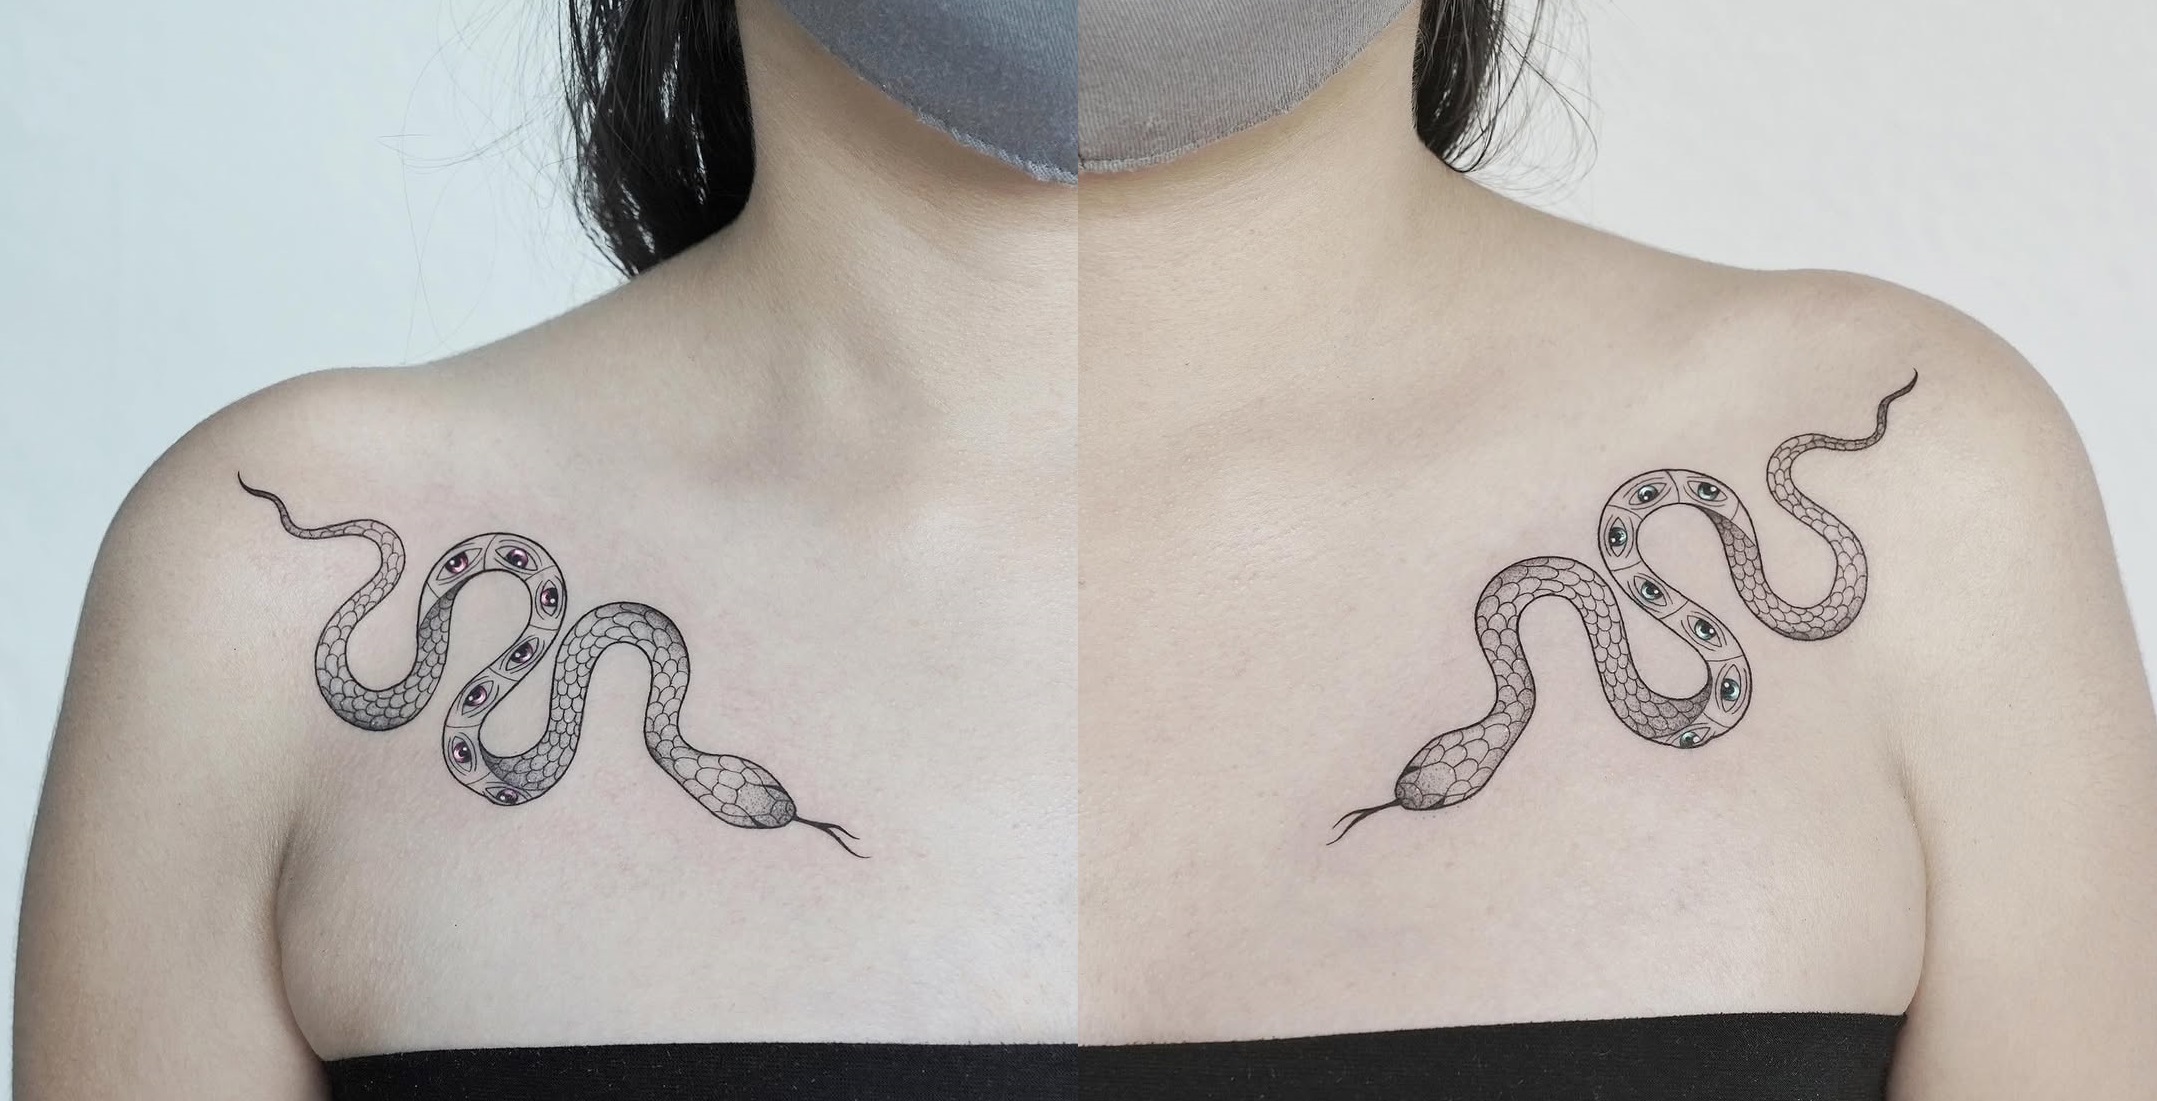
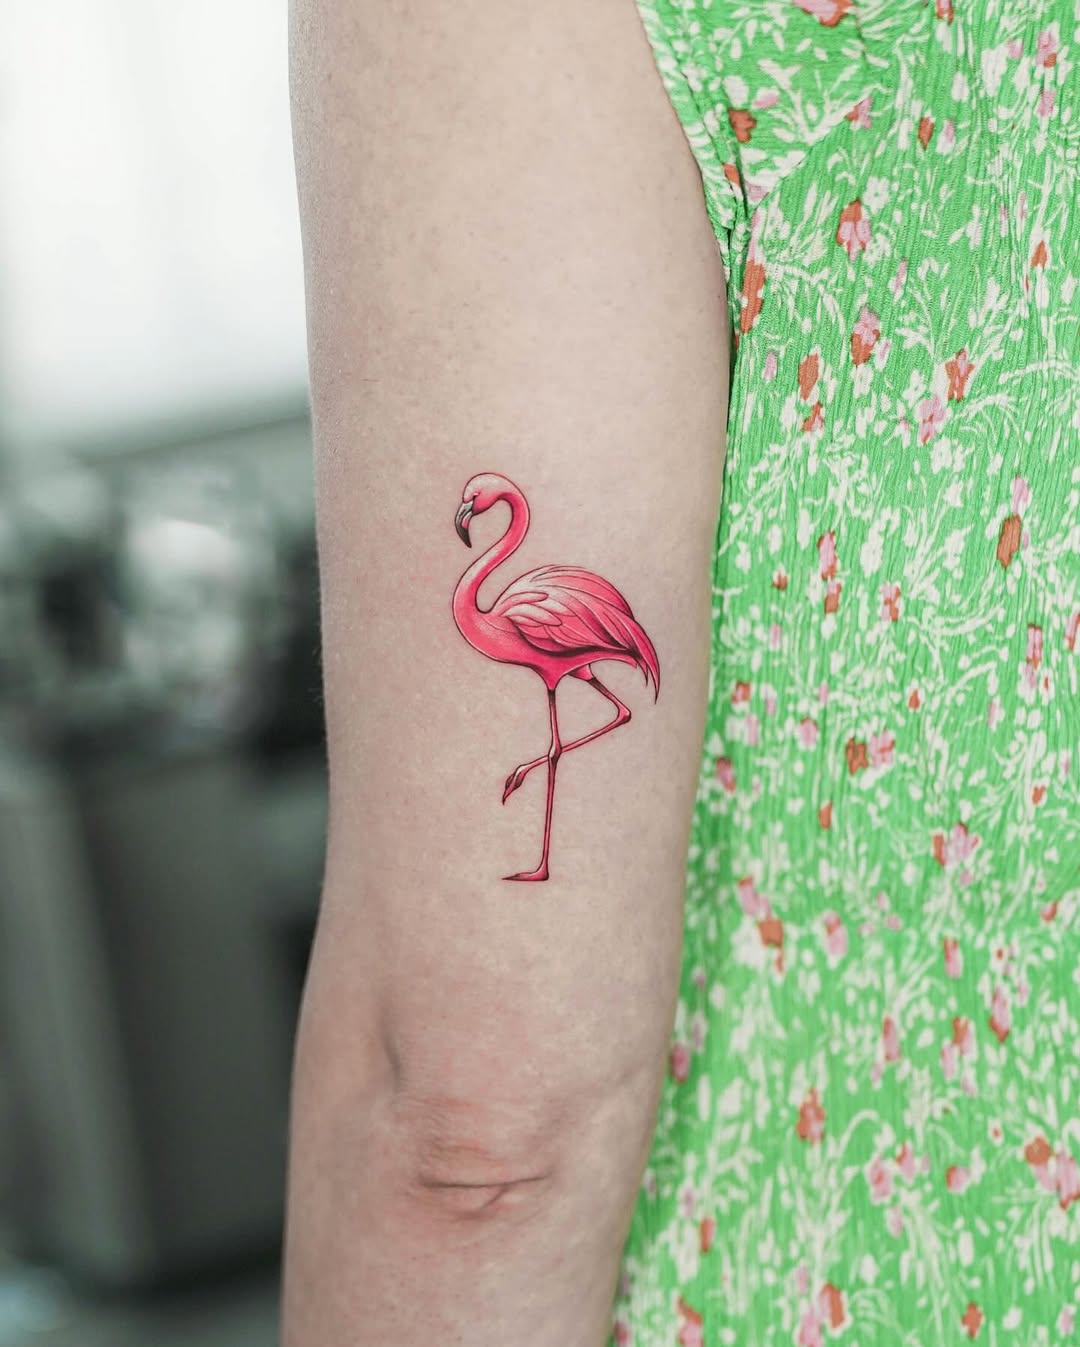
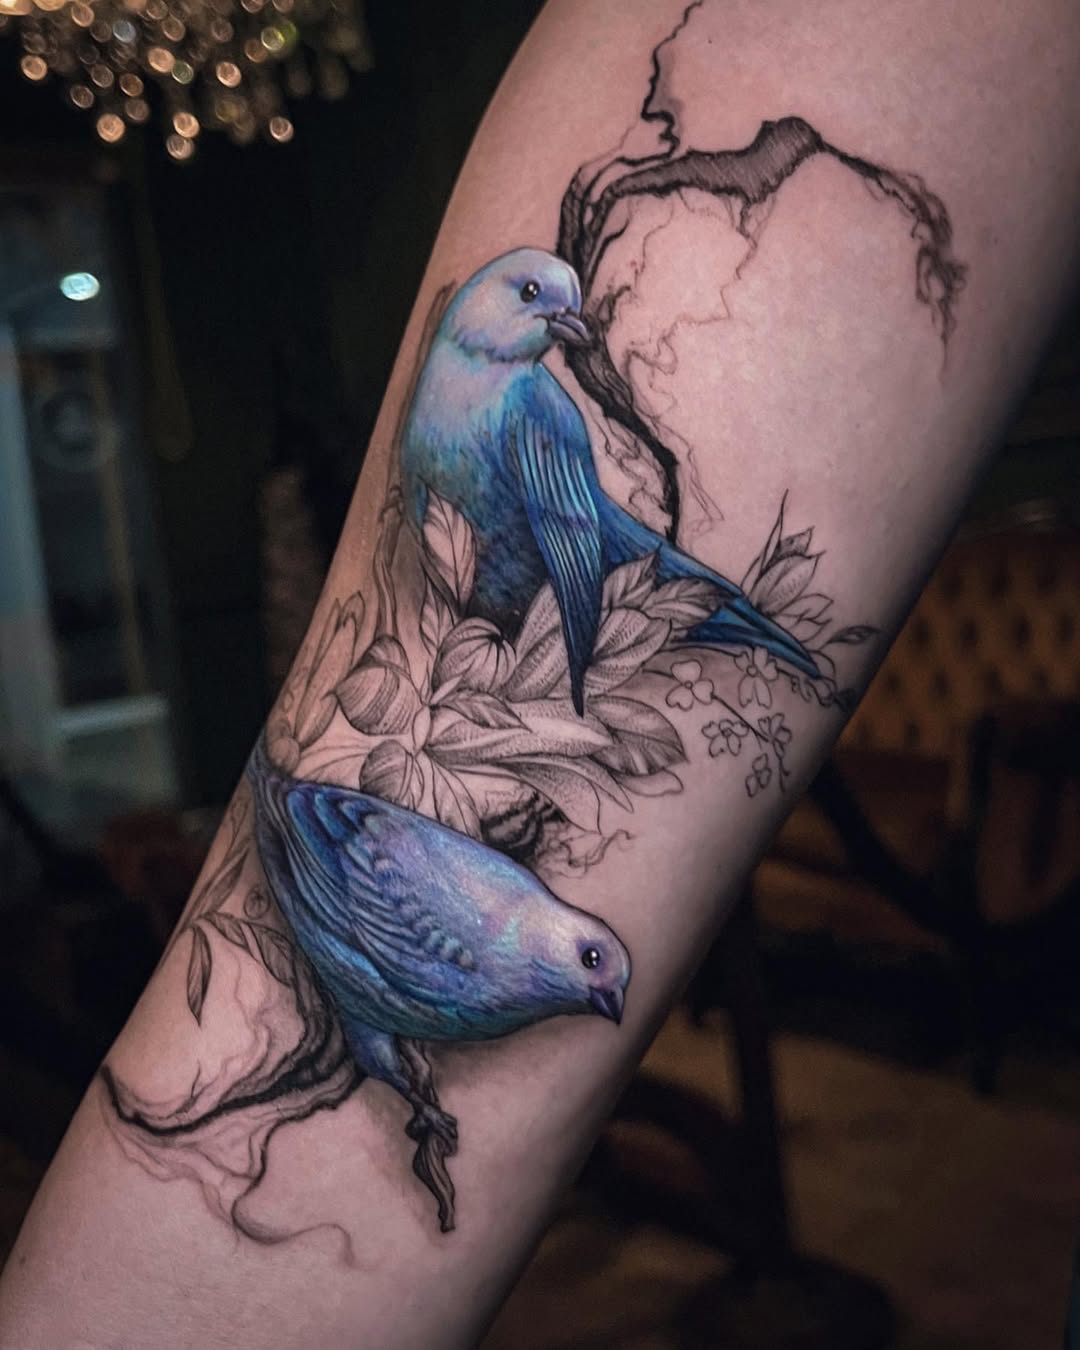
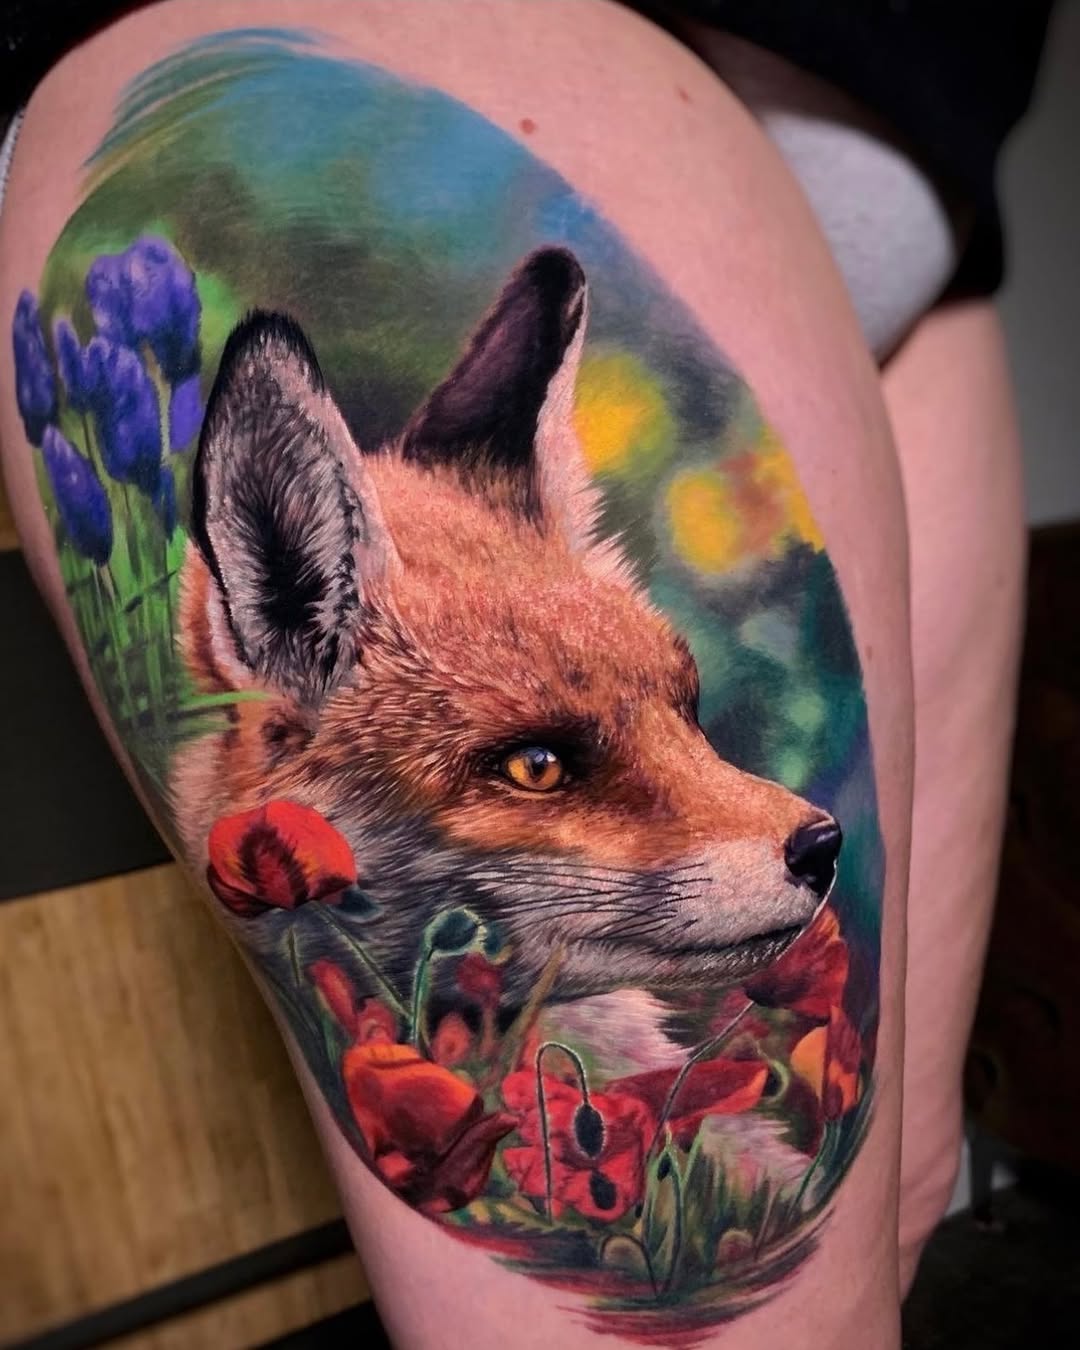
Animal Primary Symbolism Best Styles 2026 Ideal Placements Popularity Trend Butterfly Transformation, beauty, rebirth Color gradients, fine-line wings Wrist, ankle, collarbone Very High Owl Wisdom, intuition, mystery Detailed eyes, feather shading Sternum, ribcage High Deer Grace, gentleness, spiritual awareness Antler subtlety, forest integration Thigh, side Rising Fox Cunning, adaptability, feminine intelligence Sleek fur realism, playful pose Forearm, ankle Trending Phoenix Resurrection, renewal, inner strength Fiery color realism, ash rebirth Back, sternum Very High Cat Independence, mystery, agility Whisker detail, elegant posture Wrist, collarbone Steady Bird (e.g., Dove) Liberation, peace, hope Wingspread fine-line, soft shading Shoulder, ribcage High Snake Rebirth, healing, duality Coiled scales realism, flower wrap Arm sleeve, thigh Rising These feminine-leaning designs frequently incorporate softer elements like flowers or moons, inspired by symbols of intuition and change (e.g., butterflies in global folklore or owls in Greek mythology).
While cultural and historical associations often link certain animals to traditionally masculine or feminine qualities, such as lions with leadership and strength or butterflies with grace and transformation, these interpretations are not fixed rules. In reality, any animal can carry deeply personal meaning that transcends gender entirely. A woman may choose a powerful lion tattoo to embody her own courage and authority, just as a man might select a delicate butterfly design to honor his journey of rebirth and vulnerability. The true power of an animal tattoo lies in your individual story, not in societal expectations. During your consultation at Inknation Studio, we focus on what the animal means to you, ensuring the final design reflects your unique identity, values, and experiences.
For more on cultural animal symbolism, explore Native American totems (e.g., wolf as guardian) or Polynesian animal meanings.
Who Realistic Animal Tattoos Are For
Realistic animal tattoos appeal to:
- Those seeking emotional depth and personal symbolism
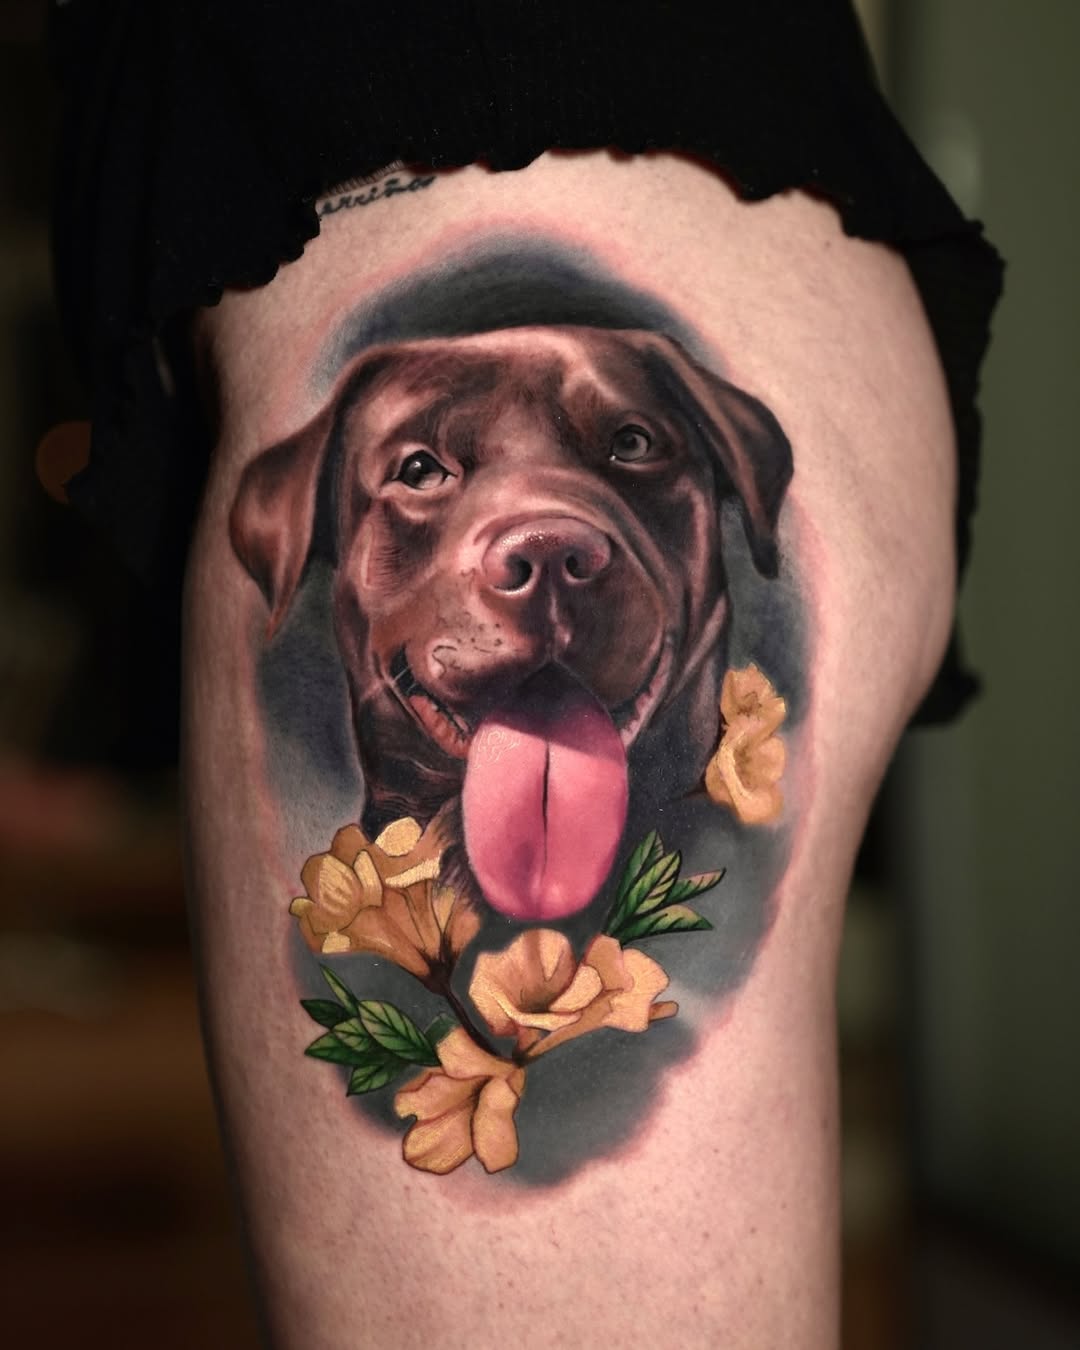
- Animal lovers honoring pets or spirit animals
- People marking life milestones (e.g., resilience post-challenge)
- Clients ready for detailed, multi-session work
In 2026, trends show a rise in pet portraits (dogs, cats) and endangered species (tigers, elephants) for conservation awareness.
Best Styles & Placements for Realistic Animal Tattoos in 2026
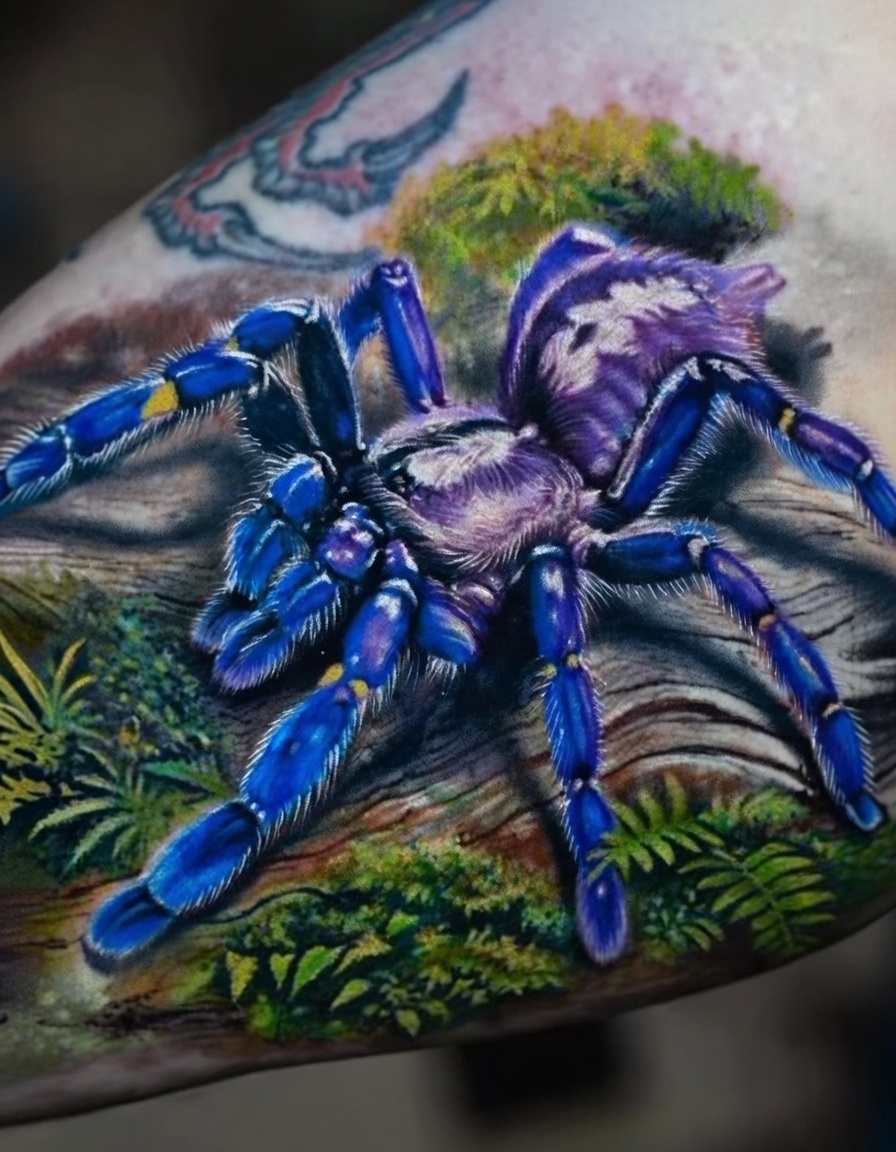
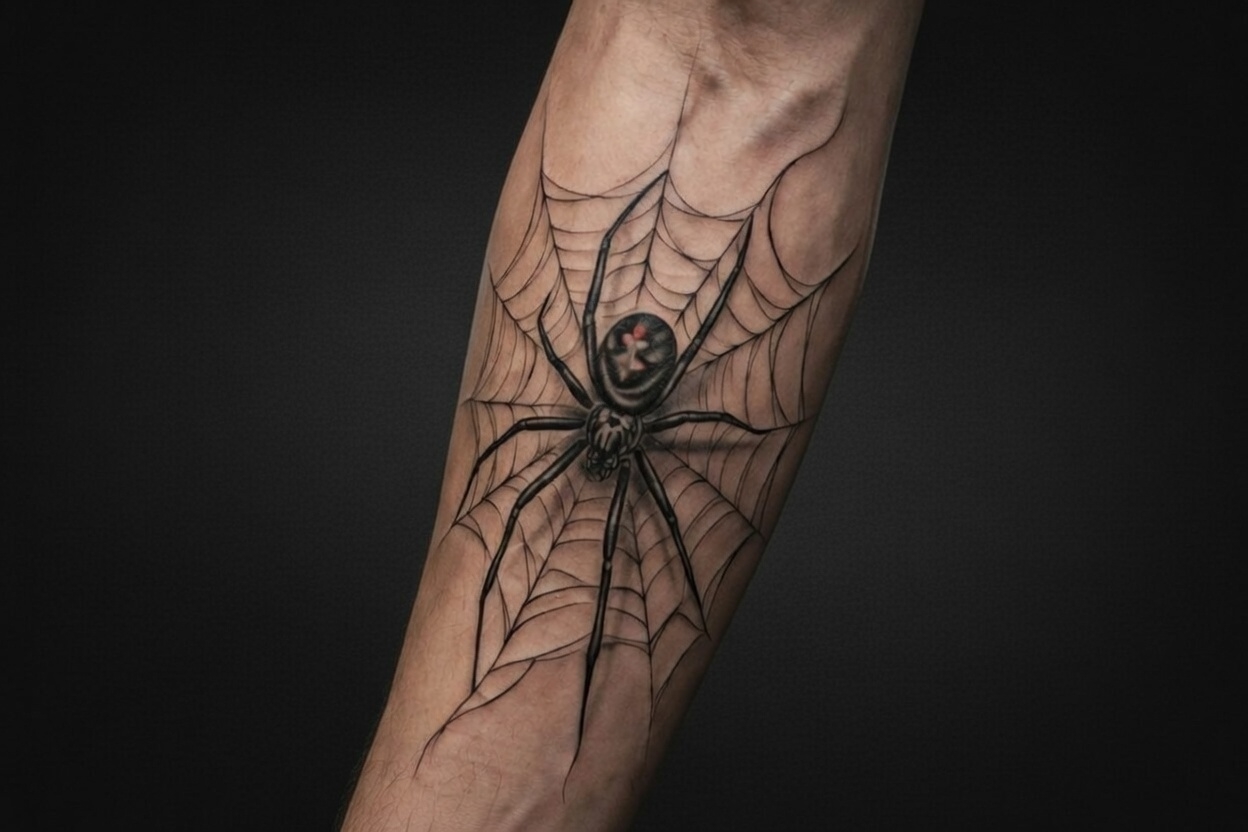
- Black & Grey Realism: Timeless, ages well; emphasizes texture (fur, scales)
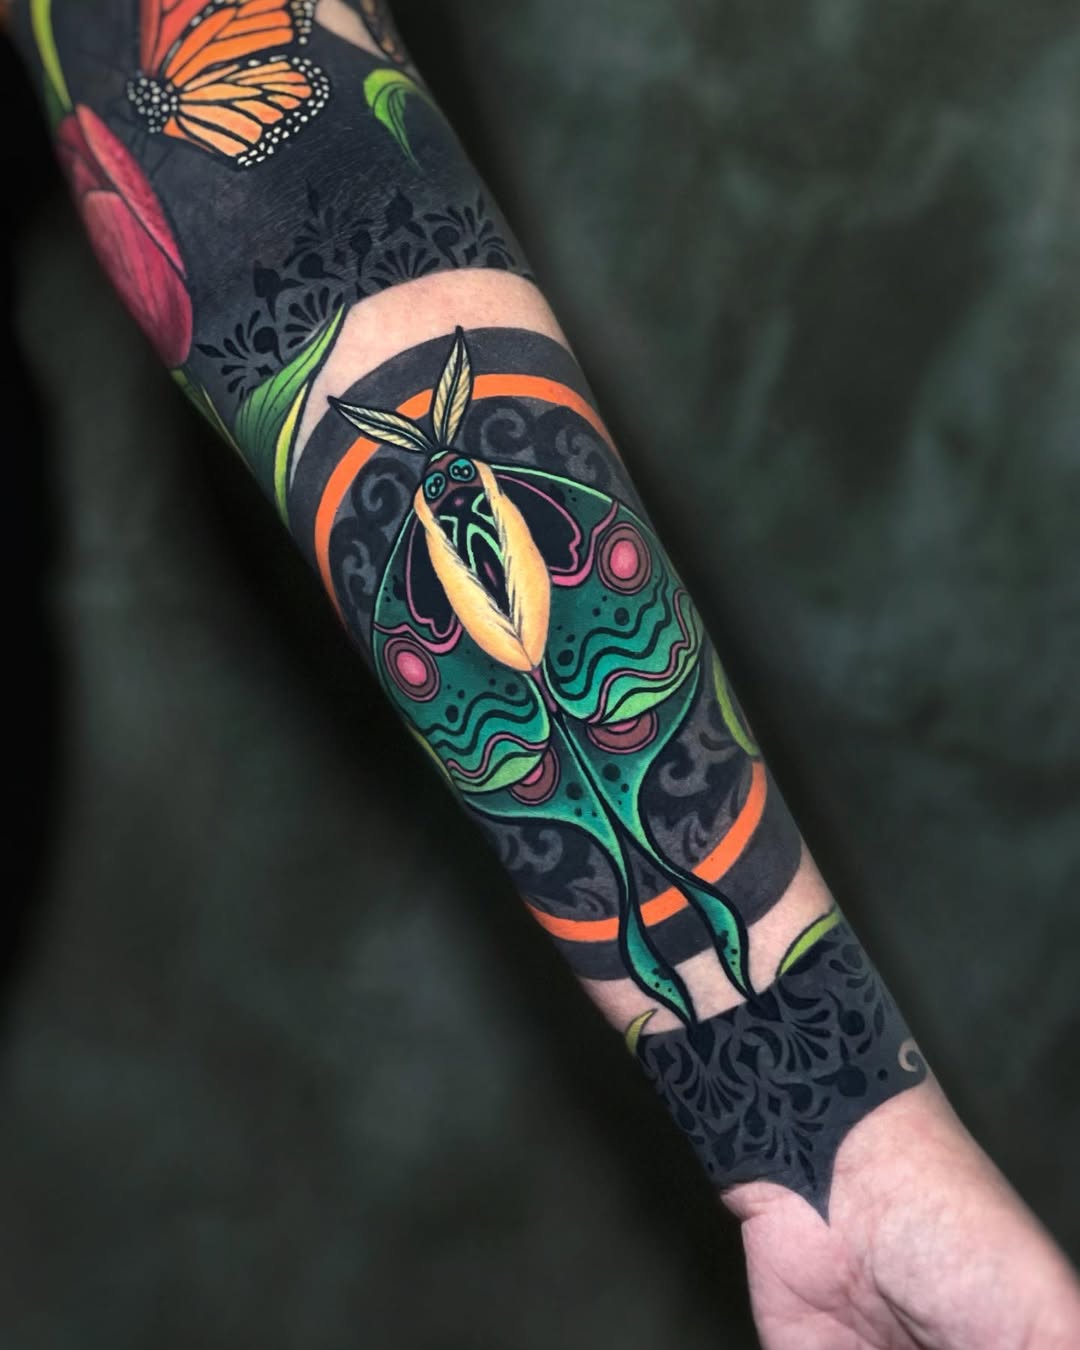
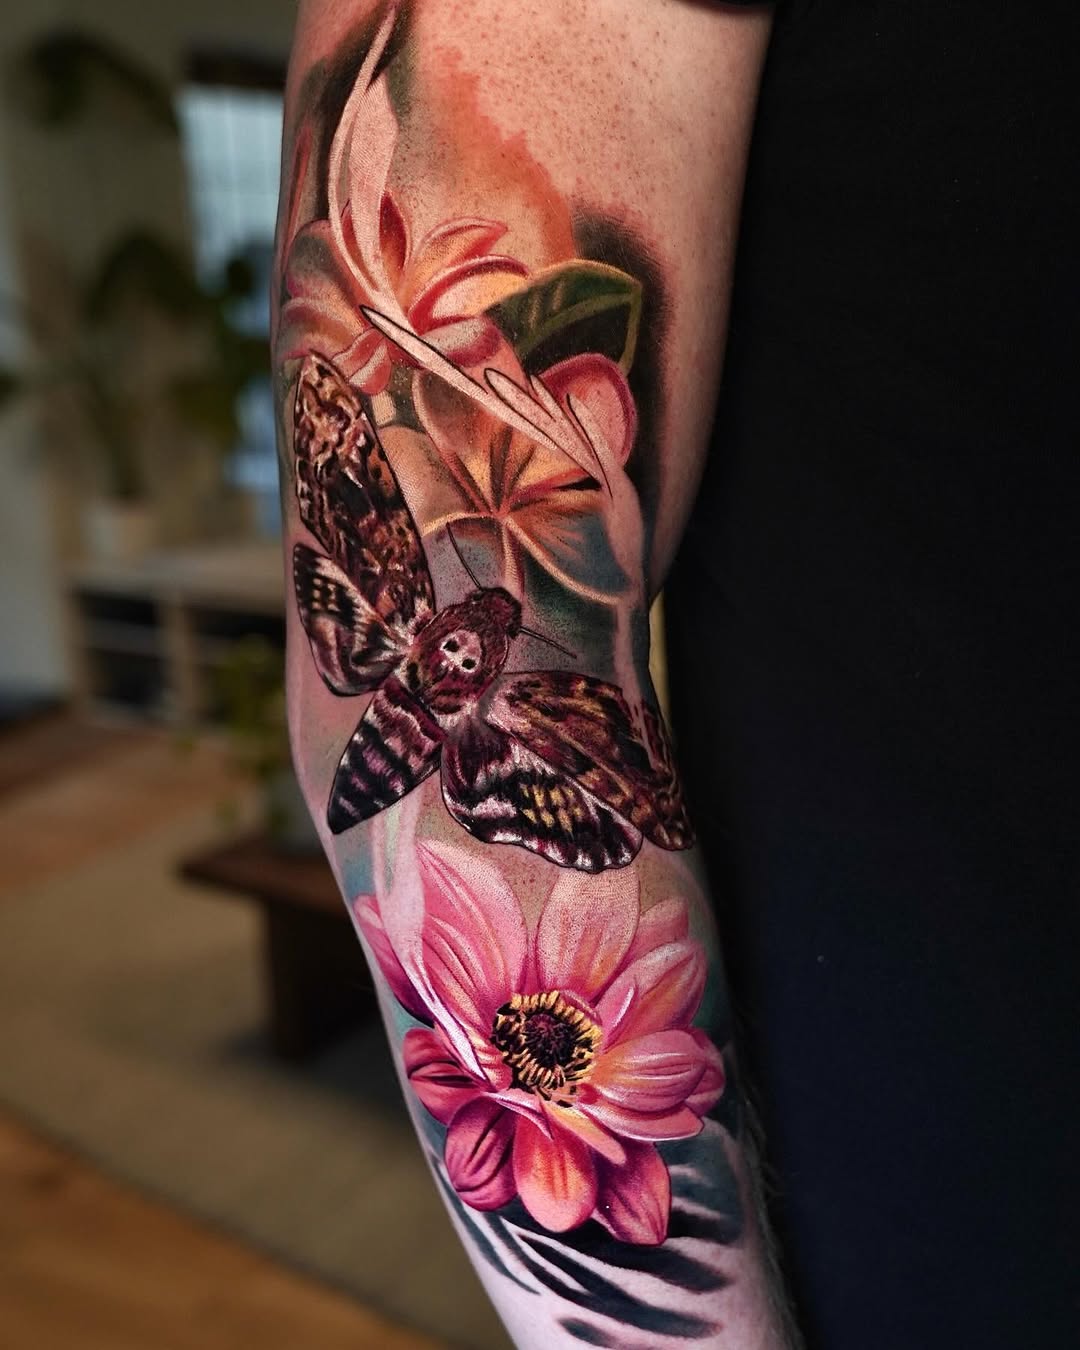
- Full Color Realism: Vibrant for animals like tigers or phoenixes; trending with gradient techniques
- Micro-Realism: Small, intricate details for wrists/ankles
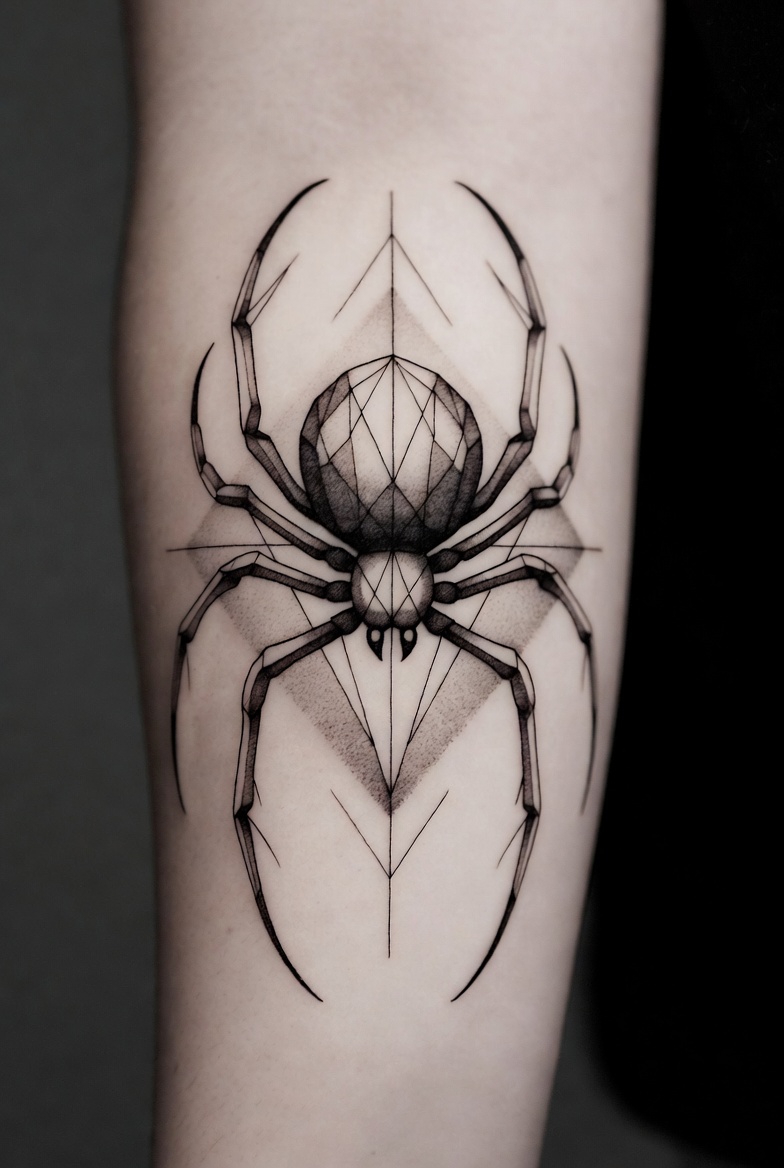
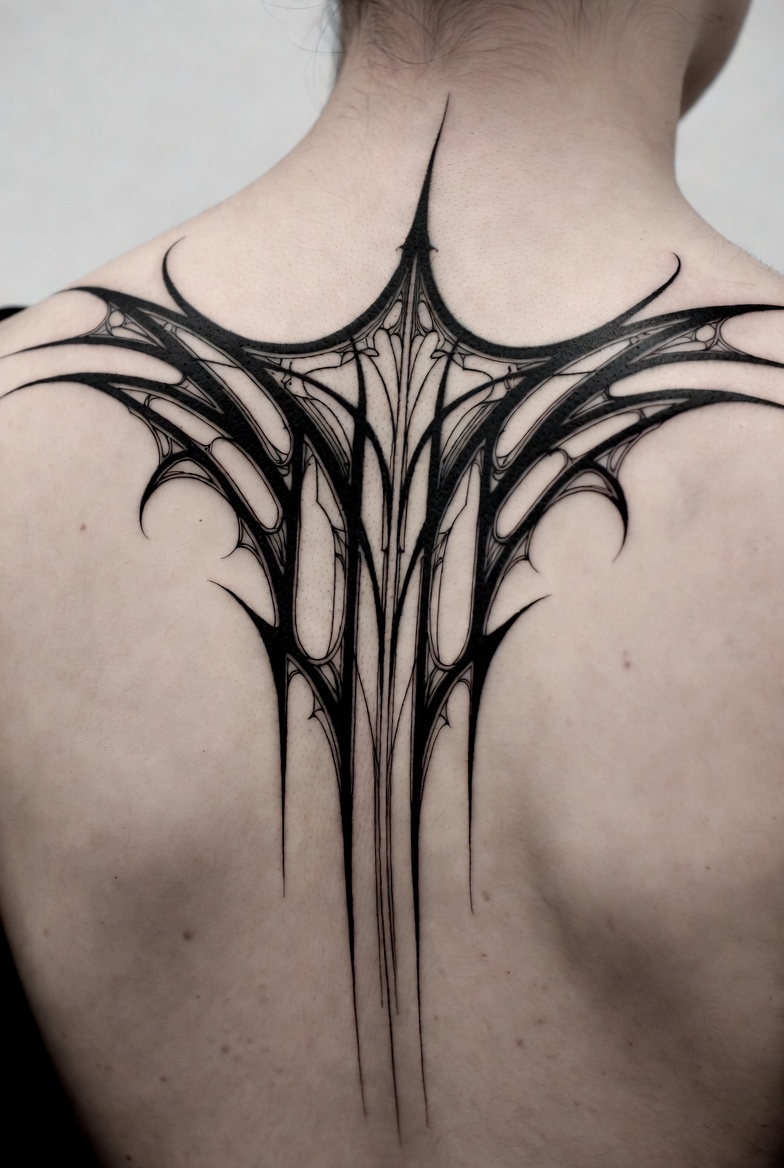
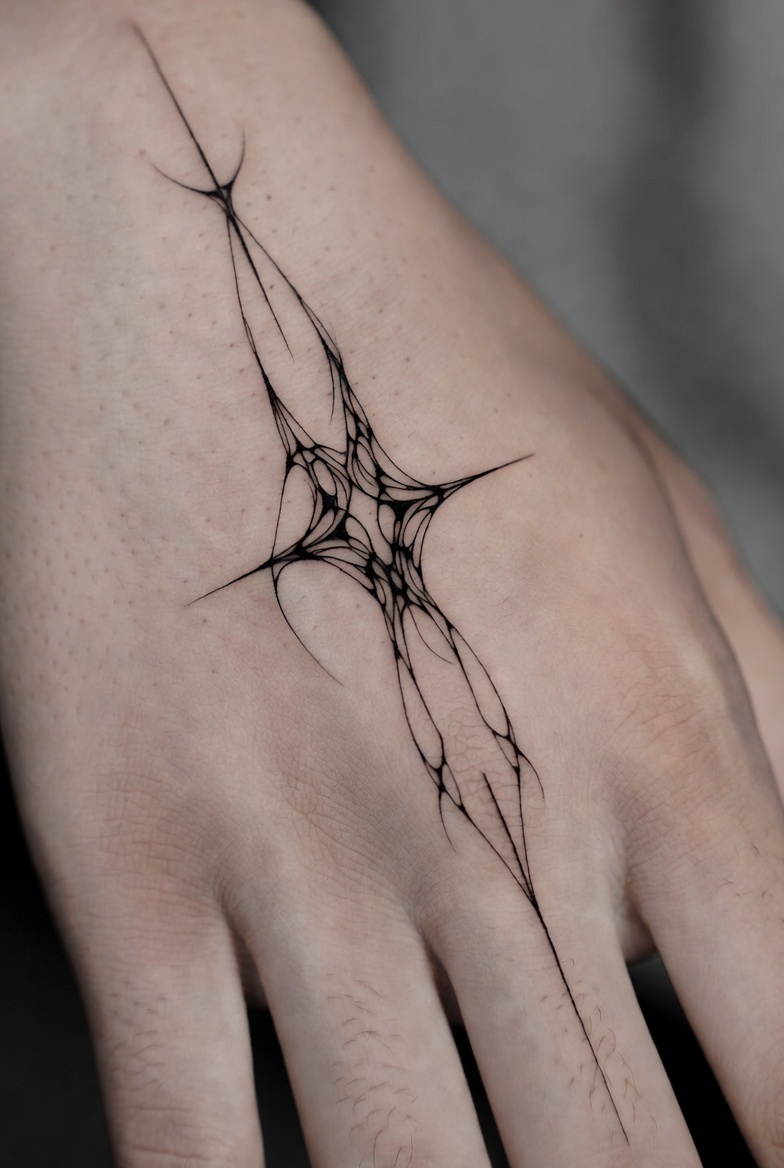
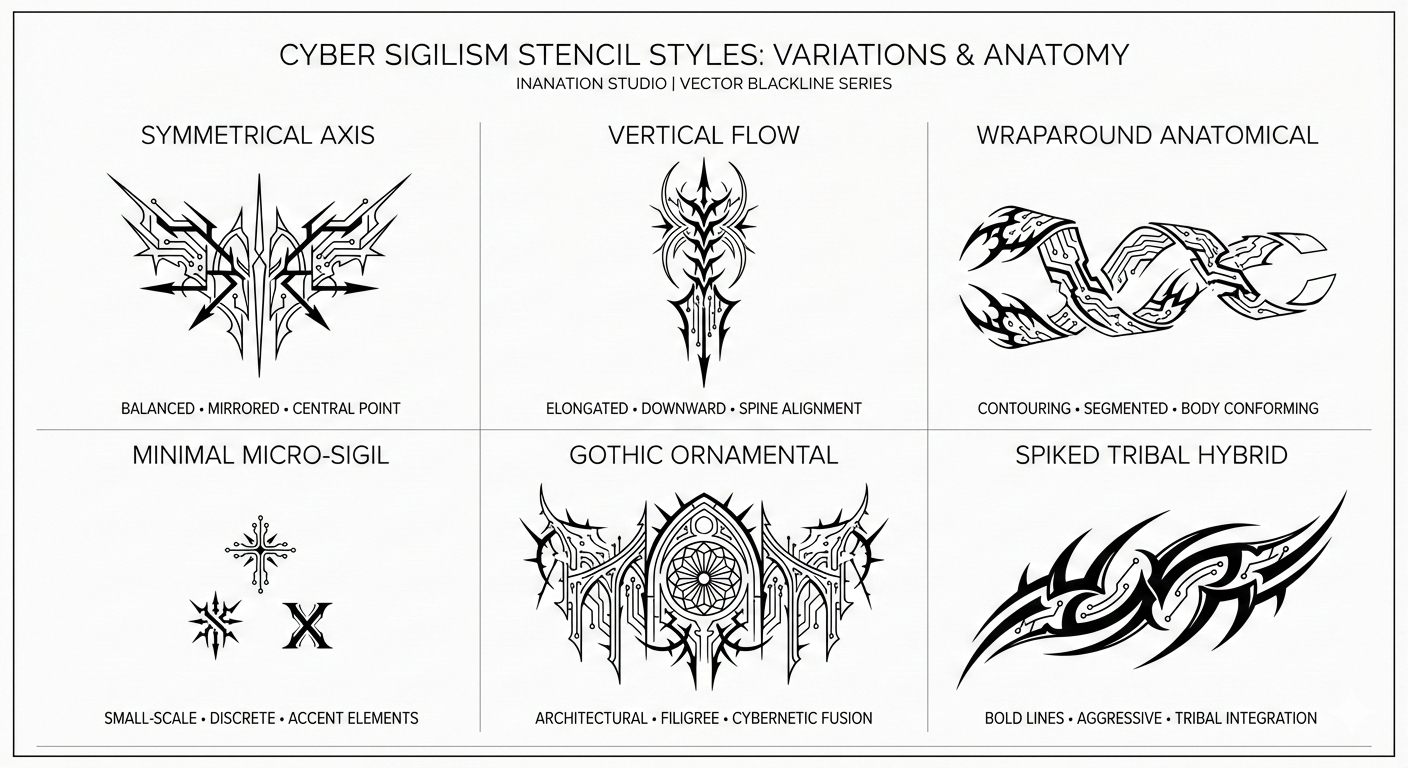
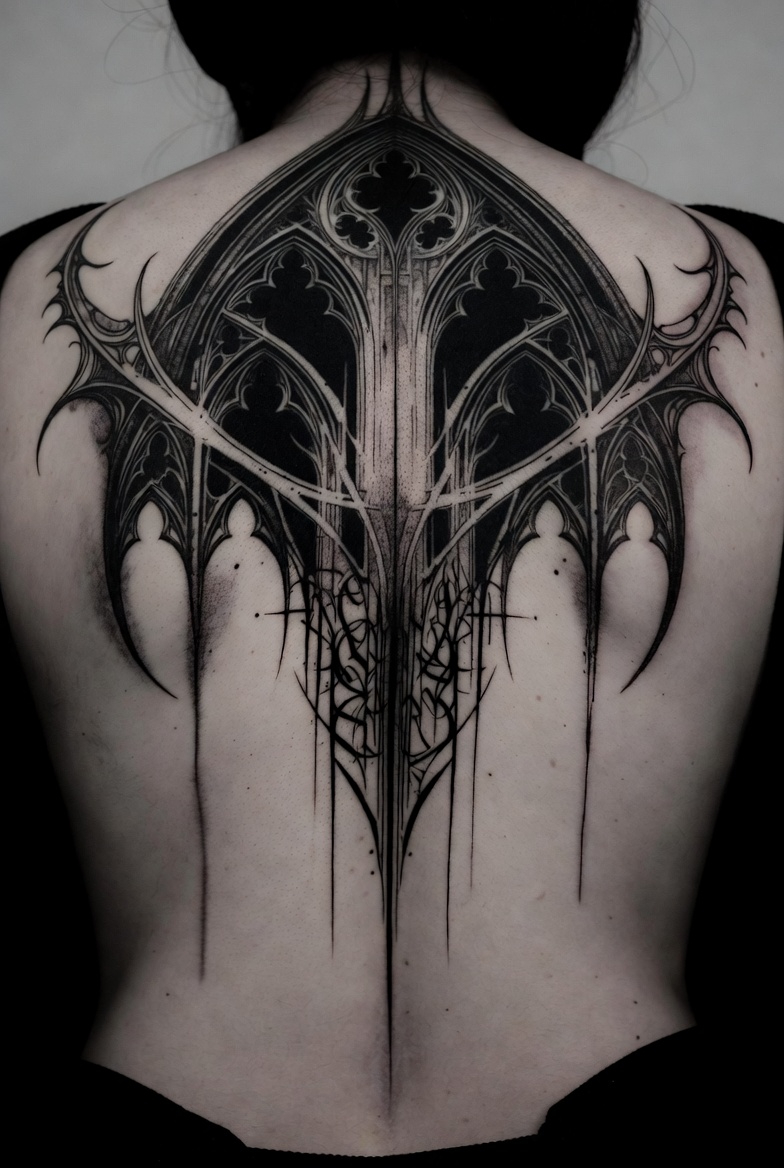
- Cybersigilism Hybrid: Animals with geometric/sigil overlays for futuristic symbolism
- Neo-Traditional: Bold colors with realistic shading for lions/wolves
Ideal Placements:
- Forearm/Sleeve: Flowing motion (wolves, snakes)
- Chest/Sternum: Central impact (lions, eagles)
- Back/Full Back: Large scenes (tigers in jungle)
- Thigh/Calf: Detailed portraits (elephants, bears)
- Shoulder: Circular designs (owls, phoenixes)
- Wrist/Ankle: Minimalist/micro (butterflies, foxes)
Placement Tip: Consider skin texture, smoother areas preserve detail better.
Ready to discuss your animal design? book: https://inknationstudio.com/book-now/
What to Expect When Getting a Realistic Animal Tattoo in NYC
Consultation Discuss symbolism, references, size, placement. Bring photos we’ll customize.
Design Phase Sketch refinement for anatomy and flow.
Session Timeline
- Small/micro: 1-2 hours
- Medium portrait: 3-6 hours
- Large sleeve/back: 10-20+ hours across sessions
Healing Follow our guide: https://inknationstudio.com/everything-you-need-to-know-about-tattoo-aftercare/ and FDA tips. Avoid sun, swimming.
If unusual symptoms occur (redness, infection), see a doctor. This is general advice, not medical.
Common Mistakes to Avoid
- Small placements for high-detail animals
- Low-quality references
- Ignoring cultural symbolism
- Rushing healing
- Trend over meaning
Frequently Asked Questions
What do animal tattoos symbolize? Varies by animal, lions for courage, butterflies for transformation, wolves for loyalty.
Are realistic animal tattoos painful? Depends on placement, chest/ribs more sensitive.
Black & grey vs color? Black & grey for depth; color for vibrancy (tigers, phoenixes).
Can I combine animals? Yes, e.g., wolf pack or phoenix with snake for layered meanings.
Best for beginners? Start medium; build to large.
Inknation Studio
56 W 45th St, Fl 18
New York, NY 10036, United States
📞 (917) 261-6936
🕒 Hours: 11:00 AM – 6:00 PM (Mon–Sun)